


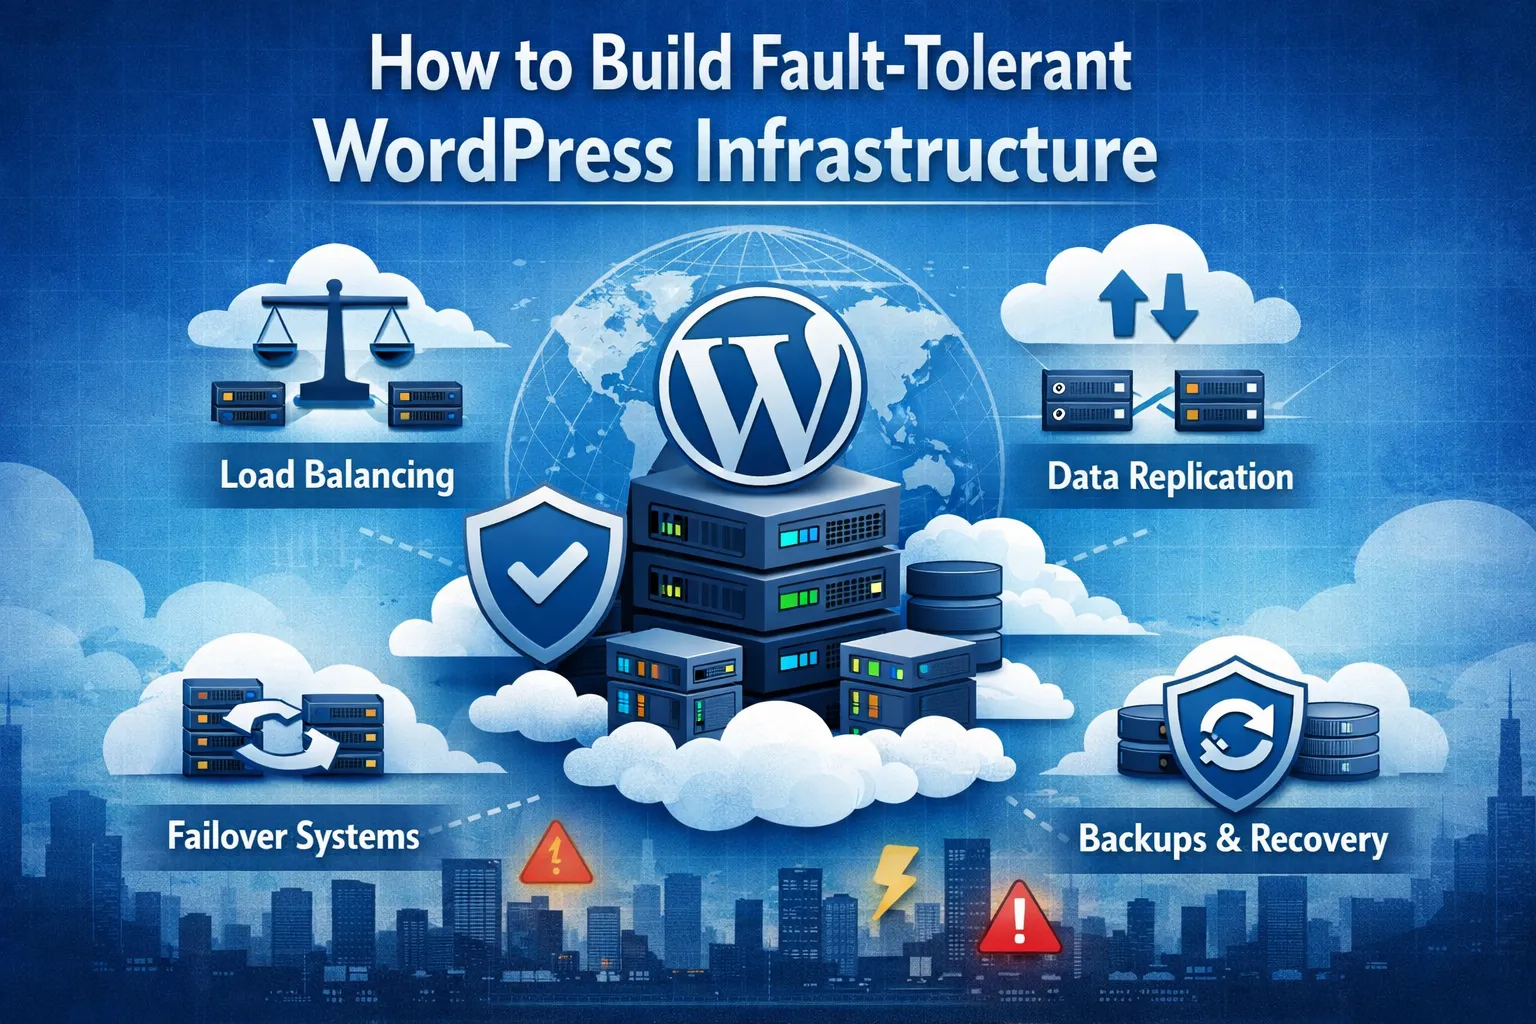
 The appeal of creating a small business website with WordPress is always going to be centered on the simplicity and cost-effectiveness of using the platform. You’ll be paying immeasurably less than what you’d probably need to give to a web designer to have them build your website, and it’s really quite simple to build it yourself with WordPress. But it’s one thing to put a site together and another to have it build to the extent that you can always rely on it to be fully functioning and best serving your online business interests. A lot of having that consistent performance will be tied into high availability WordPress hosting, and it’s also good to know how to build fault-intolerant WordPress infrastructure.
So that’s what we will look at with this week’s blog entry here. At any given time there’s a whole host of people who are putting together a WordPress website for the first time, and it may well be that some of them are having their website hosted by us here at 4GoodHosting. If that’s the case then we need to stress the superiority of Managed WordPress hosting for fault tolerance, as there are all sorts of areas where you’re safeguarded if you have website optimization taken care of for you. Part of receiving this service is having your host conduct regular site overviews and checking for any instances of sub-par performance or component failures.
Starting at the the start it may be necessary to define what are WordPress faults and what it means to have fault tolerance for your website. These faults are everything from connection errors to slow speeds, 404 errors, and the colloquially well-known ‘white screen of death’ that can occur if a WordPress site has any type of code that becomes misconfigured after it was initially created. High availability WordPress hosting means there is less of a chance of that happening, but if you’re going to take on these issues yourself you’ll need to be proficient with debugging tools, component deactivation, and / or knowing how to increase memory limits.
Tall order for some, so what’s best is to build your infrastructure to be fault-tolerant in the first place. Which is doable and especially so if you read through what’s to follow here. Let’s get right into it, and remember that any time you have questions about what makes Managed WordPress website hosting better we’re happy to share all of the benefits with you.
Standard Design Shortcomings
It’s fairly common to have issues with WordPress sites when building with monolithic designs, and especially with having resilient, fault tolerant and scalable sites as compared to choosing to go with decoupled architecture. Probably the most common of them are EC2 instances where the frontend, application, and database are all hosted. Managed WordPress hosting for fault tolerance is great, but even it is not a surefire means of avoiding these situations where WordPress faults come to forefront.
What’s best is to be able to identify the challenges with this architecture and re-architect it to a better design. The first issue is usually with overall scalability, and quite often with single EC2 instance all aspects of the application - including the application storage tier, database tier, business logic tier - need to be configured by the builder. This design limits the ability to handle increased traffic. So what you need to do here is scale vertically and upgrade instance size. While this is very doable, there are physical limits to what can be done and in some cases you may have to revisit your architecture component choices. It’s for this reason that you should always try to get by with the ones that are less large in size but still have everything your site will require for performance.
The main focus here is fault tolerance, and the way it reinforces the need for high availability WordPress hosting. A single point of failure will mean that if the EC2 instance went down, the entire application would become unavailable, including including the database and media files. The obvious problem this is going to create is potential data loss, and it’s really the biggest concern related to instance failure. Without solid infrastructure recovery here would require recreating the instance, restoring the database, and re-uploading media file. And then this would lead to significant downtime.
There are additional possible undesirable outcomes too, but we’ll skip them and get right to explaining what you can do to build fault-tolerant WordPress infrastructure.
Failure-Resistant Architecture
Your more solid build starts with choosing the right applications. An Auto Scaling Group (ASG) for the EC2 application tier and an Application Load Balancer (ALB) for distributing traffic allows builders to horizontally and dynamically scale out or in, giving them the flexibility to have a mechanism for dynamic workloads. Improved fault tolerance is also created if you utilize a managed database like Amazon RDS, which offers high availability with automatic failover for a more fault-tolerance architecture.
Data will remain safe in the event anything happens to the EC2 instance, RDS is redundant with multiple copies kept in different availability zones, and the accompanying AWS manages the maintenance activities. This will include patching and backup. This type of architecture will also replace local storage with Amazon EFS for media files. That provides redundancy across multiple AZs, dynamic scalability that can accommodate data growth, and it can be utilized by multiple compute sources like EC2 in case there’s a need to scale it out further.
Increased resilience is also a part of the advantage here, and when it’s possible to separate the database and media files from the EC2 instance and store them in managed services then you get so much overall site durability. Data is no longer tied to the lifecycle of the EC2 instance and backups and redundancy features in RDS and EFS ensure data integrity and quick recovery.
At this point it also points to the shortcomings you’ll have instead if you choose not to go with Managed WordPress hosting for fault tolerance - less overhead for maintenance and scaling activities. So you’ll best set up to have that in place and waiting for you before you get started with your WordPress site infrastructure building.
Smart Execution
Now it’s time to get to executing and setting up the environment is what you will do first. The first thing is getting the infrastructure up and running, and using a CloudFormation template is best. Here’s the basic step order you’ll want to follow:
- Deploy a CF template to provide the foundational environment
- Launch an EC2 instance for the application tier
- Configure WordPress-related parameters like database credentials, and DB Endpoints for seamless management
Next is the setup for EC2 Instance, and this is also a part of what will be required of you to ensure that you get the best return from having high availability WordPress hosting. What’s recommended is to get prerequisites using Bash scripts to install WordPress and MariaDB.
Deployed WordPress and then connect it to a local MariaDB instance using a public IP. From there you’ll need to put launch templates in place, and these are needed because manually configuring instances often leads to errors, especially if you’re not super experienced with this stuff.
But it’s also true that excluding them means the site won’t scale well if it ever becomes time to do that. A launch template is extremely valuable in order to make horizontally scaling seamless. It provides consistency and ensures that every new instance has the same setup. It’s also a good idea to create a separate launch template to streamline EC2 instance deployment. Deploy a new instance using the template and repeated the WordPress initial setup steps.
You should also see to it that the database is migrated to RDS, and if any part of your database involves customer-submitted data then it makes sense to familiarize yourself with PIPEDA-compliant hosting. Quite often sites will require a multiple AZ setup, and if that applies to yours then it’s good to start off with creating a subnet group where it included 3 subnets from different availability zones.
Get Database Migration Setup Right
Database migration is going to be part of the picture too if this new WordPress business website is being built as a better version of a previous site you had for the business. This is the last consideration we’ll go over here, and while it has no relation to high availability WordPress hosting it’s something you’ll also want to ensure is being done properly.
Here are your standard database migration steps for high level database migration:
- Back up the local MariaDB database
- Updated the DB endpoint parameter in Systems Manager to point to the RDS instance
- Restore the backup to the RDS instance
- Configure WordPress to use the RDS endpoint and stopped the local MariaDB service.
- Test to confirm setup is functioning as intended
If you have media files as part of this migration to it’s best to direct them to Amazon EFS, although there are other acceptable options here. If you’re going to go this route then it’s best to migrate them to an EFS (elastic file system) and preferably one with a load balancer. Choose that and here’s you step by step:
- Create the EFS Filesystem in application subnets
- Install EFS utilities on the EC2 instance
- Move media files from the EC2 instance to a temporary folder
- Mount the EFS filesystem to the WordPress WP-Content folder
- Transfer media files back to WP-Content and reboot the instance
- Test to ensure WordPress is serving media files from EFS
All of this is a process that can be taken on by even the most fledgling of WordPress site builders. There are more detailed and visually-oriented explanations of each step that can be easily found on the web if what we’ve shared here isn’t clear enough, and as we mentioned earlier do be sure you have the right type of PIPEDA-compliant hosting if data collection is part of the workings with your small business website. As is usually the case for most sites that are designed for eCommerce and where customers have the option to have information saved for future usage through the site that improves their experience - whatever that may be.