One feature commonly found in websites is a photo gallery. This tutorial will show you a popular Joomla extension called JoomGallery
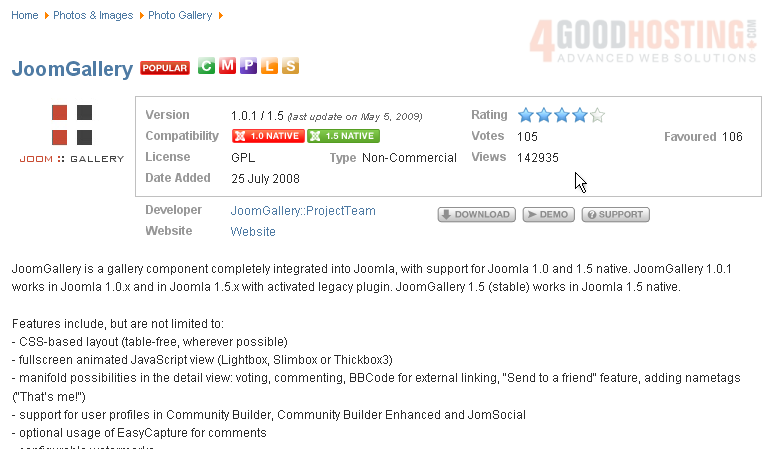
1) As with all extensions we'll be showing you, start by going to extensions.joomla.org. Then, navigate to the Photos & Images / Photo Gallery category and find the JoomGallery page
Â
2) Click Download
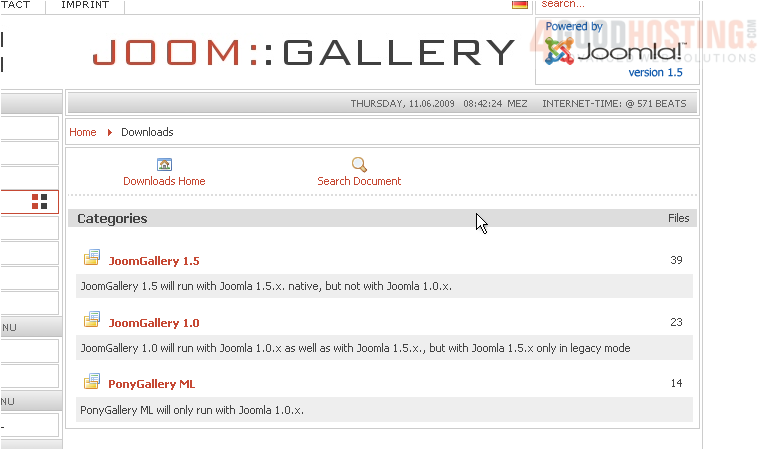
3) Since we have Joomla 1.5, click JoomlaGallery 1.5
Â
As you can see, there are many extensions for this component that you can choose to download at a later date
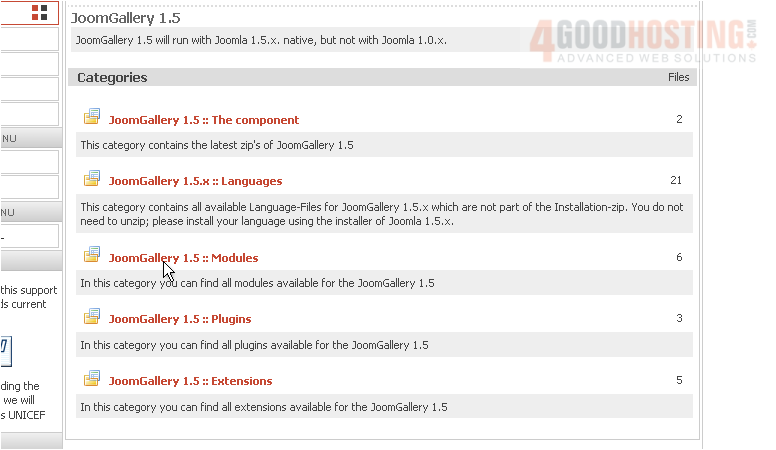
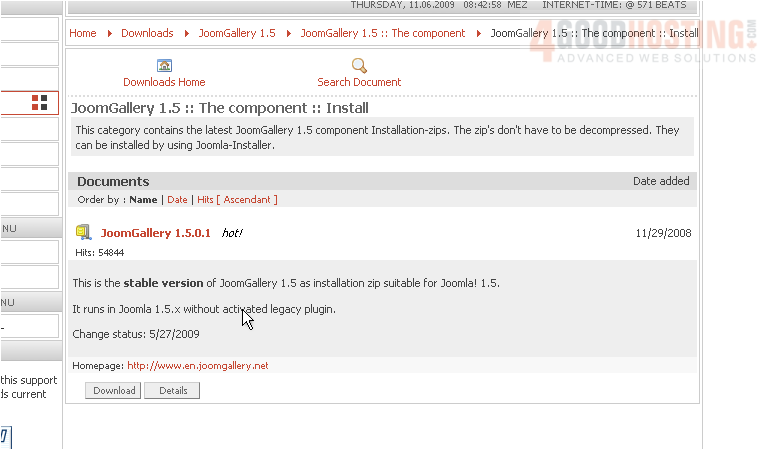
4) Click the component link
Â
5) We'll need the installer
 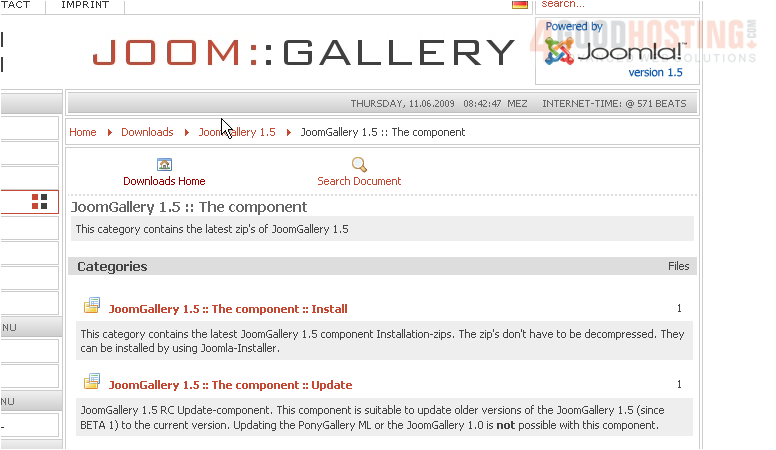
6) Click Download
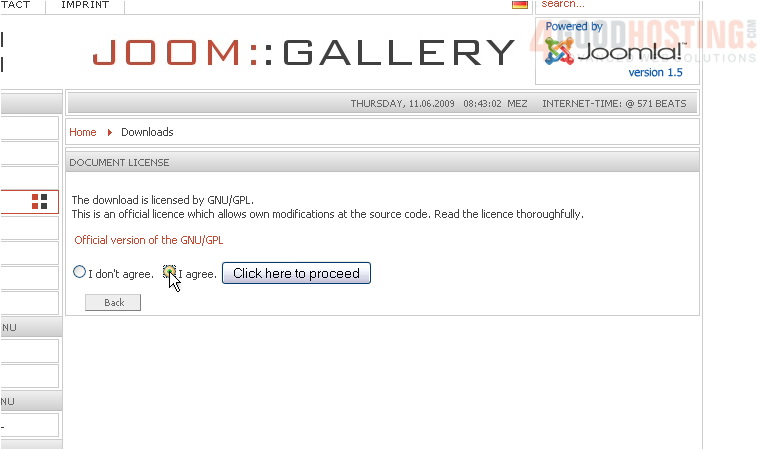
7) Agree to the terms of the license
Â
8) Proceed
Â
9) Save the file to your computer

Â
Now, it's time to install this extension in Joomla
Â
For assistance with finding or installing extensions, watch the first two tutorials in this series
Â
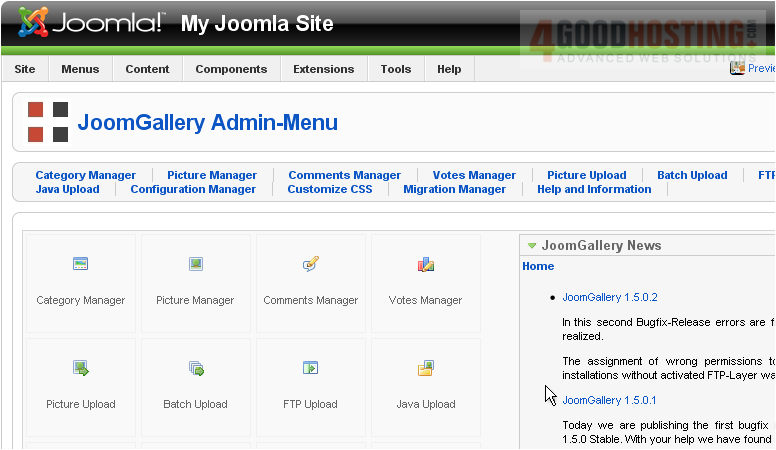
10) Once installed, click Components...
 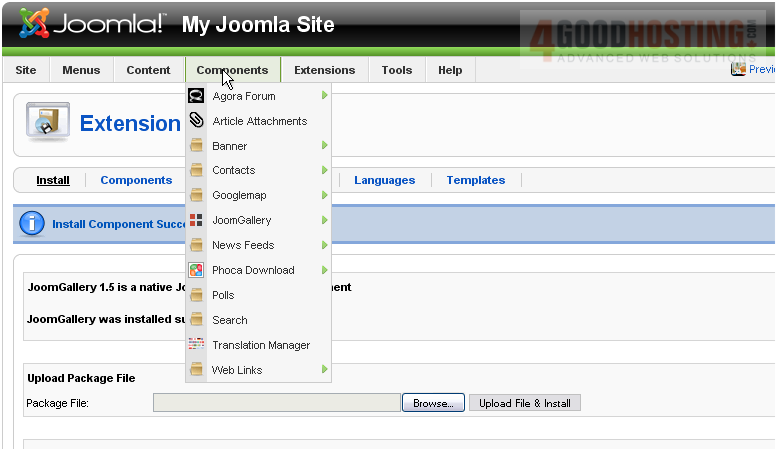
11) ...then JoomGallery
Â
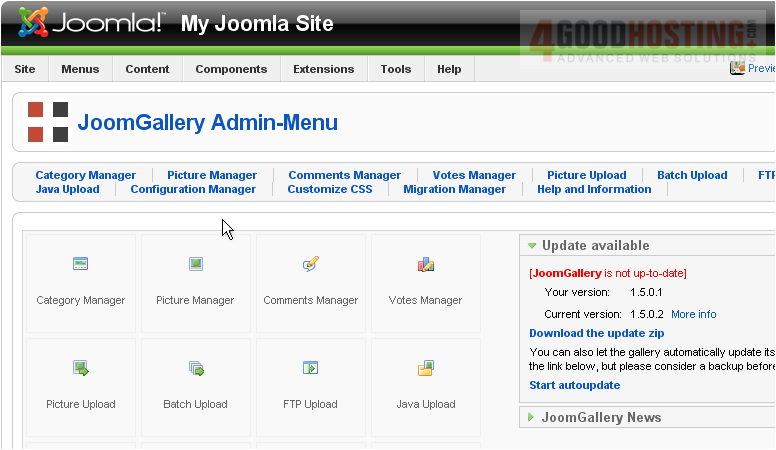
Apparently, an update was released after we downloaded the file. You'll receive update notifications here
Â
The developer recommends you back up your site before updating JoomGallery, just in case. If you're not sure how to do this, watch the tutorials in the Setup series
Â
You can choose here to update using a ZIP file or to auto update
Â
12) Click Start autoupdate
Â
13) Return to the JoomGallery menu
Â
Configuration Manager has many options for you to customize, if you want to. Most of the defaults should be just fine
Â
Check out Help and Information if you run into any problems
Â
Let's add a category
Â
14) Click Category Manager
 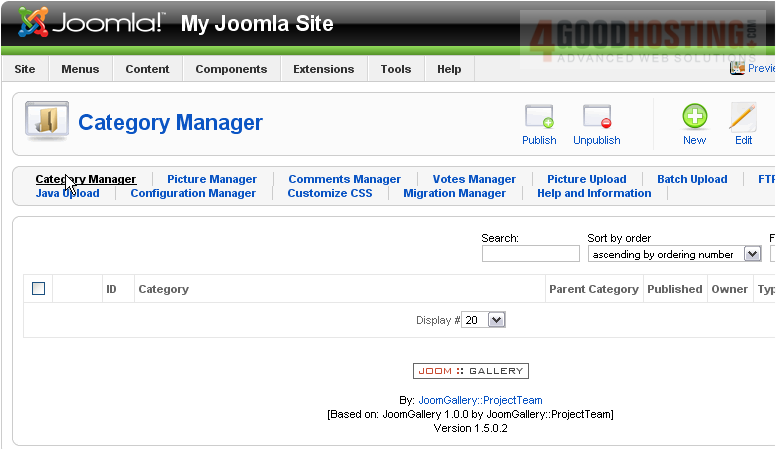
15) Click New
Â
16) Enter a Title
 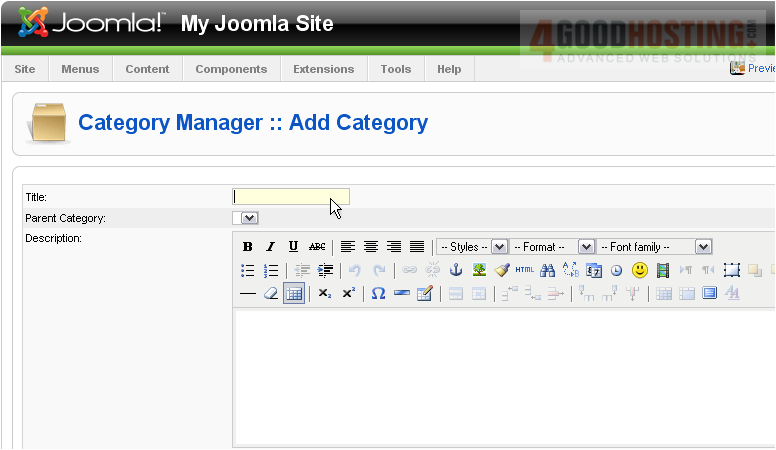
17) Type a Description, if you want
Â
Scroll down and change the access and display settings, if you wish. Then, scroll right
Â
In the future, you'll be able to choose a Parent Category to put a new category into an existing one
Â
18) Click Save
Â
You can see under Owner and Type that the Administrator created this category using the Admin CP

Â
Now, let's upload some pictures
Â
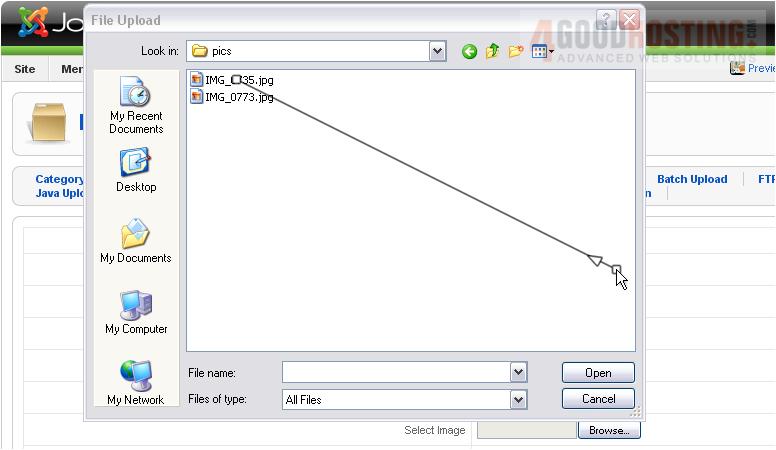
19) Click Picture Upload
 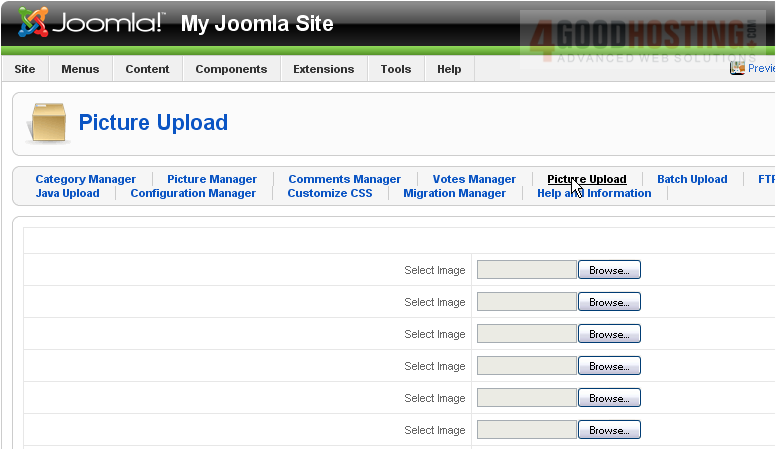
20) Browse for a few pictures
Â
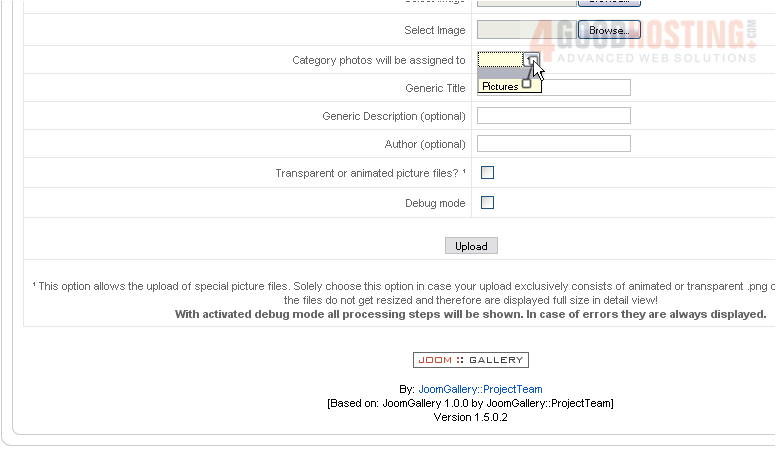
Scroll down
Â
21) Choose a category
22) Enter a Generic Title to apply to every image
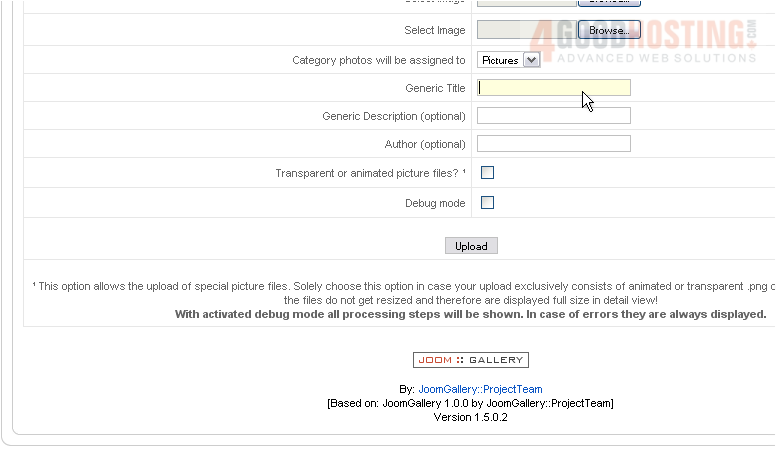
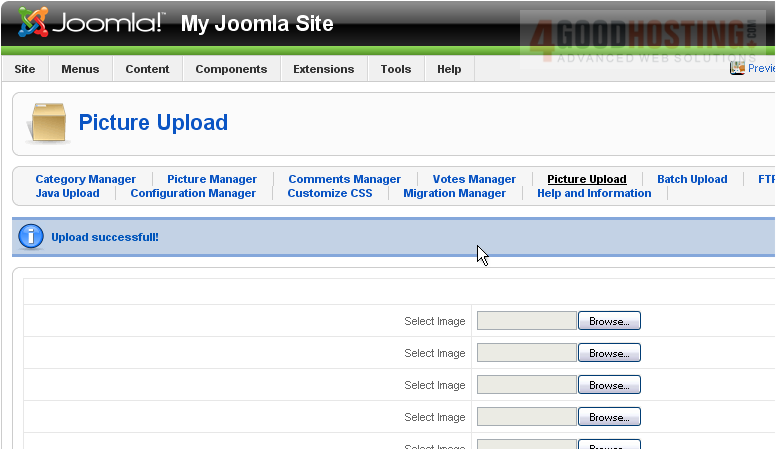
23) Click Upload
Â
You can save time and upload a compressed ZIP archive of images by using Batch Upload. Or, use images that have already been uploaded with FTP Upload
Â
Alternatively, you might prefer the Java Uploader over here
Â
Let's take a look at our two images in the Picture Manager
Â
24) Click here

Â
If you encounter any problems with uploads, contact support and have them check PHP's upload_max_filesize for your server. Attempting to upload files larger than the specified size will result in errors
Â
25) Choose one of the pictures
Â
26) Change the title or description, if you want, then scroll down
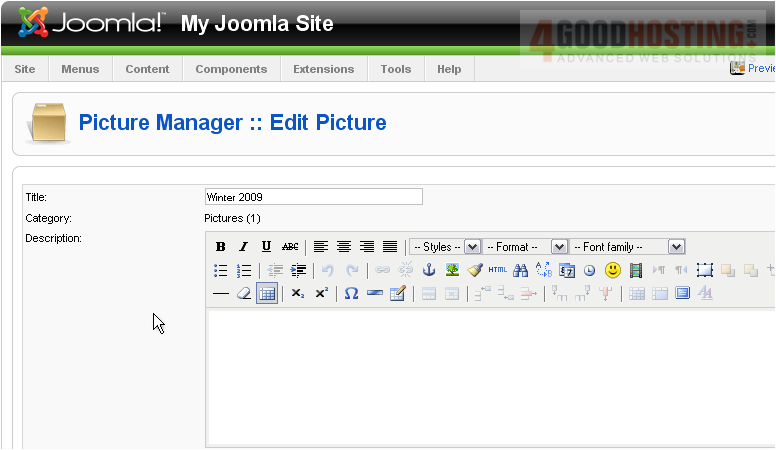
Â
As you can see, here are are a thumbnail and a larger preview of the picture

27) Scroll back up and click Save
 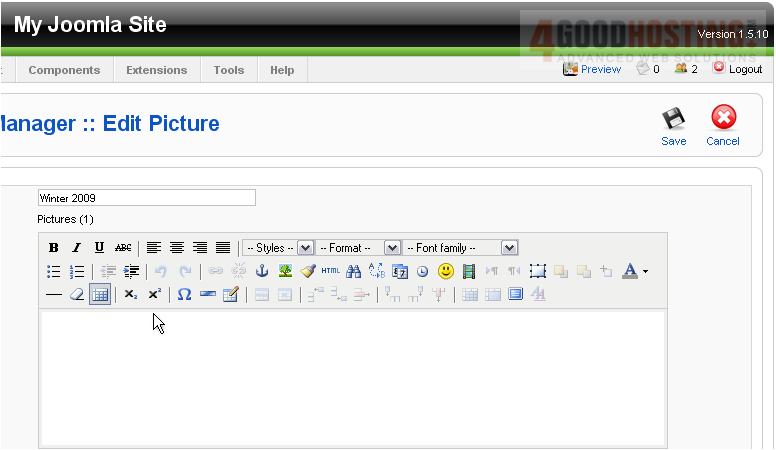
Â
You can also Move a picture to a different category, or Recreate a picture's preview images
Â
Now let's add a menu link for the gallery
Â
28) Click Menus
 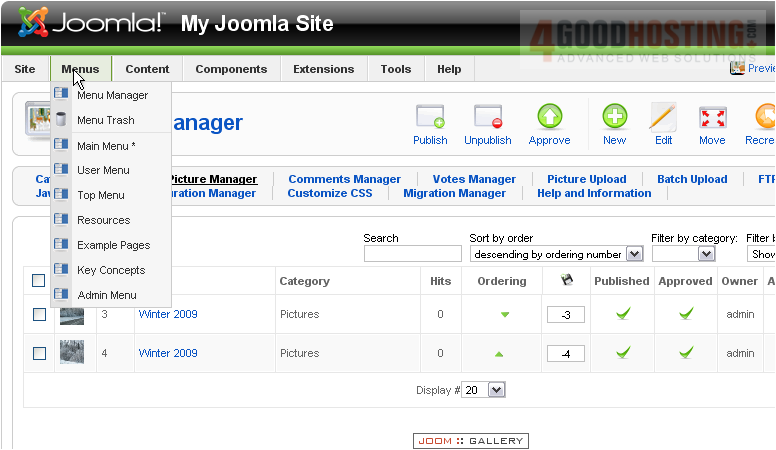
29) Go to Top Menu
Â
Scroll right
Â
30) Click New
 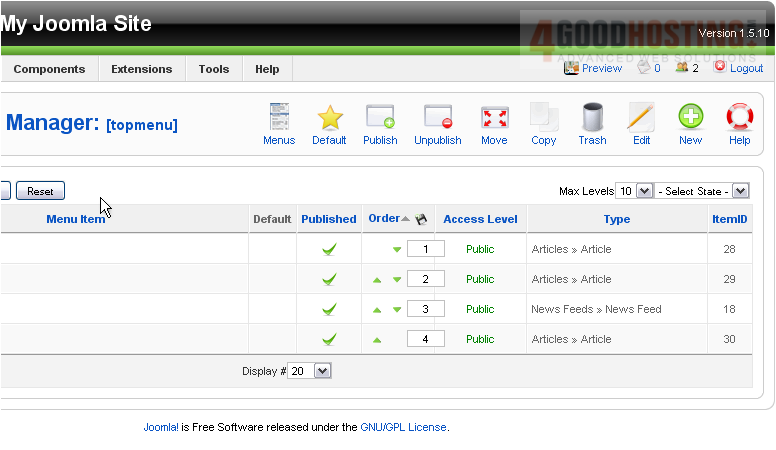
31) Select JoomGallery
 
Â
You'll only find the standard menu item options here; this component's settings are all in its section of the Admin CP
32) Add a Title
 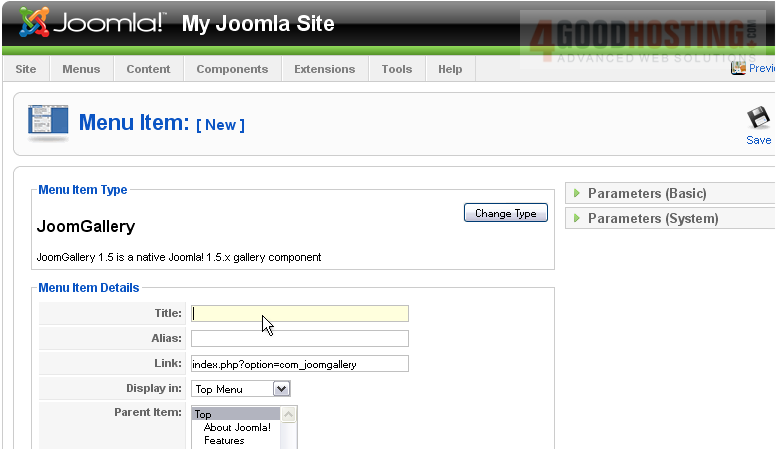
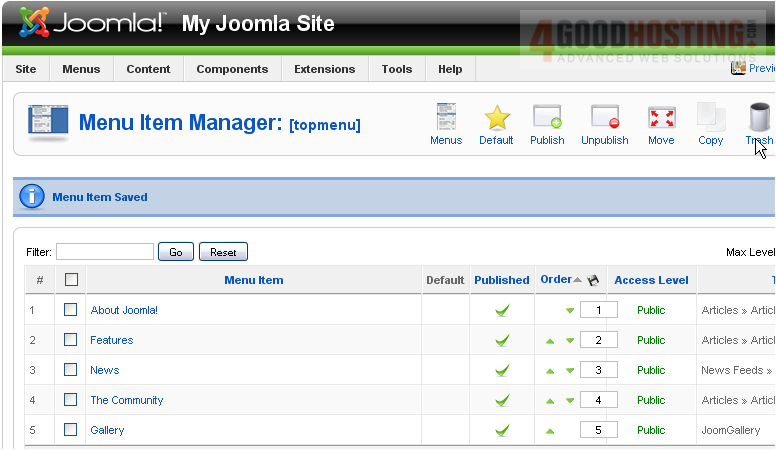
33) When finished changing the options here, click Save
Â
Let's see the gallery on our Joomla site
Â
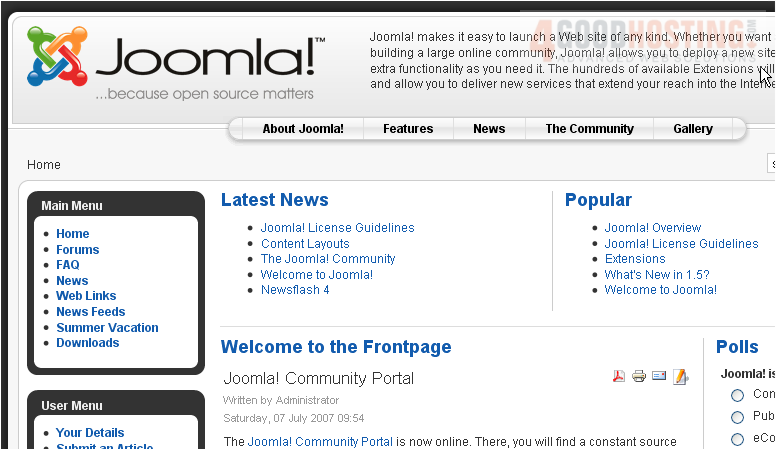
34) Click Preview
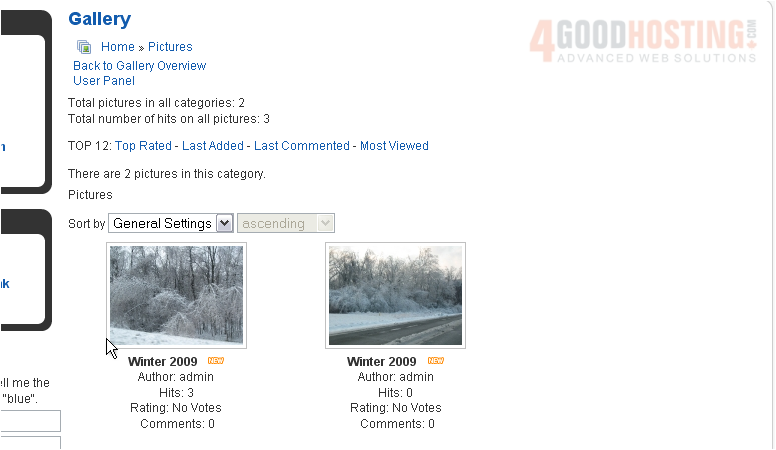
35) Click Gallery
36) Click here to view the images in this category
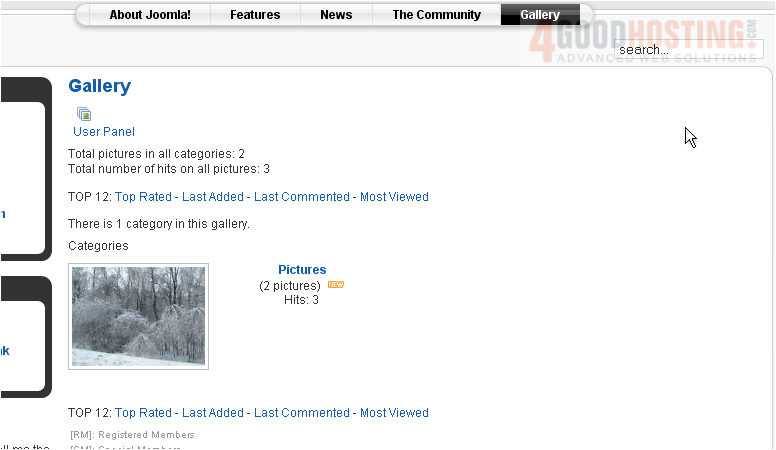
Â
A preview of the first image in the category is displayed here
Â
37) Click one of the two images
Â
That's it! You now know how to add a photo gallery to Joomla using JoomGallery

 WGS AI Assistant