There are many Download Manager extensions for Joomla, a lot of which are outdated. Phoca Download is a fairly new extension and seems to have a well-rounded feature set
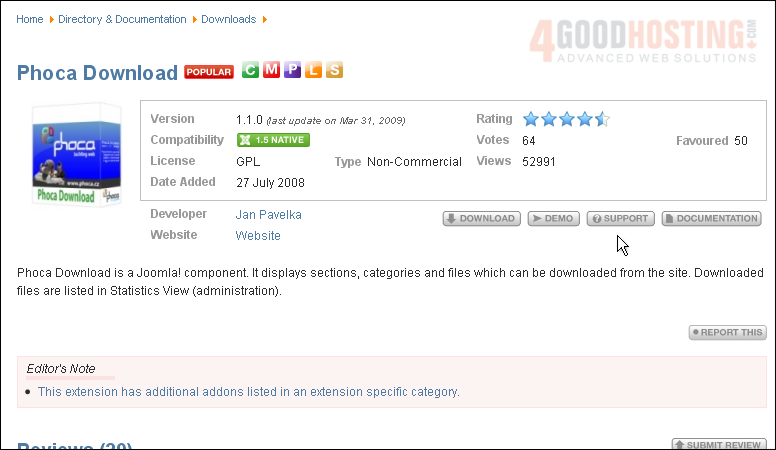
1) As with all extensions we'll be showing you, start by going to extensions.joomla.org. Then, navigate to the Directory & Documentation / Downloads category and find the Phoca Download page
2) Once there, click Download
Â
This extension has a number of plugins and modules that you can choose to install. All you really need, though, is the component
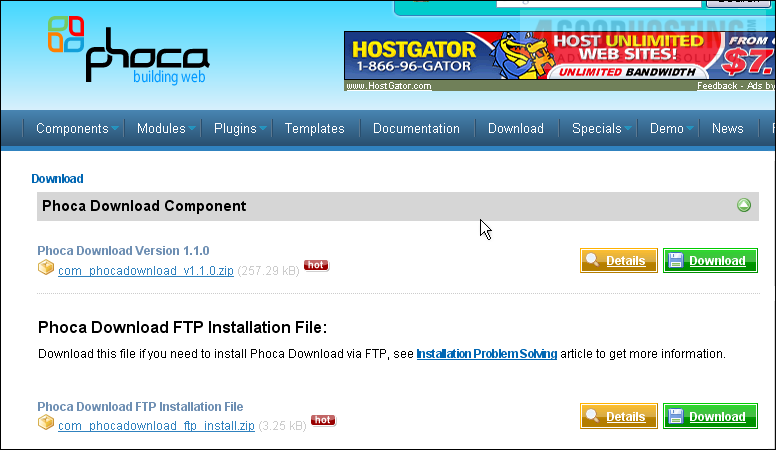
3) Click the download link
4) Read over the License Agreement, if you want, then scroll down
Â
5) Agree to the terms of the license
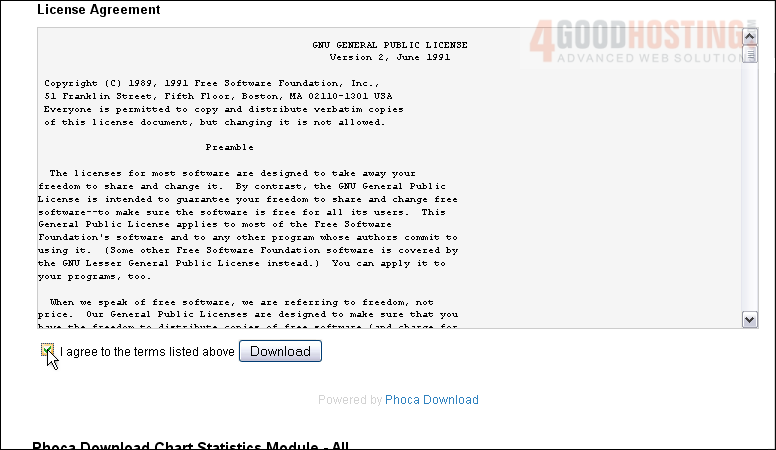
6) Click Download
Â
7) Now, install the component as you would any other extension
Â
For assistance with finding or installing extensions, watch the first two tutorials in this series
Â
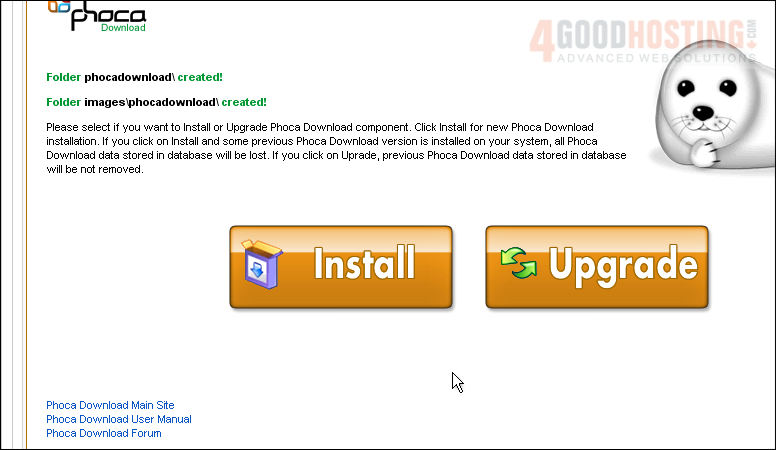
8) Once you've installed the component in Joomla, scroll down for one final step
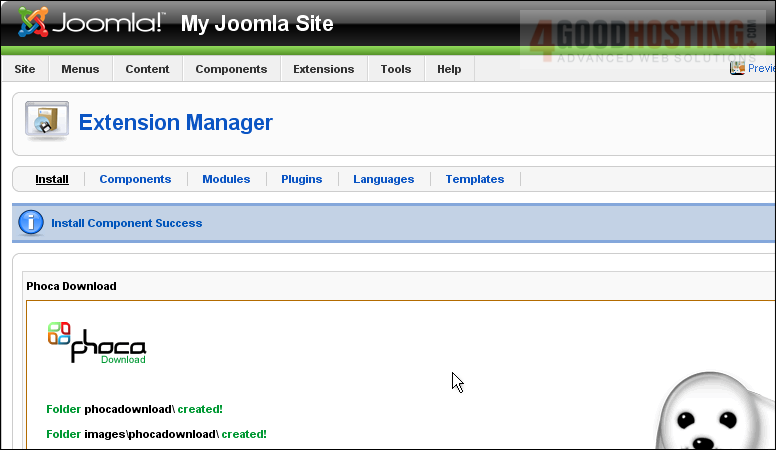
9) Since this is a new installation, click the giant Install button to set up the database
Â
First, let's go over some of the pages on the menu, starting at the end
Â
Info provides you with some helpful links and some other general information about the extension. There's not really anything to do there
Â
Statistics will really only become useful after your download system has been active for a while. You can keep track of how many times each file has been downloaded
Â
Settings only contains a few options for you to configure. The defaults should work just fine for most purposes, but it's worth checking out this page at some point
Â
The Licenses page allows you to add license agreements to the database that can then be added to files. Users must agree to the terms of a file's license before being allowed to download it
Â
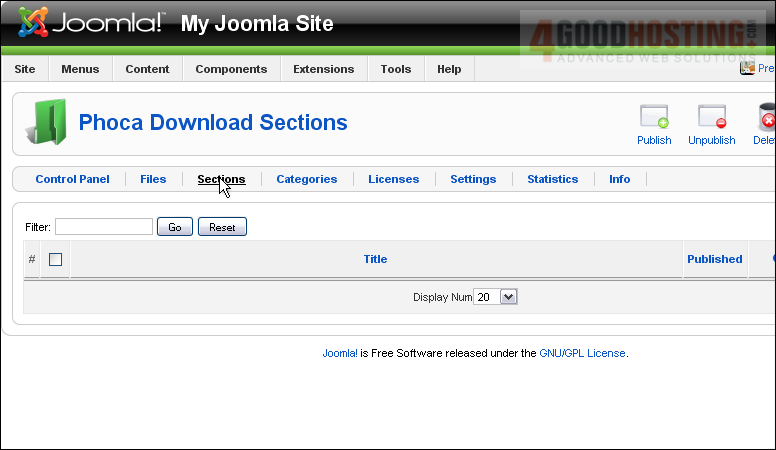
Now, let's explore the rest of the menu items, starting with Sections
Â
10) Click here
Â
The first form of organization used by Phoca Download is its sections
Â
Let's create a new one
Â
Scroll right
Â
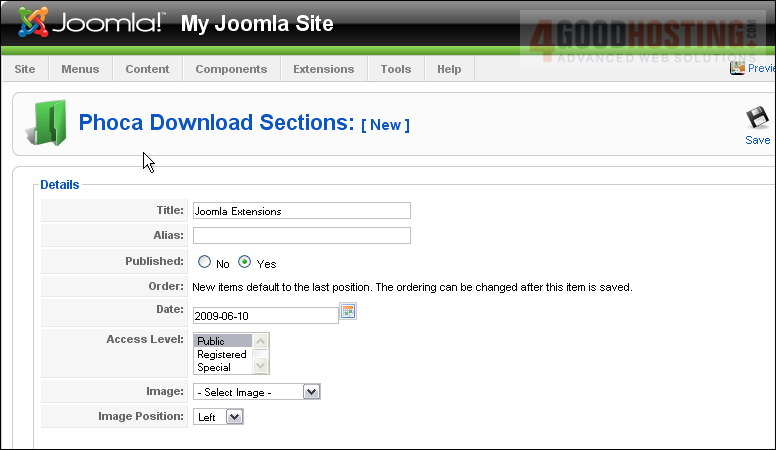
11) Click New
 
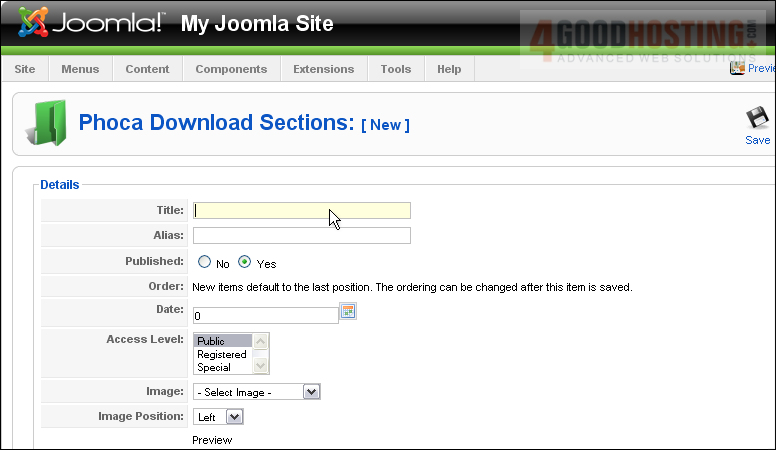
12) Give the section a title
Â
The Alias and Date fields will be filled in automatically if we leave them as they are
Â
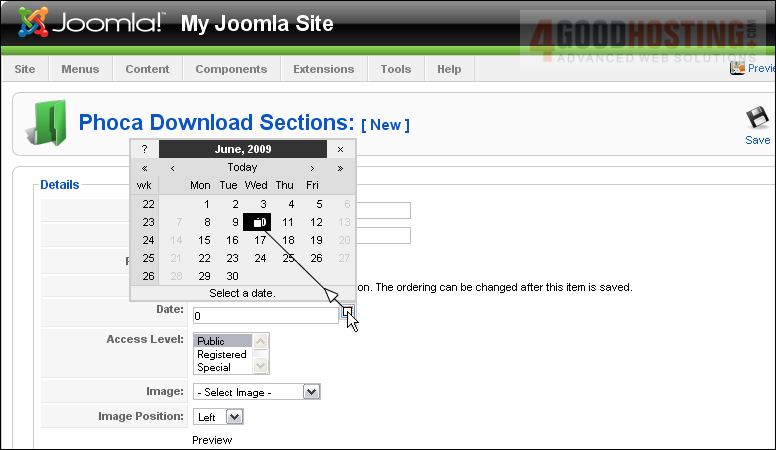
13) Set a date, if you want
14) Change the Access Level or add an image to be displayed next to the section, if you want. Then, scroll down
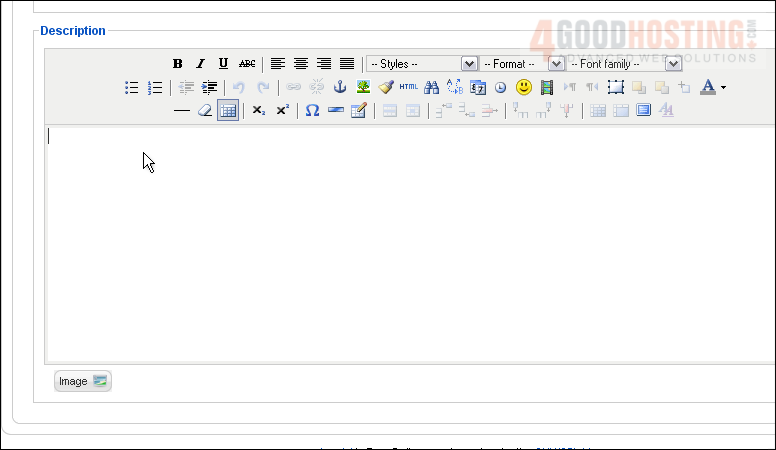
15) Add a Description
Â
Scroll up
Â
16) Click Save
17) Next, go to Categories
 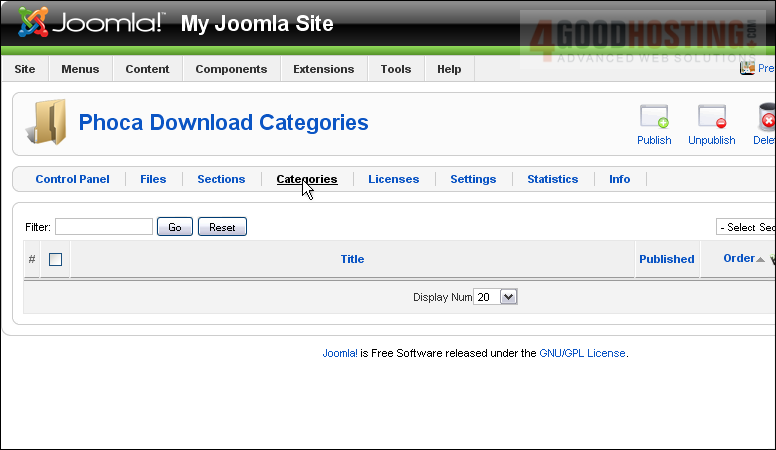
Â
Categories are contained by sections
Â
Let's create a new category
Â
Look right
Â
18) Click New
 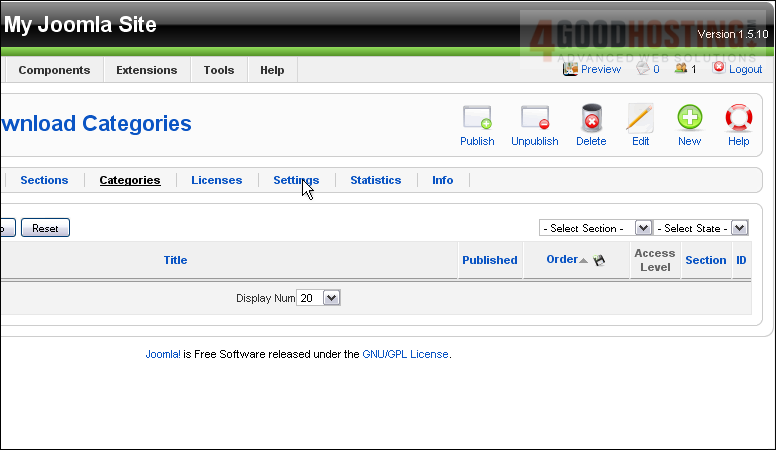
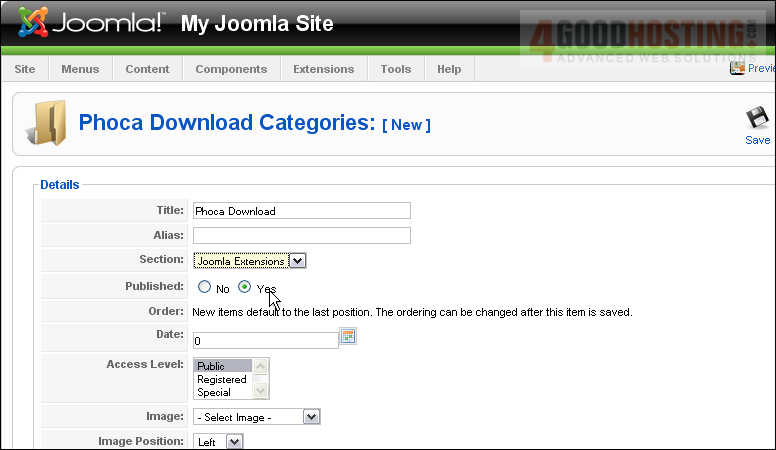
19) Type the title
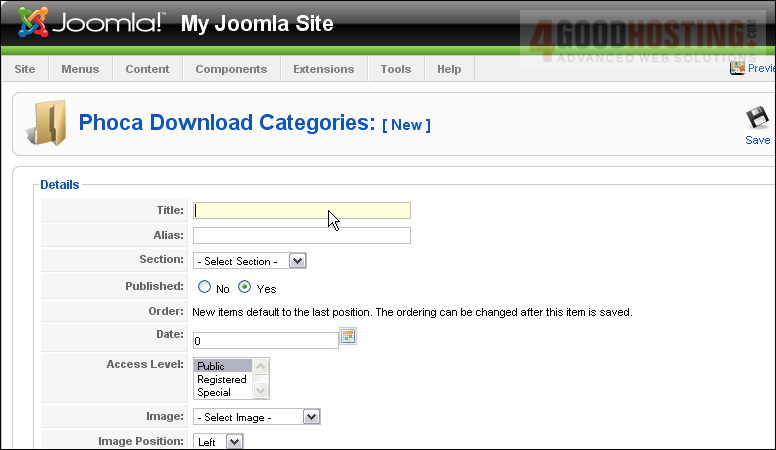
20) Choose the section we just created

21) Scroll down and enter a description, if you want
Â
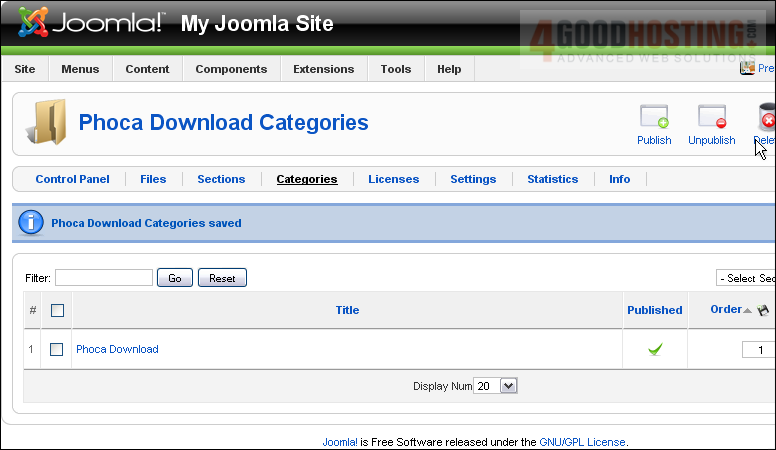
22) When finished, click Save
Â
Finally, it's time to add a file to the download manager
Â
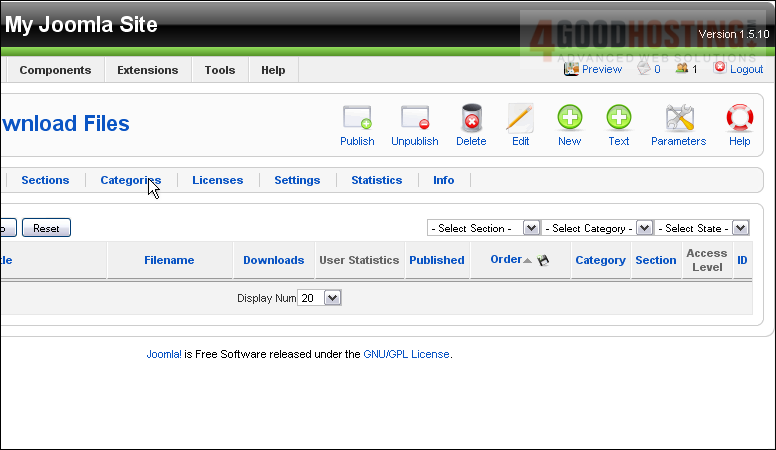
23) Click Files
24) Click Parameters
Â
The box that appears contains a number of global settings that can be customized, if you wish. Most of this component's settings are actually here, rather than in the Settings tab of the main menu
Â
Most of the options are listed under Download Settings
 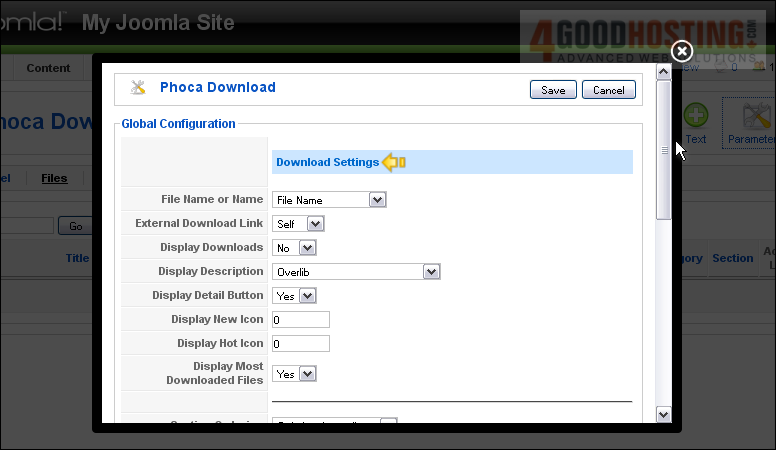
Â
Scroll down
Â
There are a few other settings here that aren't directly related to the downloads

Â
Scroll back up
Â
25) When finished, click Save
 
Â
The Text button allows you to intersperse blocks of text and other content throughout a category's file listing, as you'll see in a moment
26) Click Text
Â
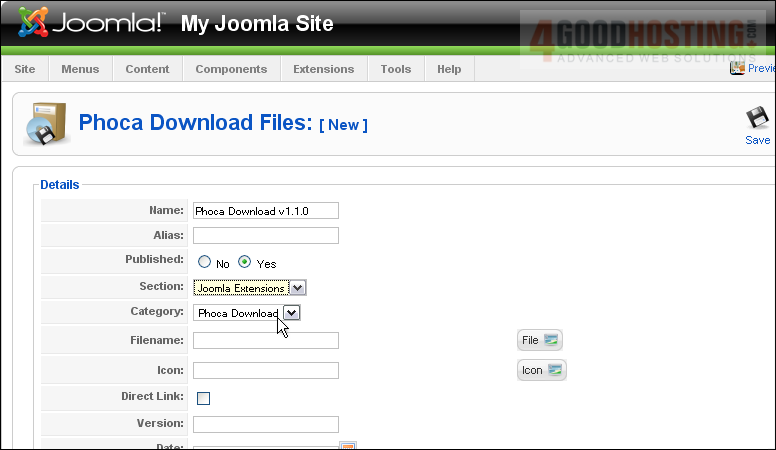
27) Give the block of text a Name
28) Select the Section
 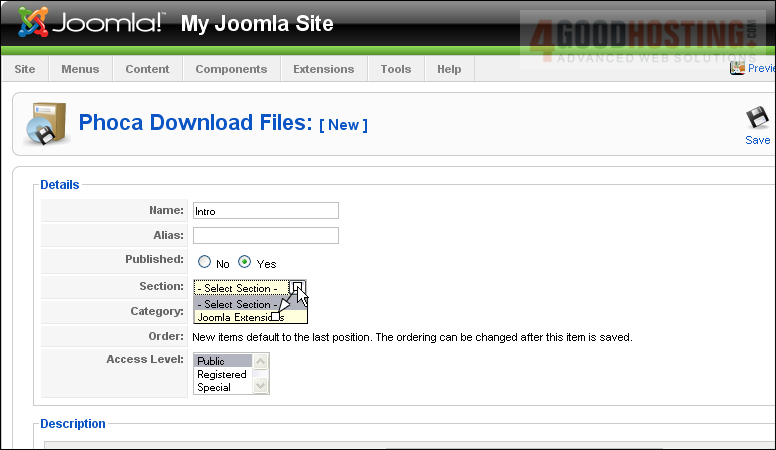
Â
As we only have one category, it has been selected for us automatically
Â
Scroll down
Â
29) The Description field is where the text is stored

Â
As you can see, all the content and styles you can put on a Joomla article can be added here
Â
Scroll up
Â
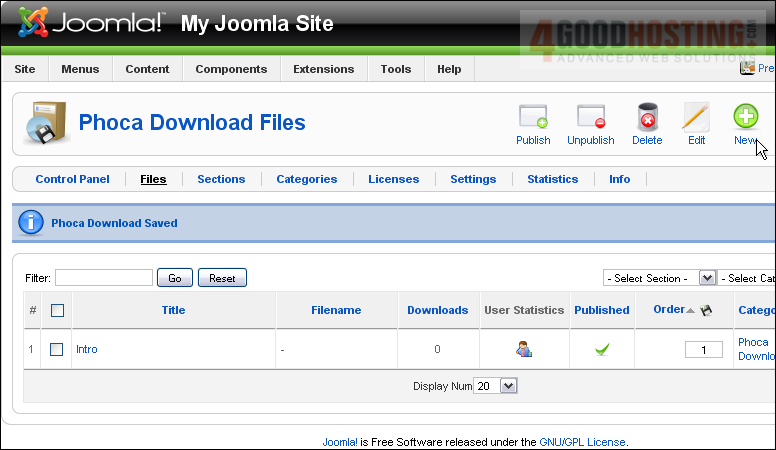
30) Click Save
 
Â
The text pseudo-file has been saved
Â
Now let's add a real file
Â
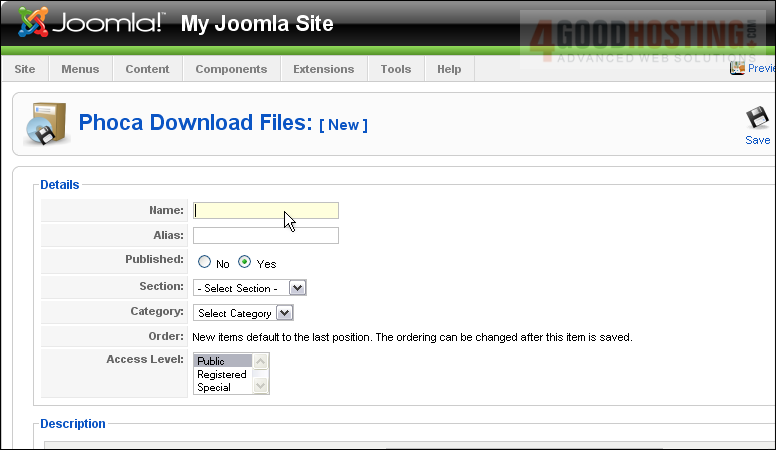
31) Click New
32) Start out as before
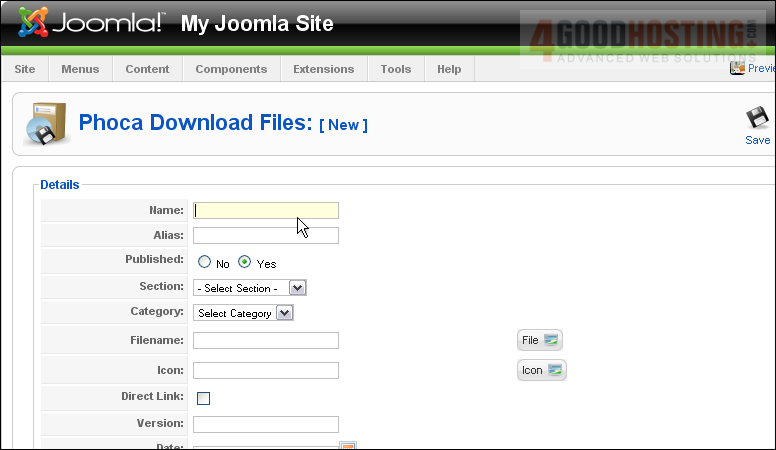
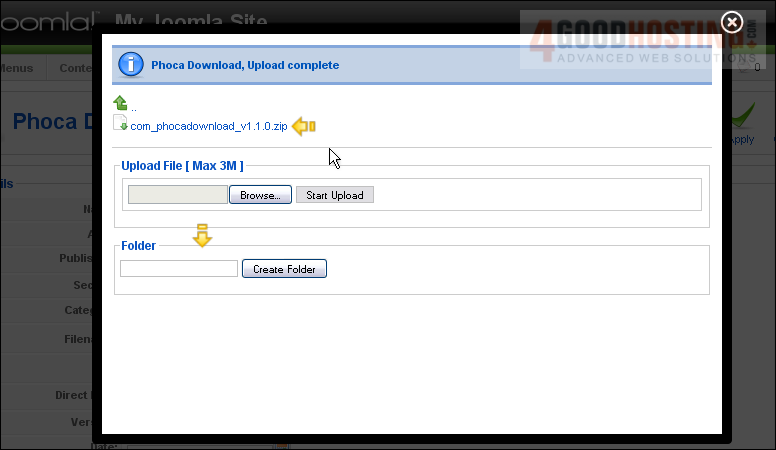
33) To upload a file, click File
Â
34) Browse for a file
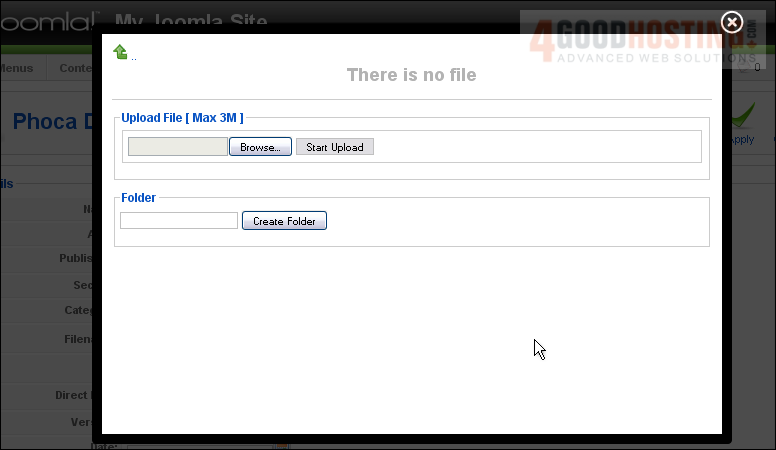
35) Start the upload
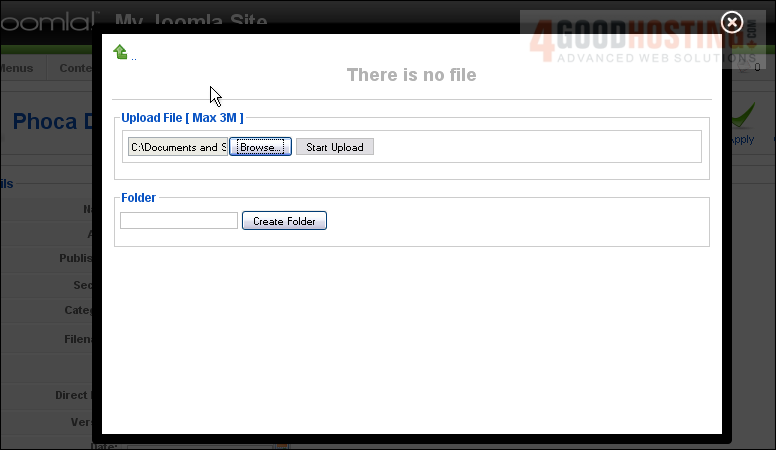
36) When finished, the file will show up here
Â
You can create a new folder in the downloads directory here
Â
37) Click here to add the filename to the form and exit this window
Â
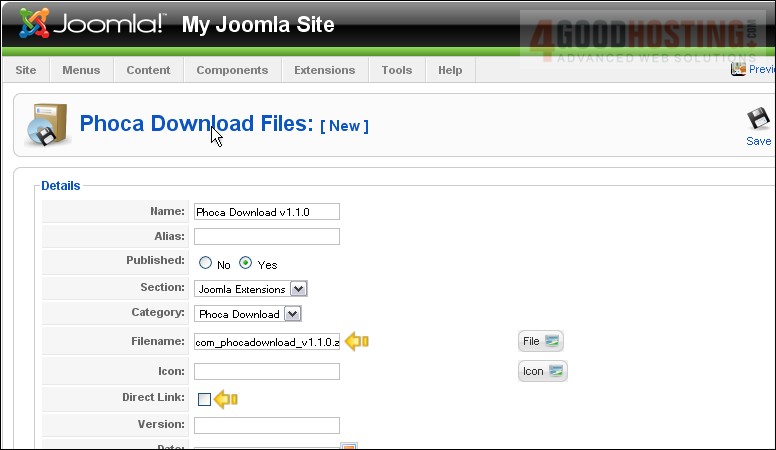
The filename has been transferred over, as stated
Â
If you want the download system to provide a direct link to the file, tick this checkbox. By default, the download will be routed through the download system
Â
You can add an icon to display for this file, if you wish
Â
Scroll down
Â
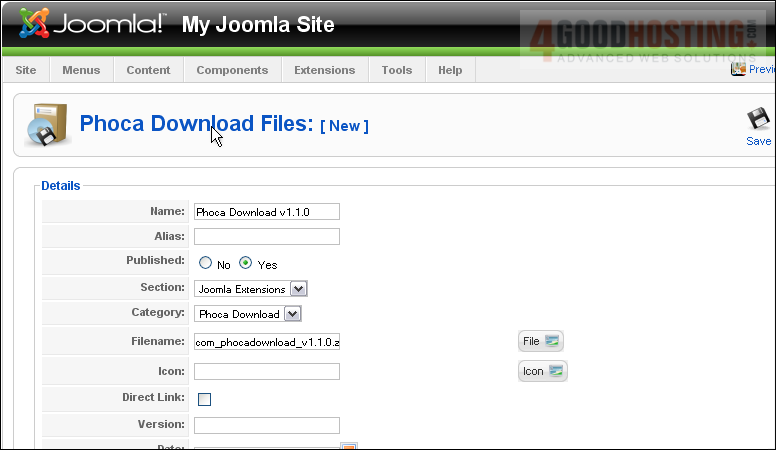
38) Fill out the remaining details, or just leave it all blank
Â
If you wish to instead link to an external file, do so here

Â
When finished, scroll up
Â
39) Click Save
Â
Once some people have downloaded it, this direct link to its statistics might come in handy

Â
All that's left now is to add a menu link leading to the download system
Â
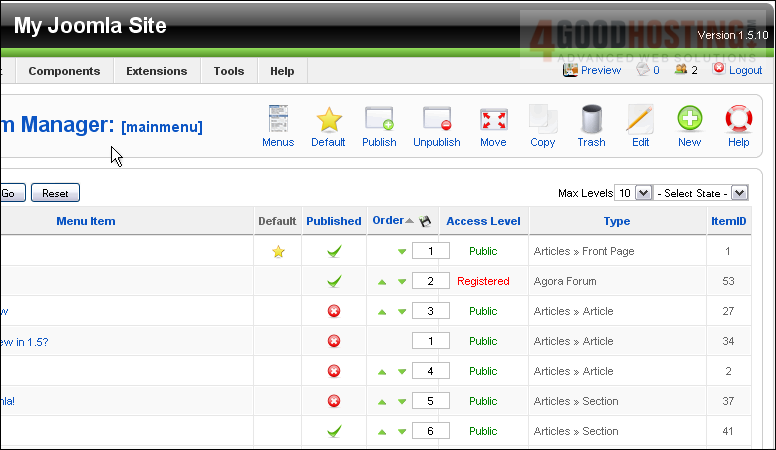
40) Go to Menus
 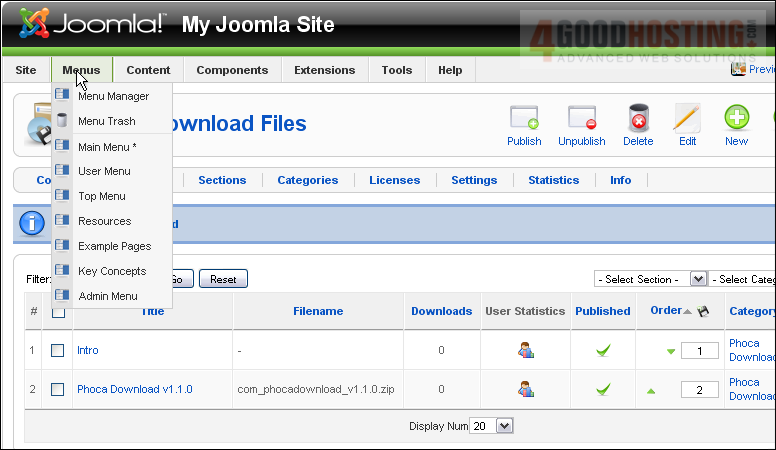
41) Then Main Menu
Â
Look to the right
Â
42) Click New
43) Select Phoca Download
 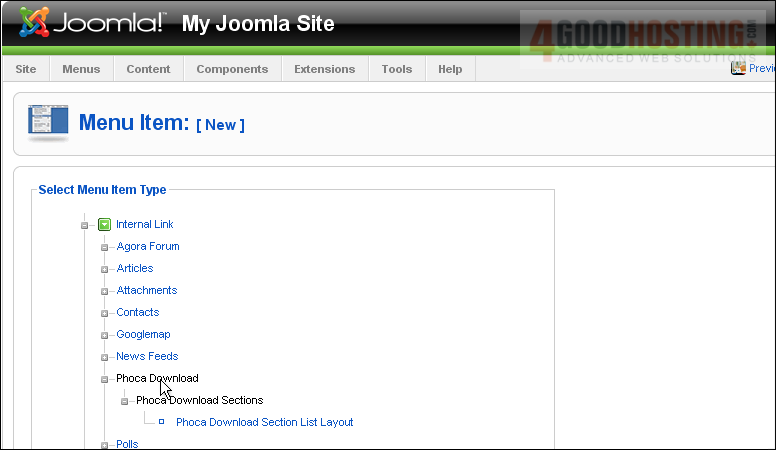
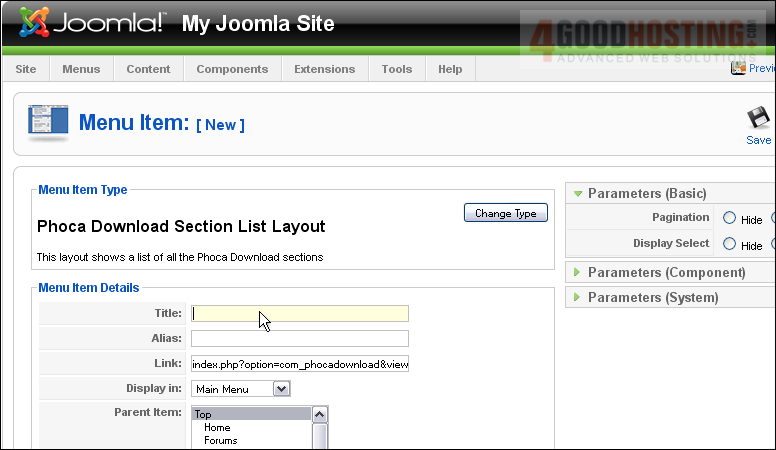
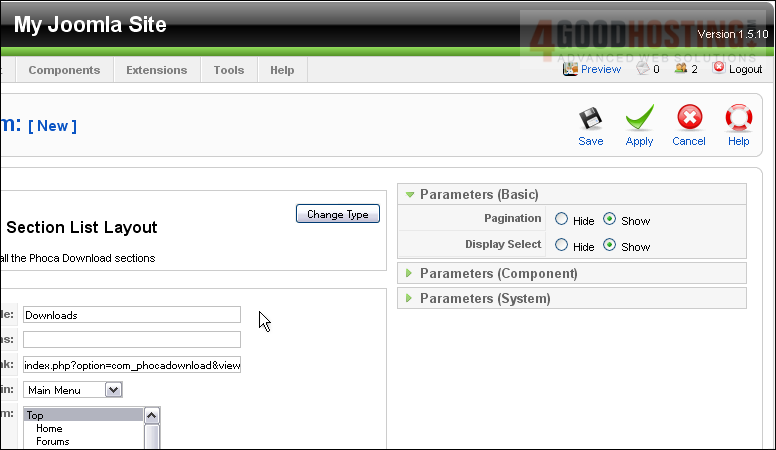
44) Choose this layout
Â
45) Enter a title
Â
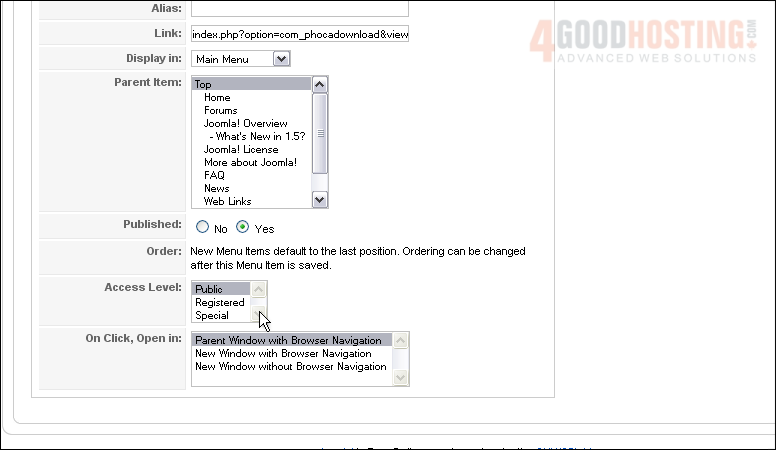
Scroll down
Â
46) Customize any of these settings you want
Â
Then, scroll up and right
Â
Here are some basic parameters that are fine left as the defaults
Â
Expand the Parameters (Component) tab
Â
These are the same settings, exactly, that are on the Parameters window of the Files page. If you change nothing here, the settings for this component will be exactly as they are specified there
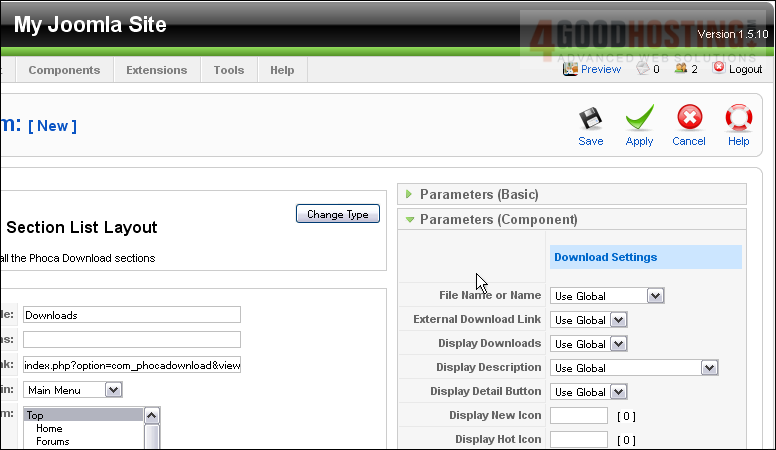
47) When finished, click Save
Â
At last, we can go view the downloads page on our Joomla site
Â
48) Click Preview
 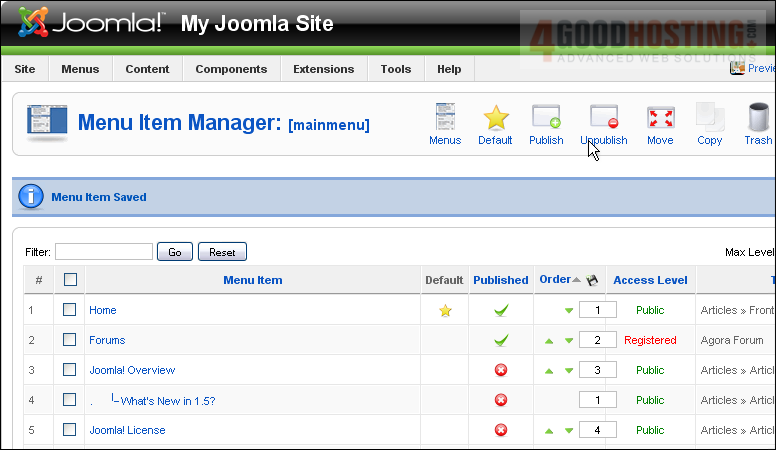
49) Click the Downloads link we just created
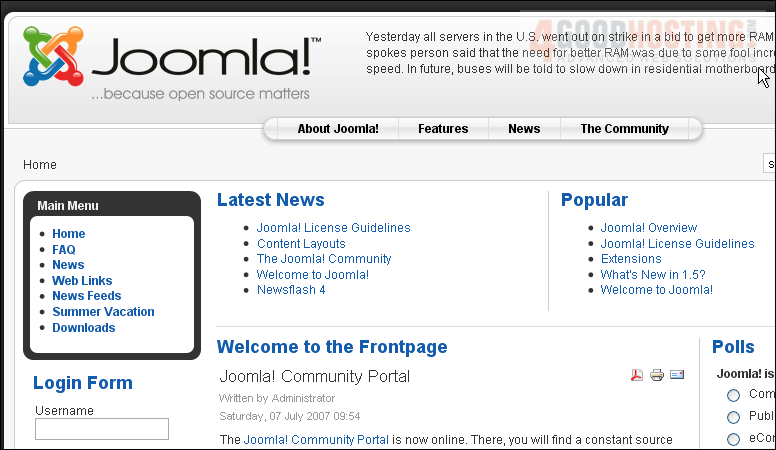
Â
Here is the Phoca Download component
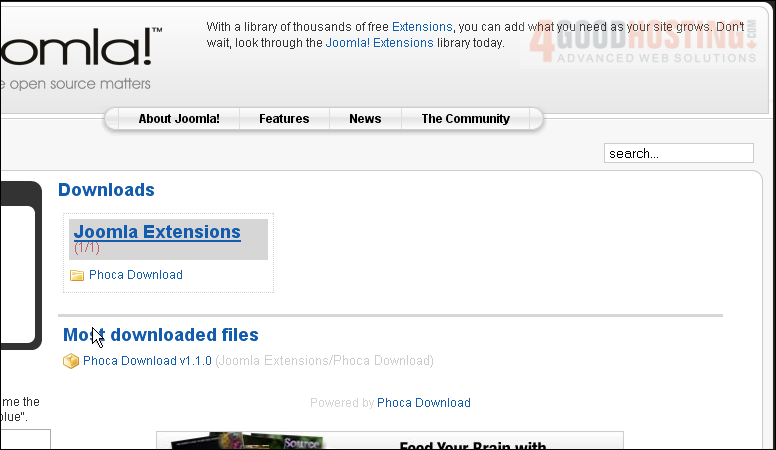
Â
Any sections you add will be displayed next to this one
Â
50) Click the title to view the section's page, or click the category link below it to go directly to the file list
Â
As you can see, here is this section's description

51) Click the category link
Â
Here's the text block...
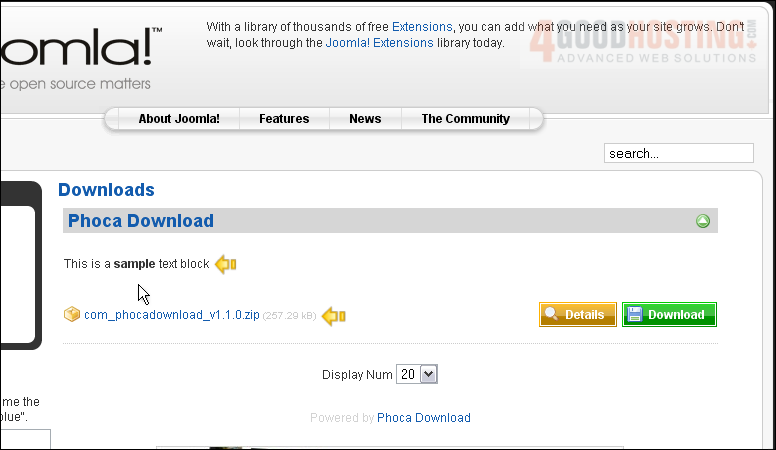
Â
...and below is the file. They are in the correct order
Â
That's it! You now know how to set up and use the Phoca Download manager on your Joomla installation

 WGS AI Assistant