How to add a shared SSL folder in WebsitePanel

This tutorial assumes you are already logged in to WebsitePanel

Now let's learn how to create a shared SSL folder in WebsitePanel

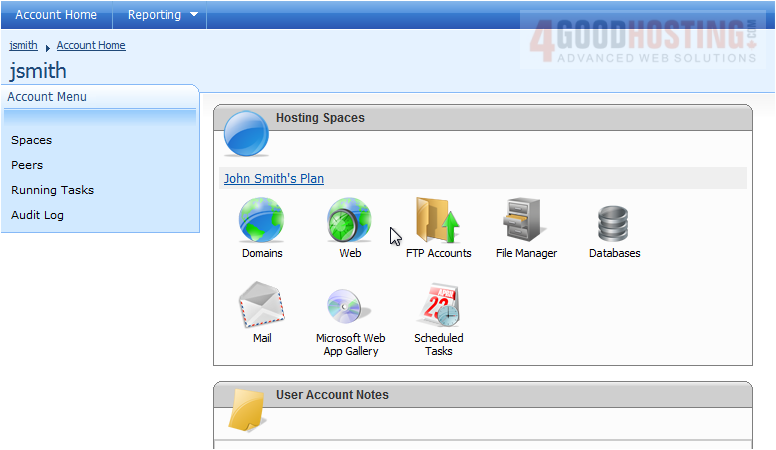
1) Click on the plan you want to add a shared SSL folder to


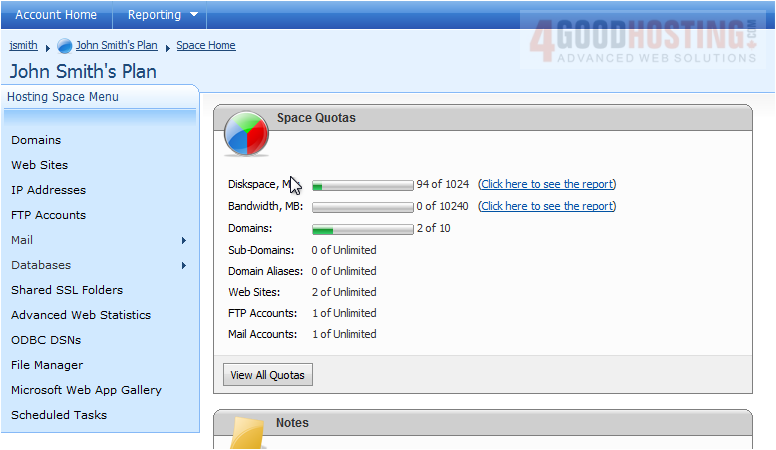
2) Click Shared SSL Folders


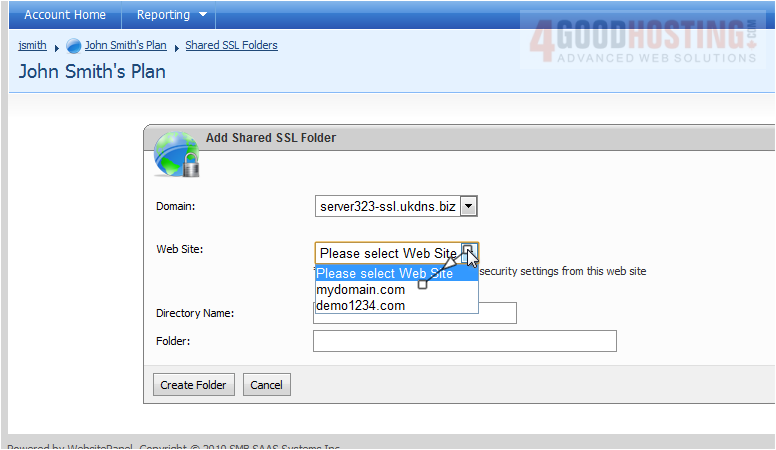
3) Click Create SSL Folder


4) Select the Web Site where you want the SSL folder placed


5) Enter a name for the directory


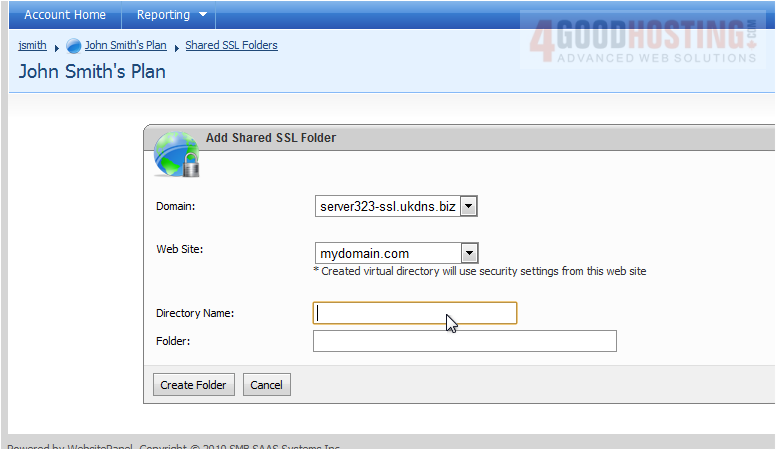
6) Browse for the folder where you want to put the shared SSL folder


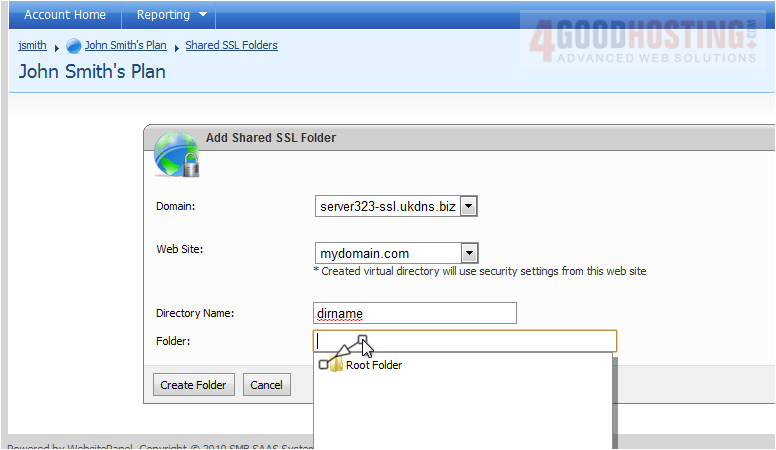
7) When you are finished, click Create Folder and your new shared SSL folder will be created


This is the end of the tutorial. You now know how to create a shared SSL folder in WebsitePanel

  • 0 Users Found This Useful
Was this answer helpful?

Related Articles

How to add a domain in WebsitePanel

This tutorial assumes you are already logged in to WebsitePanel. Now let's learn how to add a...

How to add Scheduled Tasks in WebsitePanel

This tutorial assumes you are already logged in to WebsitePanel. Now let's learn how to add...

How to backup and restore your user account in WebsitePanel

This tutorial assumes you are already logged in to WebsitePanel Now let's learn how to backup...

How to create a FTP account in WebsitePanel

Now let's learn how to create an FTP account 1) Select the plan you want to add an FTP account...

How to create a mail account in WebsitePanel

This tutorial assumes you are already logged in to WebsitePanel Now let's learn how to create a...