
This tutorial assumes you are already logged in to WebsitePanel. Now let's learn how to add a domain
1) Click Domains
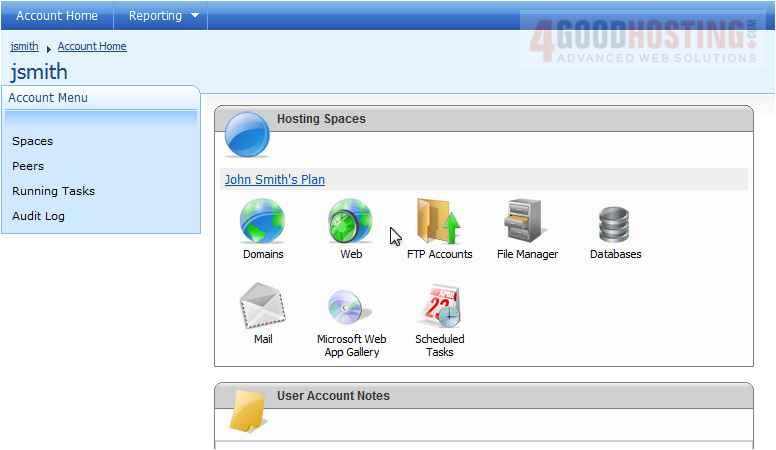
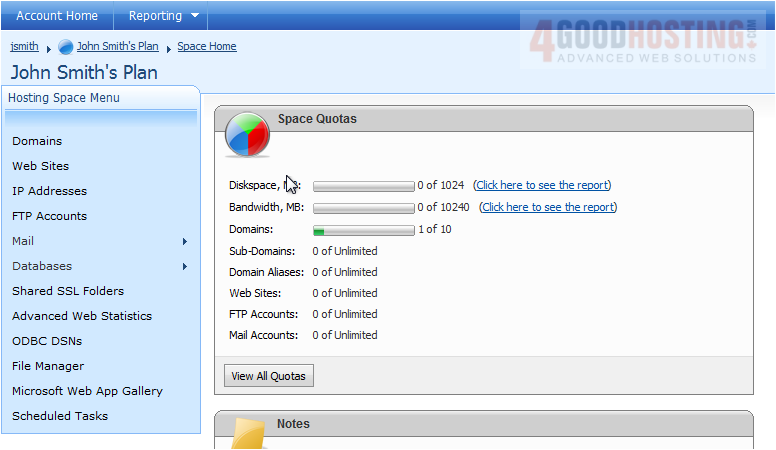
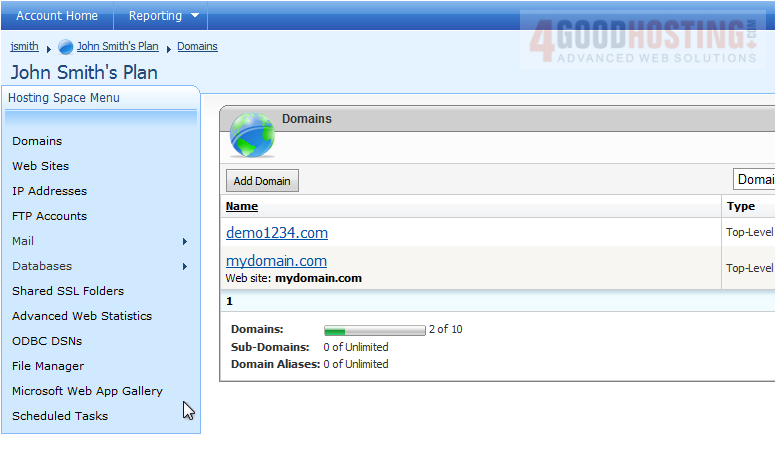
2) This page shows you information about your domains and subdomains. Click on the plan you want to add a domain to
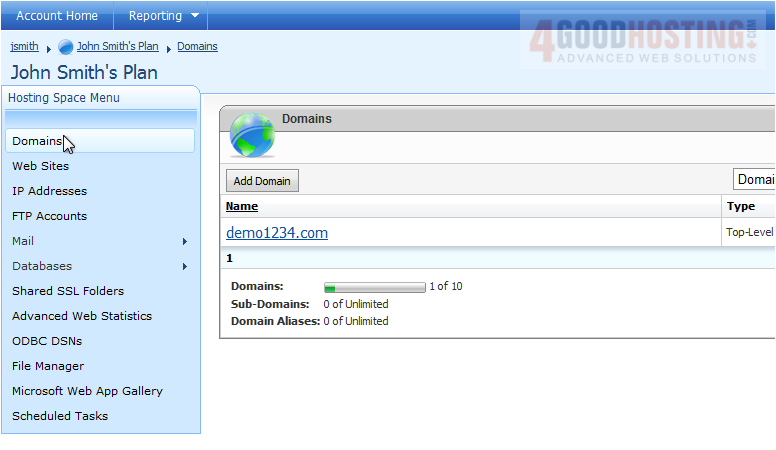
3) Click Add Domain
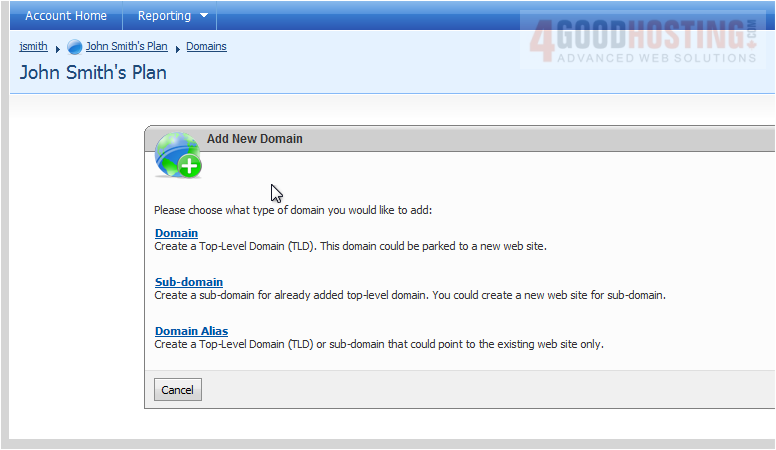
4) Select the type of domain you want to add. In this example, we'll add a Top-Level Domain.
5) Enter the name of the domain you would like to add
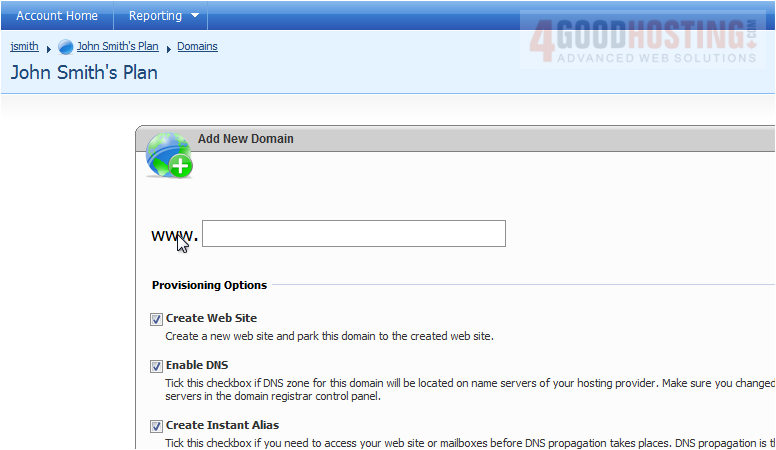
6) Then click Add Domain

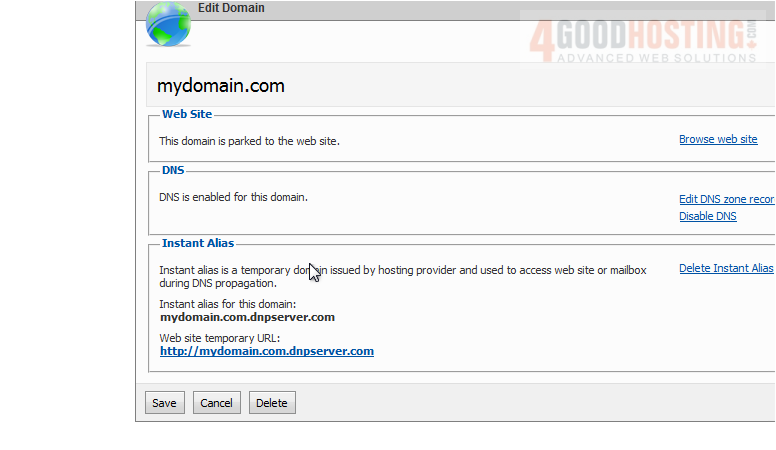
7) You can edit your domain by clicking on it
8) Click the Save button
This is the end of the tutorial. You now know how to add a domain in WebsitePanel

 WGS AI Assistant