
You can create custom buttons to use in Plesk for your own convenience.
1) Go to Tools & Utilities.
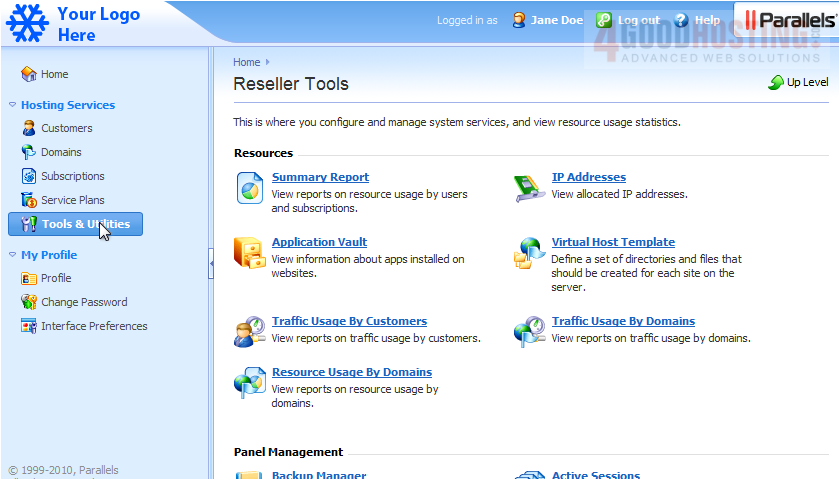
2) Click Custom Buttons.

3) Click this icon to create a new one.
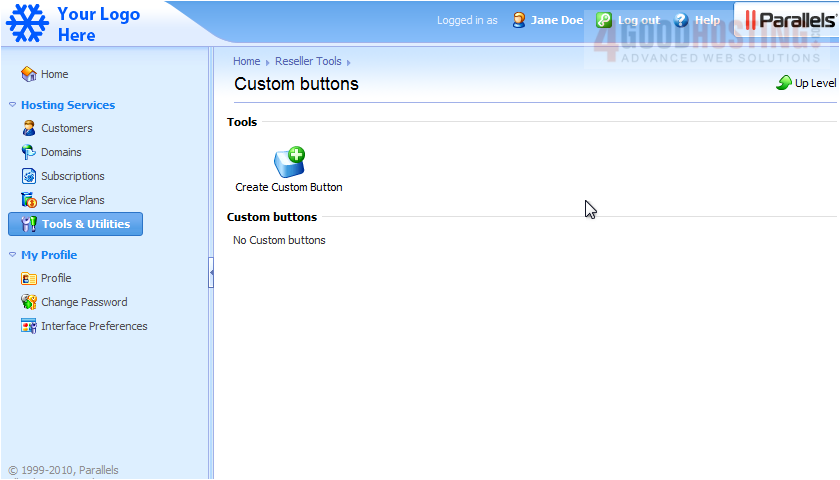
4) Type the button label.

5) Set the location where this button will appear.

6) Optionally choose a background image to use for this button.
7) Type the URL where this button will point.

8) Enter some tooltip text.
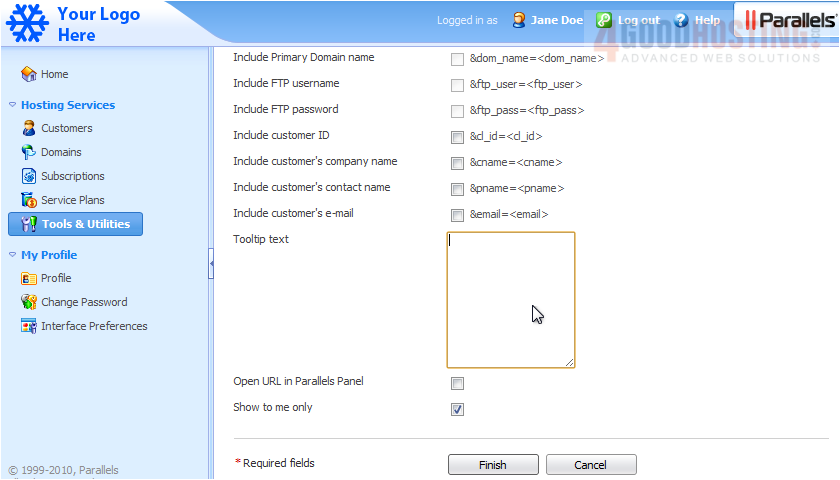
9) Leaving this option unchecked will open the URL in a new window or tab, so let's select the box and click Finish.
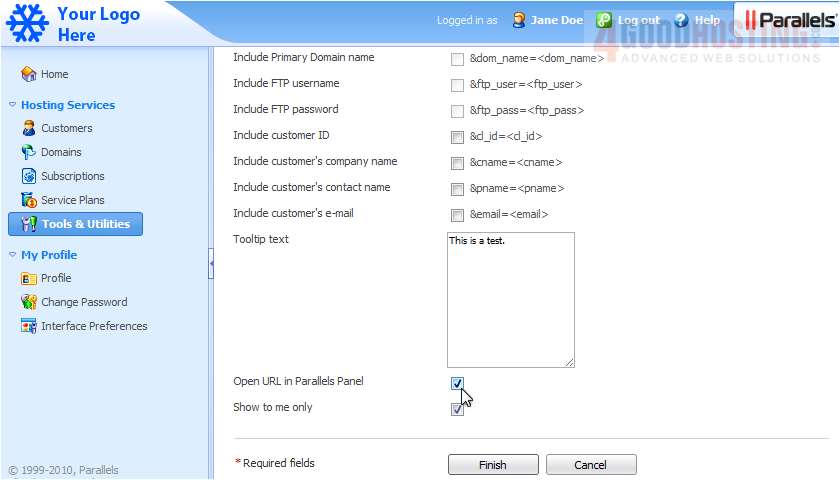
10) The new button has been created on the Reseller Home page, so let's go there now.
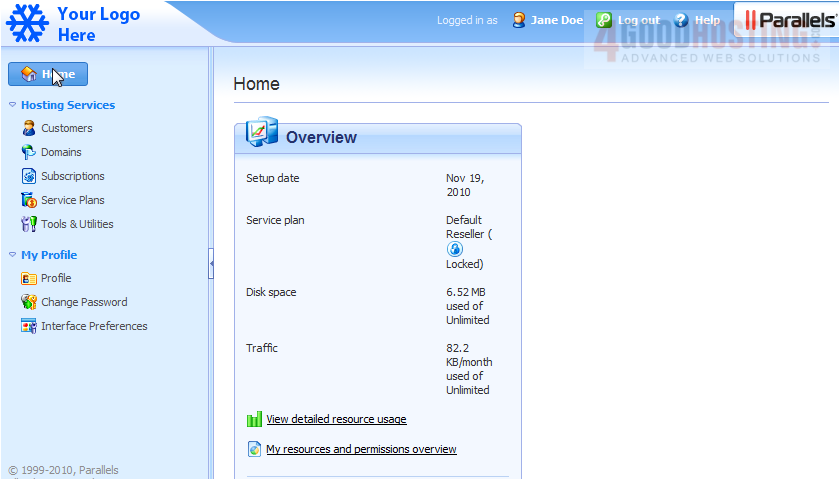
11) Here is our new button.

That's it! Now you know how to create custom buttons in Plesk.

 WGS AI Assistant