
This demo assumes you've already logged in to cPanel
Now let's learn how to create a subdomain
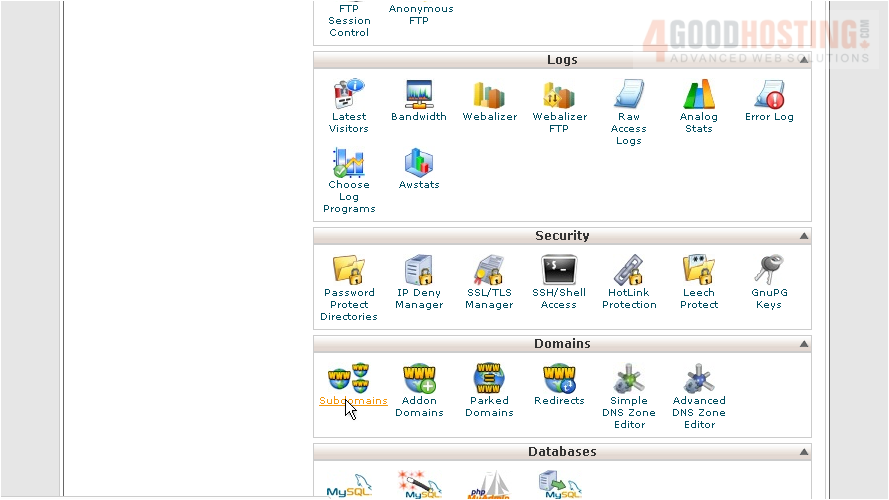
1) Click the Subdomains icon
2) Enter the prefix of your new subdomain here...
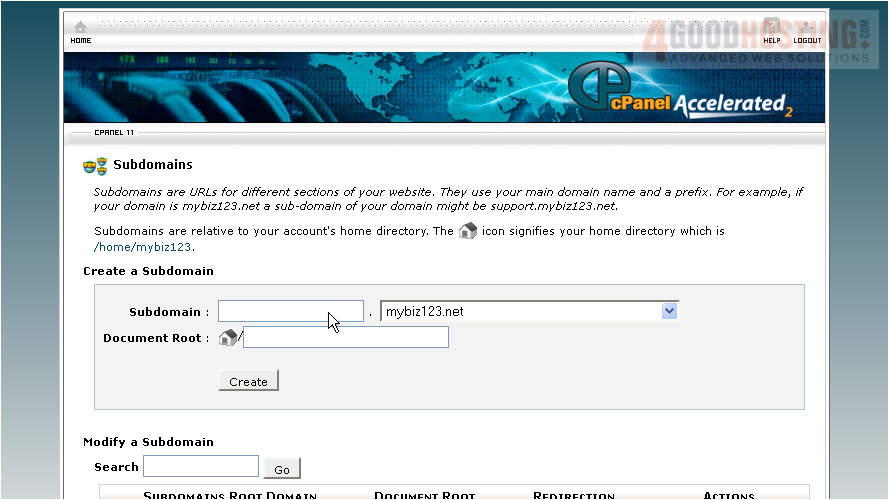
3) Make sure the domain name your subdomain will be associated with is selected
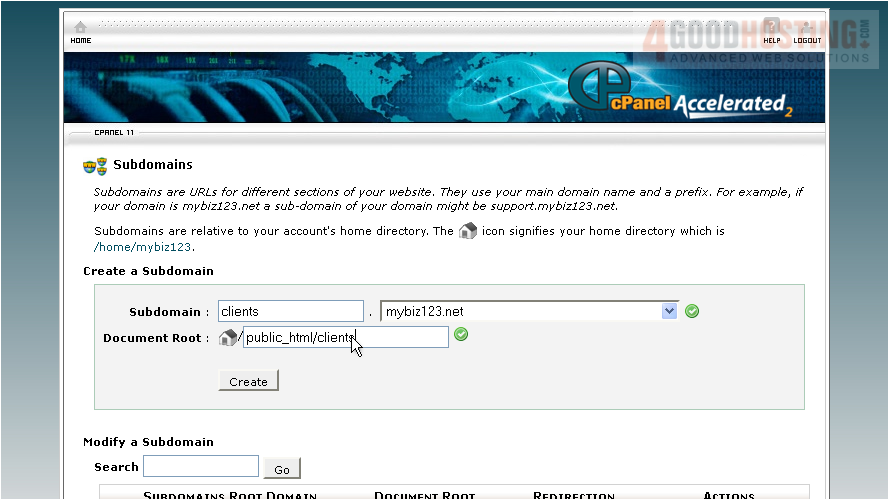
4) A directory name the same as your subdomain prefix will automatically appear... although you can change this if you want. When ready, click Create
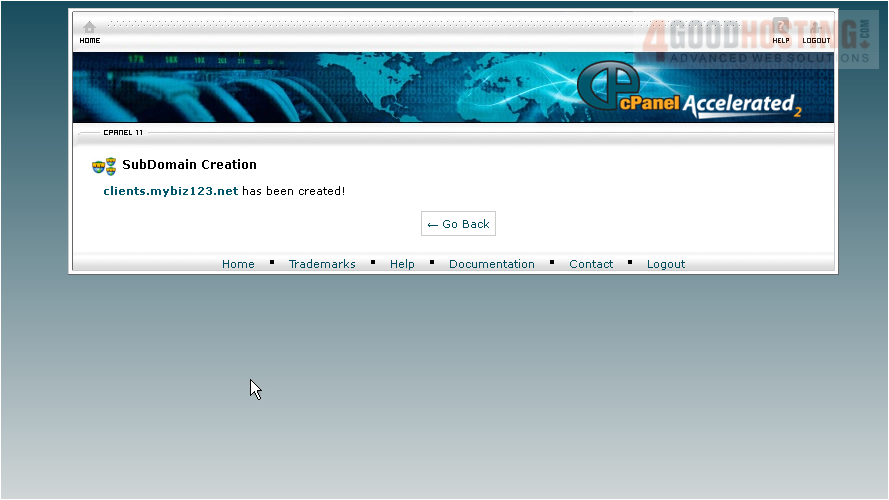
Success! A new subdomain has been created.
A folder called "clients" has also been created, which is where you would upload files for this subdomain. It's located in the public_html directory, and can also be accessed like this:www.mybiz123.net/clients

This is the end of the tutorial. You now know how to create a subdomain in cPanel

 WGS AI Assistant