
This demo assumes you've already logged in to cPanel
Now let's learn how to setup MX entries
1) Click the MX entry icon
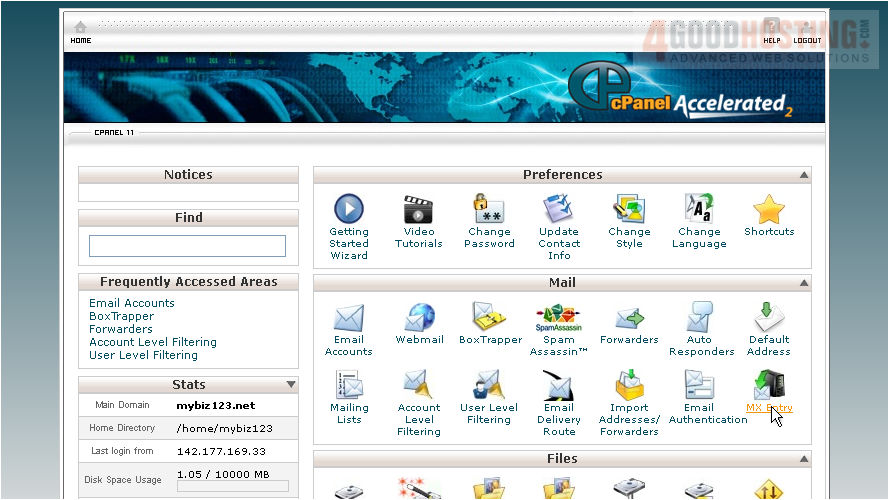
Setting a custom MX entry is useful if you want your email handled by another server, or if you want to setup a backup email server.
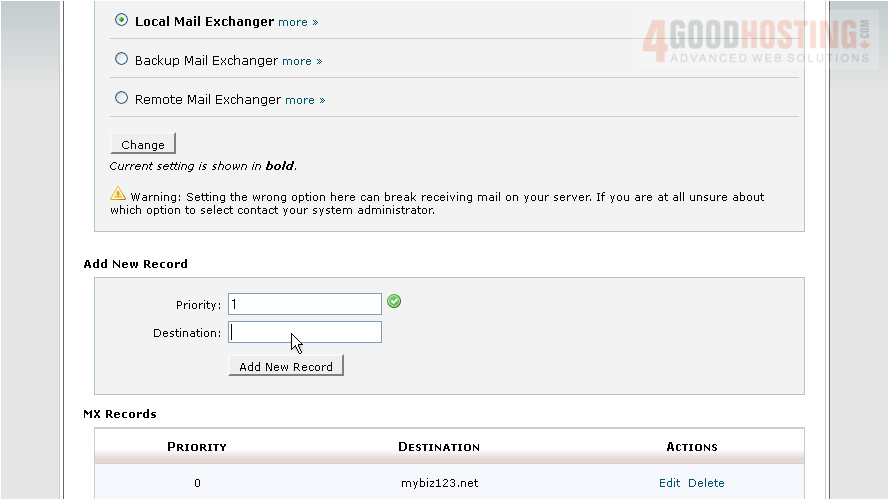
2) Enter a priority number for the new MX record: the lower priority numbers will be tried first, followed by higher numbers

3) Then enter the new MX entry. Click Add New Record
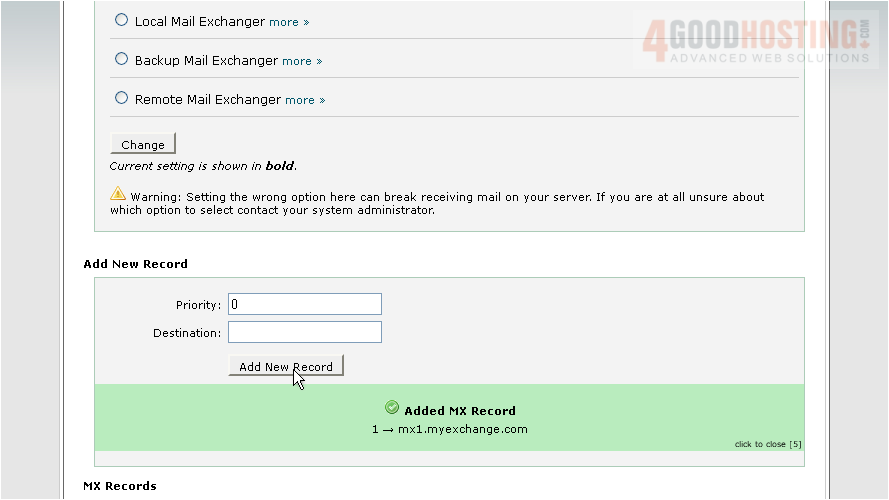
That's it! The new MX record has been added.
So in this case, the default mail.mybiz123.net mail server will be tried first because it has a priority of 0 followed by the new mail server mx1.myexchange.com, because it's priority number is set to 1. You can return to this page at any time to make changes to your MX entries and their priorities...
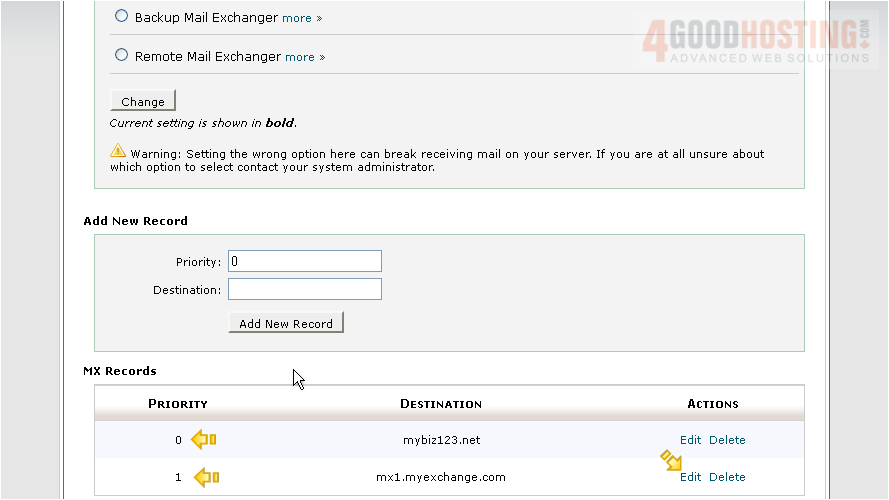
4) ... or to delete existing MX entries, which we'll do now.
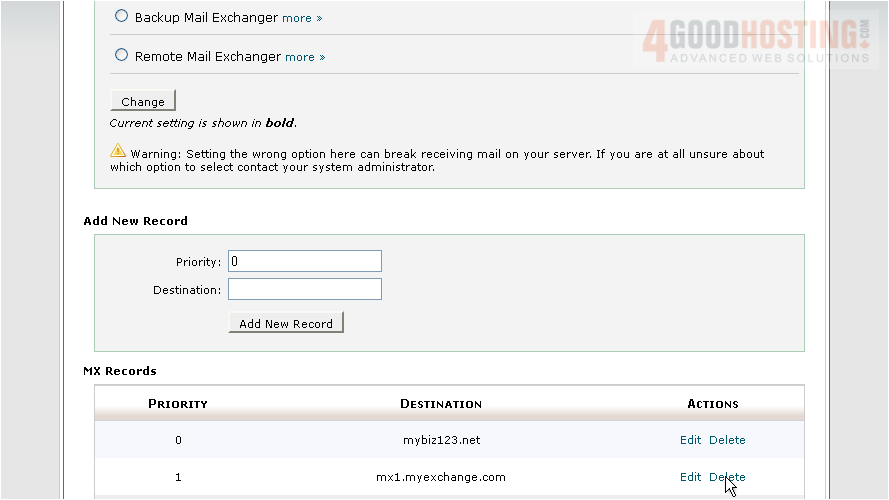
That's it! We've just deleted the MX entry we entered earlier.
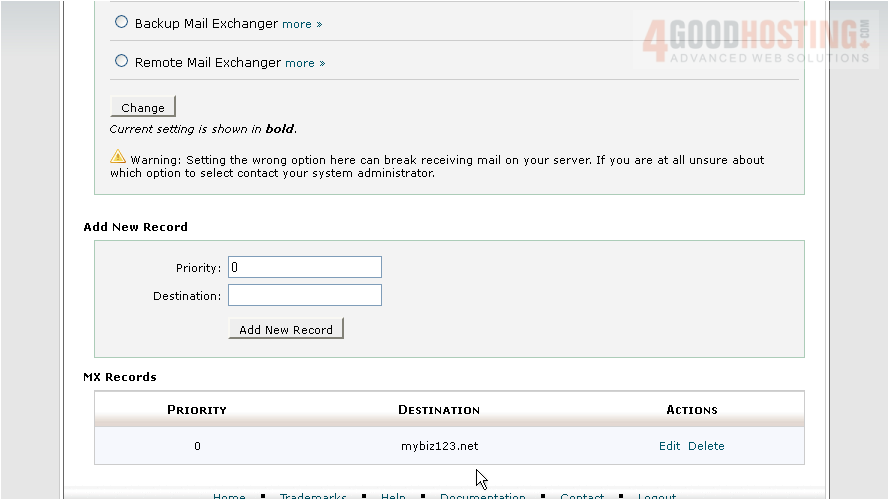
This is the end of the tutorial. You now know how to setup custom MX entries in cPanel

 WGS AI Assistant