This tutorial assumes you are already logged in to your Joomla admin panel
1) Click Components
 
2) Then Contacts
 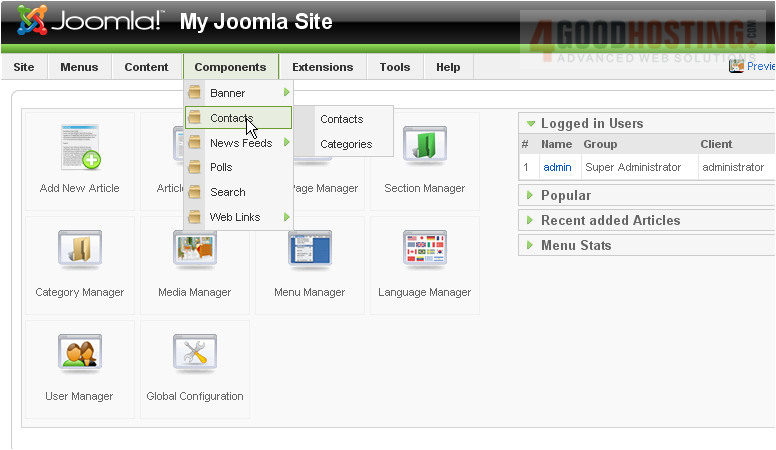
3) Then click Categories
Â
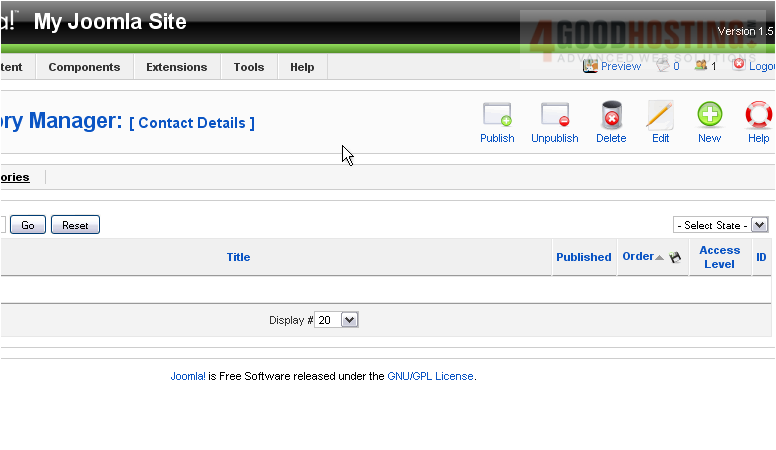
Scroll right
Â
4) Click New
5) Enter a Title
 
6) The Alias is an internal name that Joomla uses in the URL if SEF is enabled

Â
Entering an alias is optional; and, if left blank, Joomla will create a default one by automatically converting the title to lowercase and replacing any spaces with a hyphen
Â
However, you may manually enter an alias, if desired
Â
7) Click Save
Â
Now let's add a contact to the new category
Â
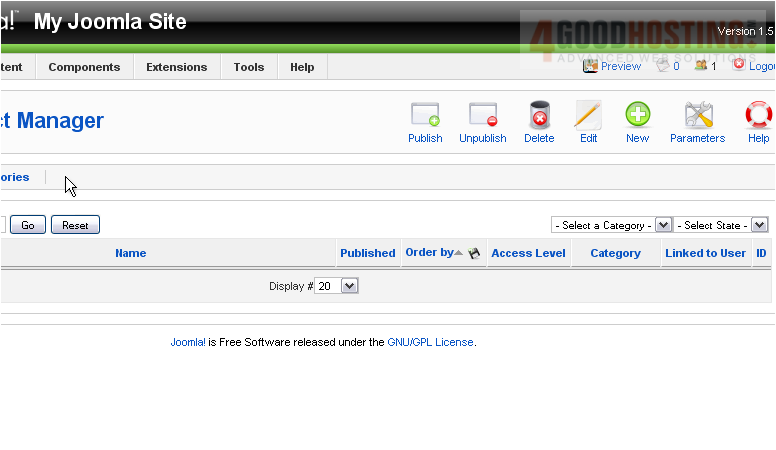
8) Click Contacts
 
Â
Scroll right
Â
9) Click New
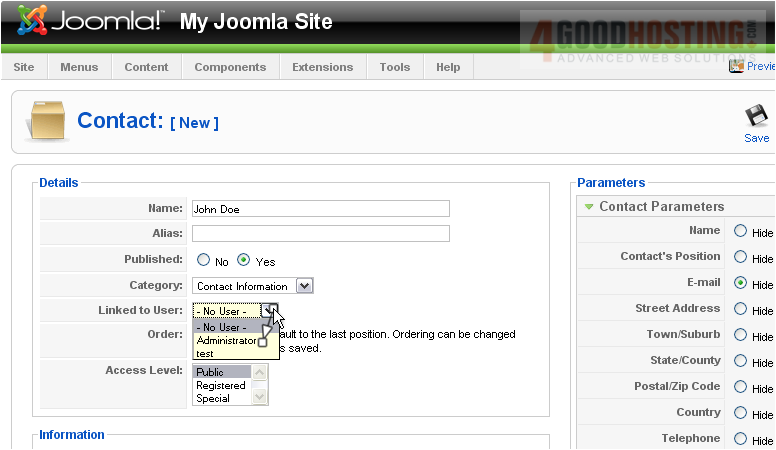
10) Type a name for the contact

11) Choose the Category
 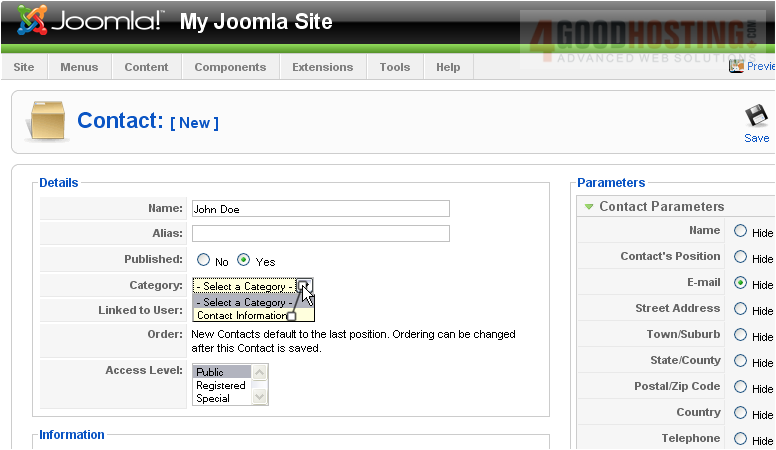
12) Select the User this contact should be linked to
Â
Scroll down
Â
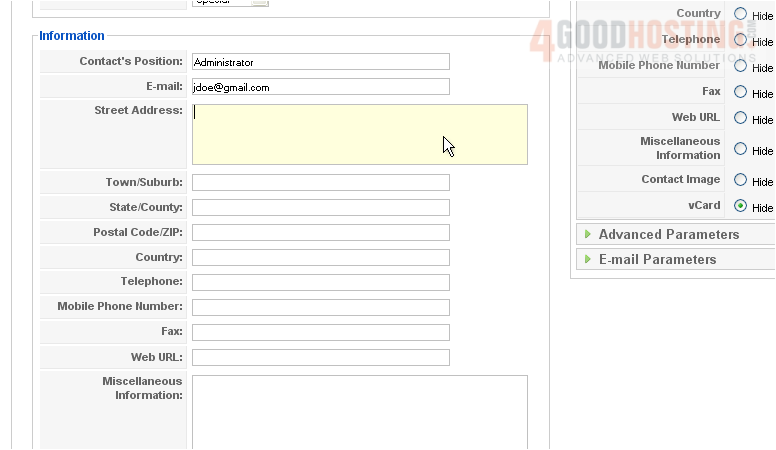
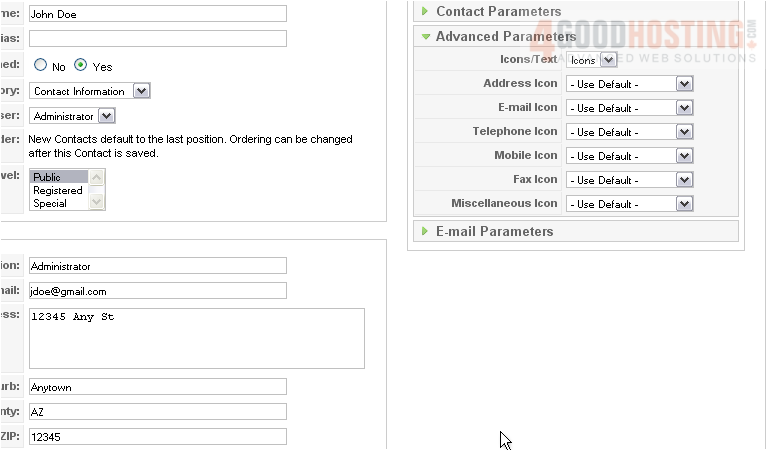
13) Enter the position this contact holds in the website
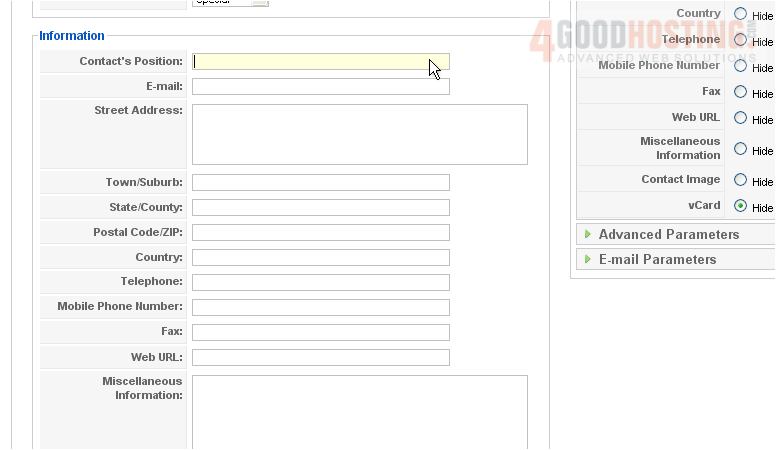
14) Type the user's email address

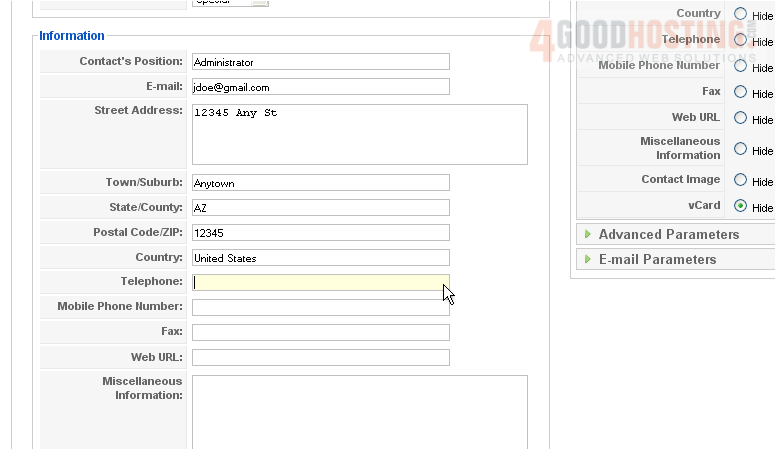
15) Enter the street address, town, state, ZIP, and country
16) Enter the telephone number
Â
Scroll up and right
Â
17) Select which of the parameters should be shown

18) Click Advanced Parameters
Â
This is where you can choose the icons for each field
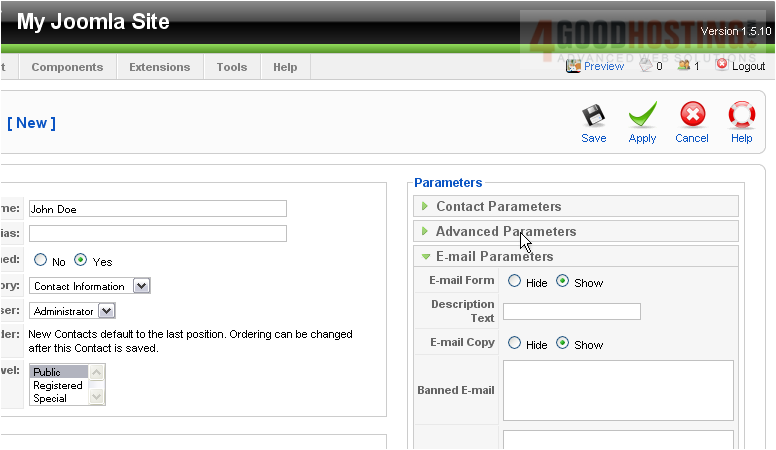
19) Click Email Parameters
Â
This allows you to set up an email form that will contact the user

Â
Scroll up
Â
20) Click Save
Â
Now let's add the contact list to a menu so it will be displayed on the front-end
Â
21) Click Menus
 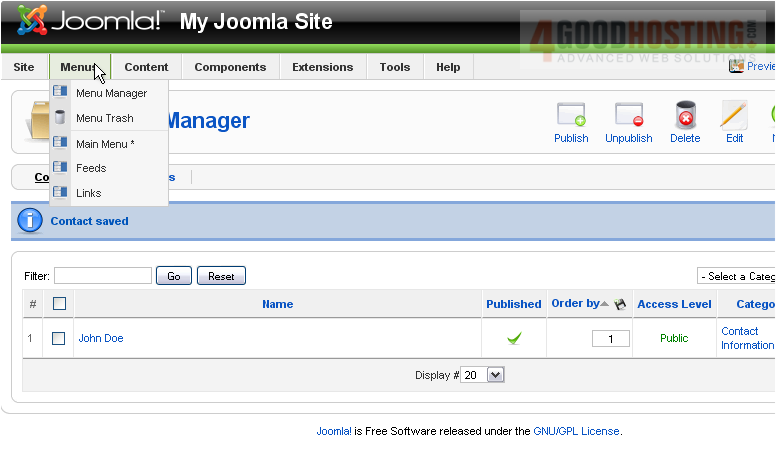
22) Select the menu you want to add the link to

Â
Scroll right
Â
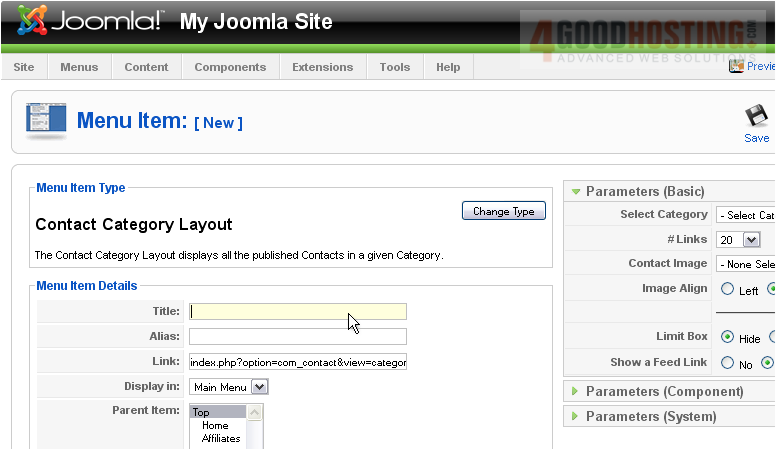
23) Click New
 
24) Select Contacts
 
25) Then Contact Category Layout
Â
26) Enter a Title
Â
Scroll right
Â
27) Select the category

28) Click Save
Â
Let's go to our front-end
Â
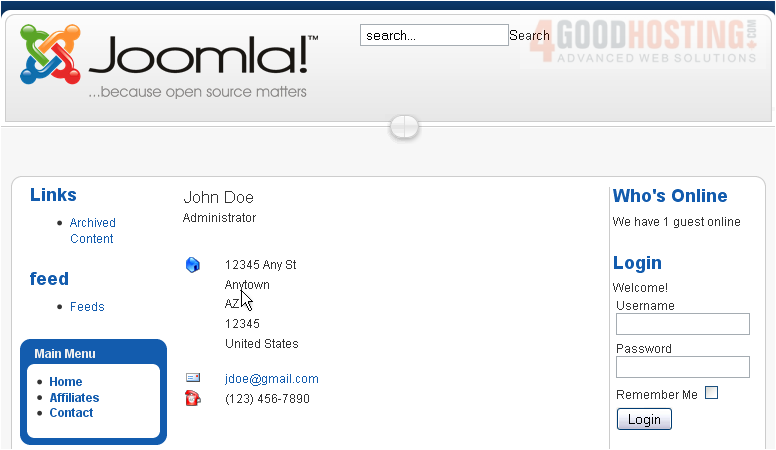
The menu link appears here

Â
All the contact information that we entered is displayed on this page
Â
Here is the email form

Â
That's it! You now know how to manage contacts in Joomla

 WGS AI Assistant