
This tutorial will show you how to create and manage websites.
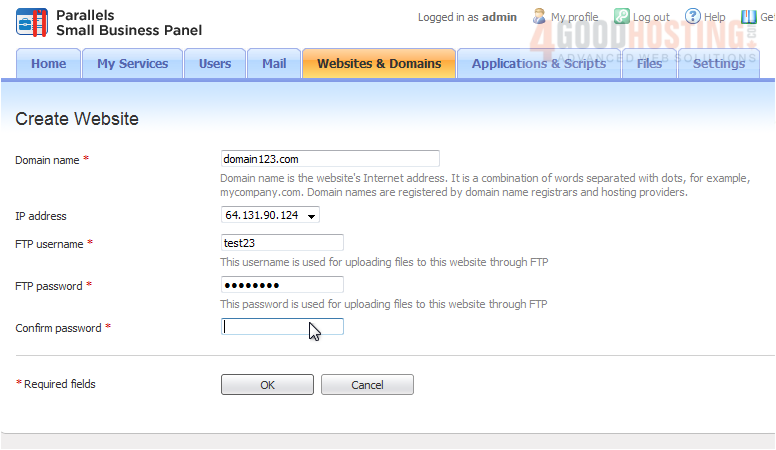
1) Click the Create Website link here
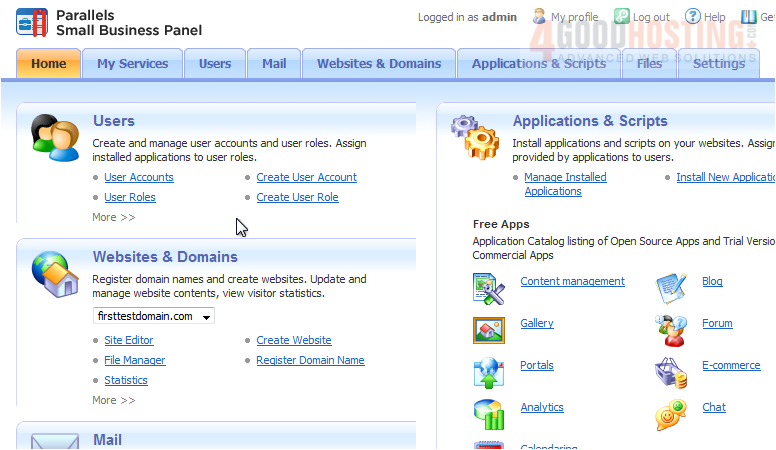
2) Type the Domain Name the new website will point to.
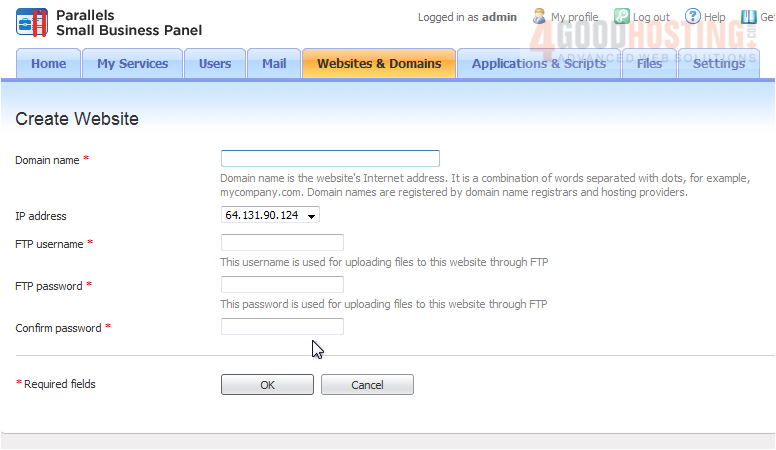
3) Enter a username for the FTP, which can be used to upload files.
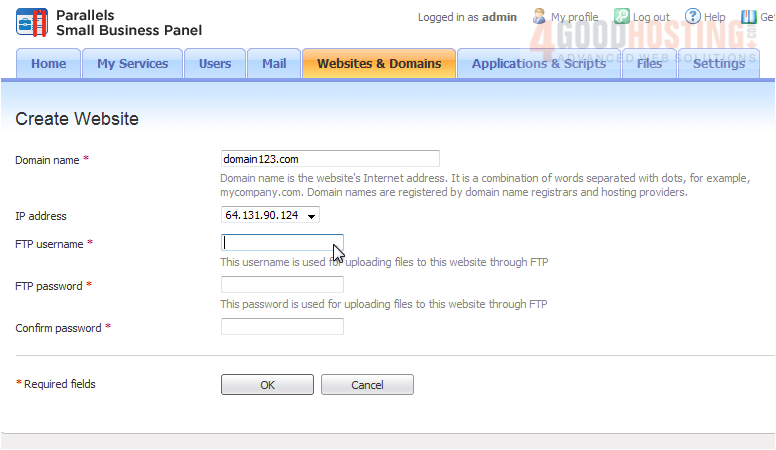
4) Enter and confirm an FTP password.
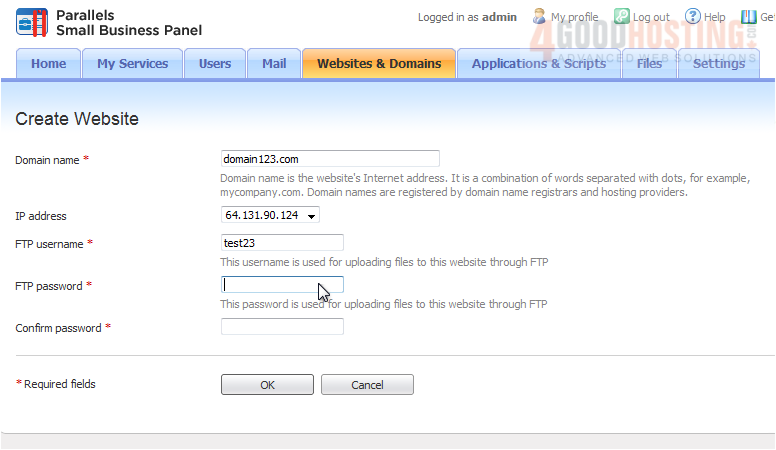
5) Click OK.
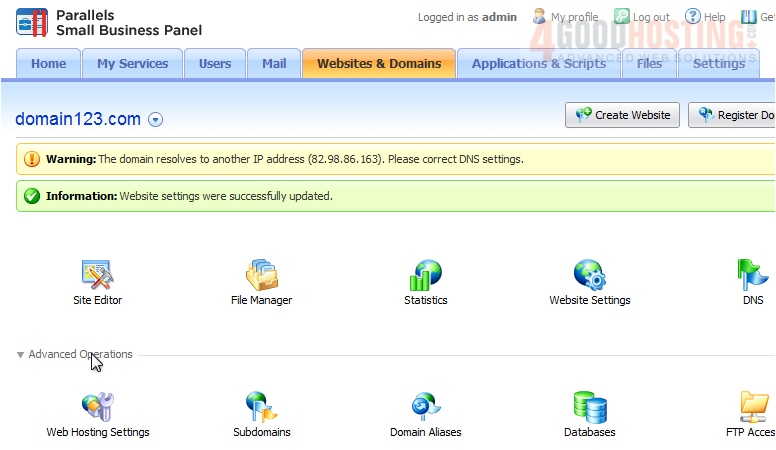
You'll notice a variety of options for the website we just created. The first two, Site Editor and File Manager, will each be covered later in this series.
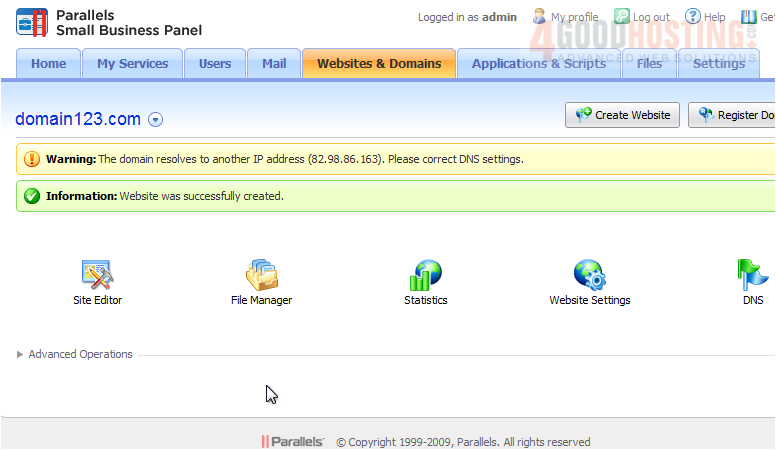
Statistics will show Web and FTP Statistics. Since we just created this website, there won't be any statistics to show yet.
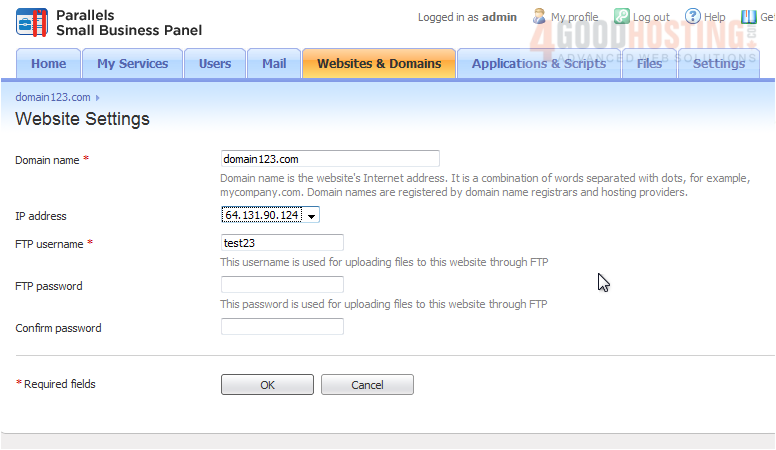
Let's look at Website Settings. Note that these are the same options we set when creating the website.
6) Click here to expand the Advanced settings.
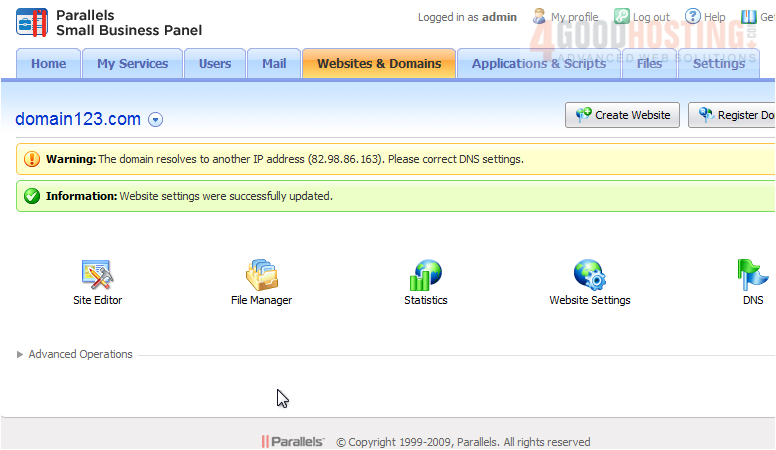
Here you can adjust settings for web hosting, subdomains, databases and more. Use the last link to delete the selected website.
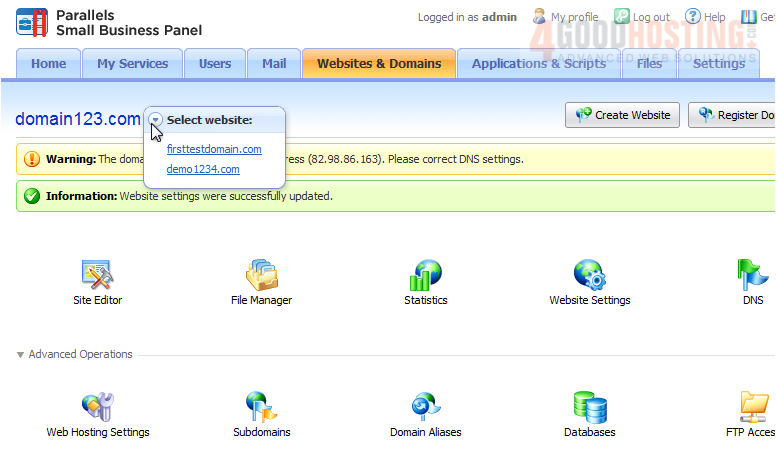
Use this arrow to manage settings for a different website.
That's it! You now know how to create and manage websites.

 WGS AI Assistant