
After you have created a website, you can use the Site Editor to easily add content.
1) Select the website from the list.

2) Then click Site Editor.

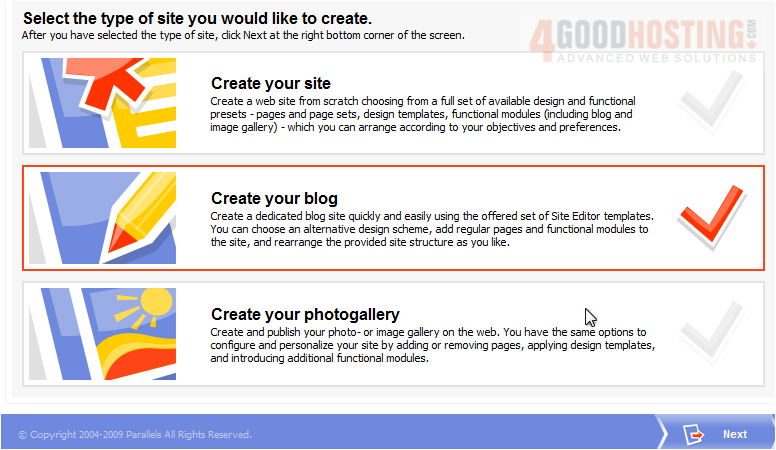
The Site Editor features a five step wizard that will help you assemble your pages and finally publish them. Let's begin at the first step.
3) First, select whether to create a site, blog or photogallery.

4) Click Next.
Step 2 requires you to select a template to use.
5) Browse the different categories here.

6) Click any template to select it.

The right column lets you change the banners, menu styles and logos. We'll keep the defaults.

In Step 3, we will set the pages and site structure.
7) Choose one of the Page Sets.
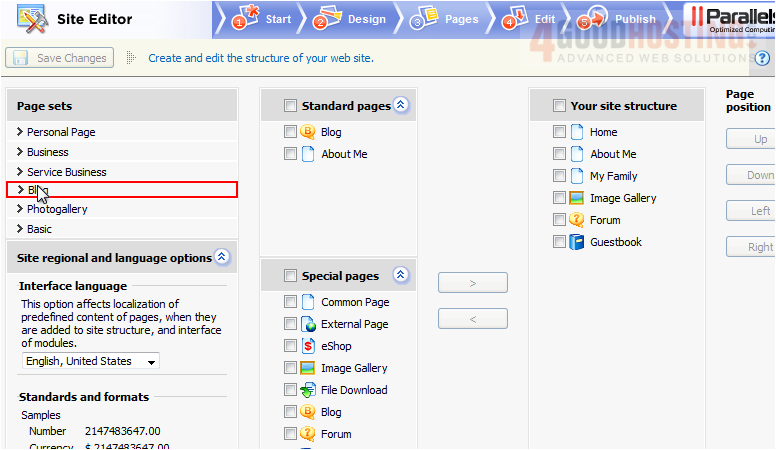
8) Select pages from the left column and use the arrows to add them to your site structure on the right. When your site is the way you want it, click Next.

Step 4 is where you can edit the content of each page using a WYSIWYG editor.
9) Select any text and type in the text area.
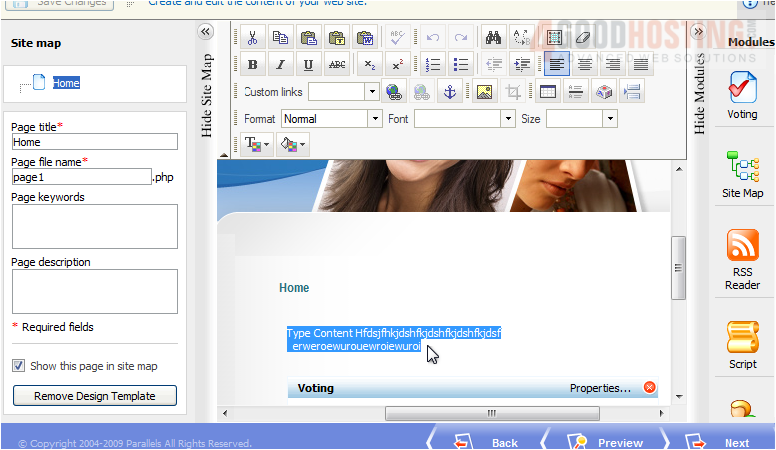
10) Click Next.
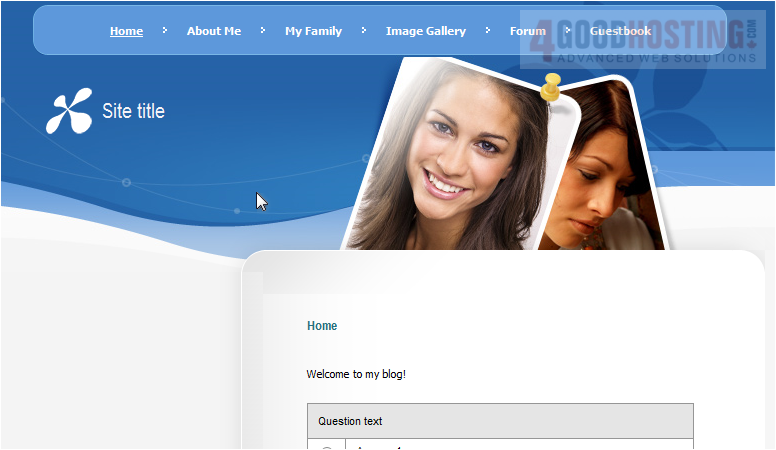
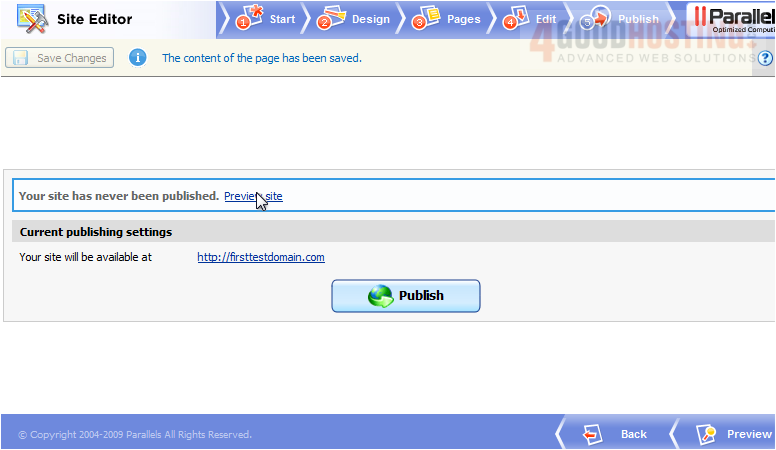
11) Before publishing, use this link to Preview.
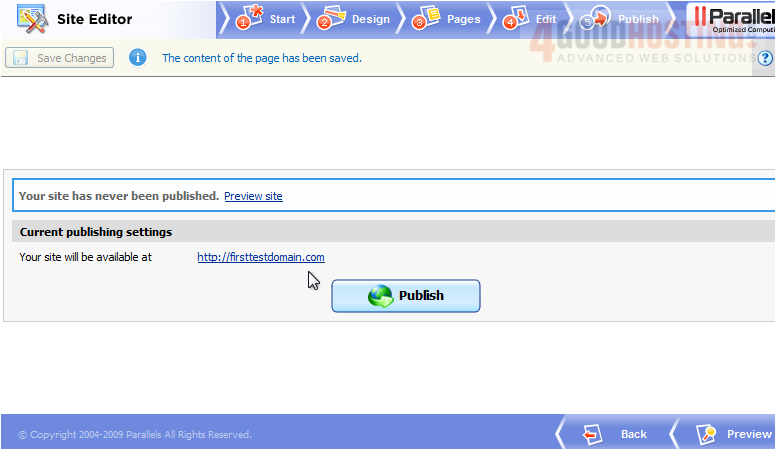
Here is what the site will look like.
Once you are happy with your site, you can Publish it.
That's it! You now know how to create web content with the Site Editor.

 WGS AI Assistant