In this tutorial, we will learn about creating and managing user roles.
Using roles allows you to configure how much access each user has in your system.
Let's create a new role now.
1) Click the User Roles link here

2) Enter a name for the new role.

Â
Privileges are what let you allow or deny access to each user group. By default, all privileges are set to Denied.
Â
3) Let's change a few to Granted.

4) Click OK.

Â
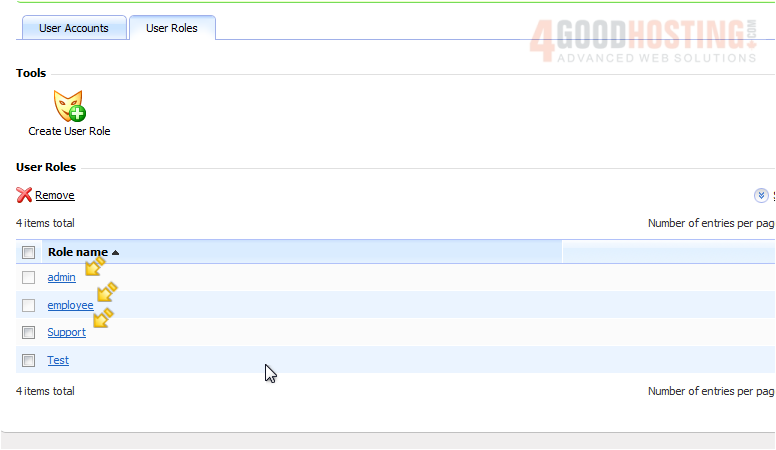
Our new role was created. Let's scroll down to view it in the list.

Â
Here we can view a list of all the roles we've created...
Â
...and the number of users in each role.

5) To edit a role, simply click on its name in the list.
6) Make any changes then click OK.

7) If you need to delete a role, select it...

8) ...and click Remove.
Â
9) You will be asked to confirm deletion.

Â
That's it! You now know how to create and manage user roles.

 WGS AI Assistant