
This tutorial assumes you've already logged in to RoundCube webmail
Now let's learn how to manage our address book
1) Click the Address Book link here
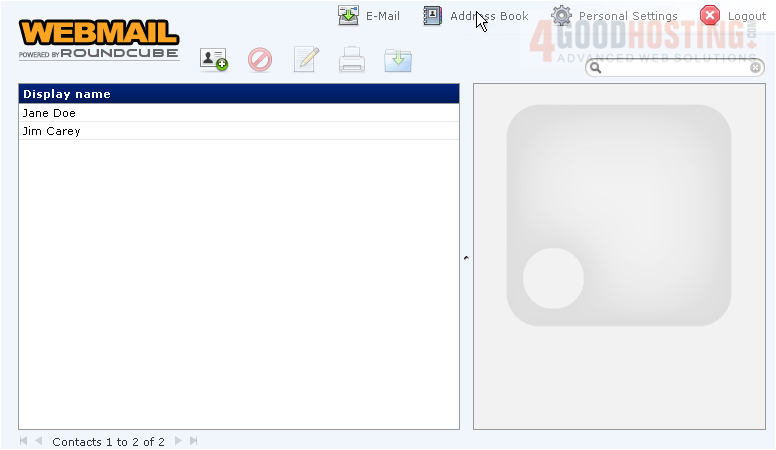
This is the address book, which lists all contacts we choose to include in our address book
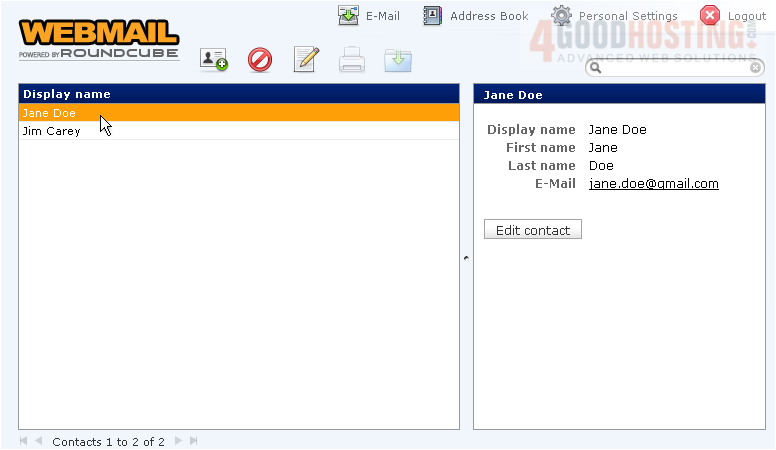
2) By selecting a specific contact, their details will display here in the right window
3) We can add a new contact to our address book by clicking here.....
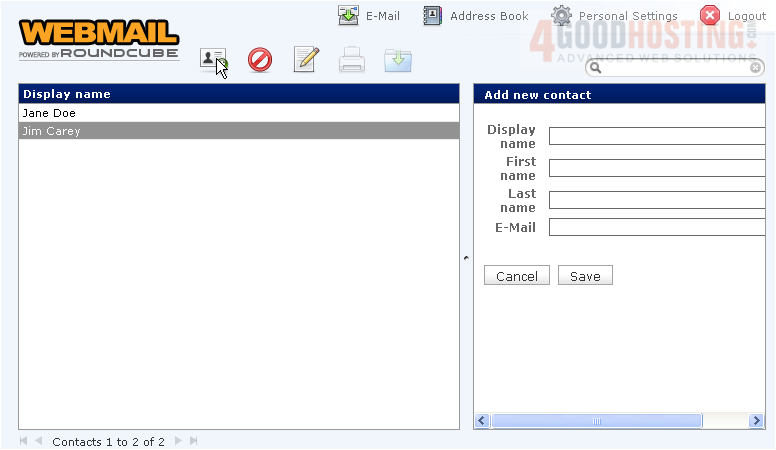
4) ..... and filling in the contact's information
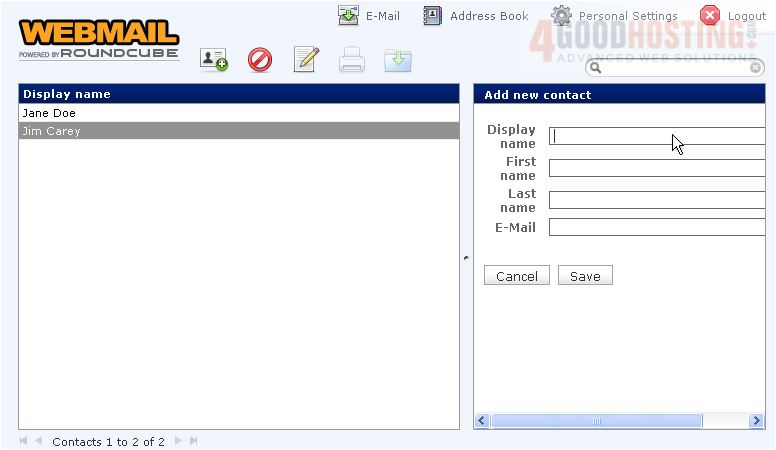
5) Click Save
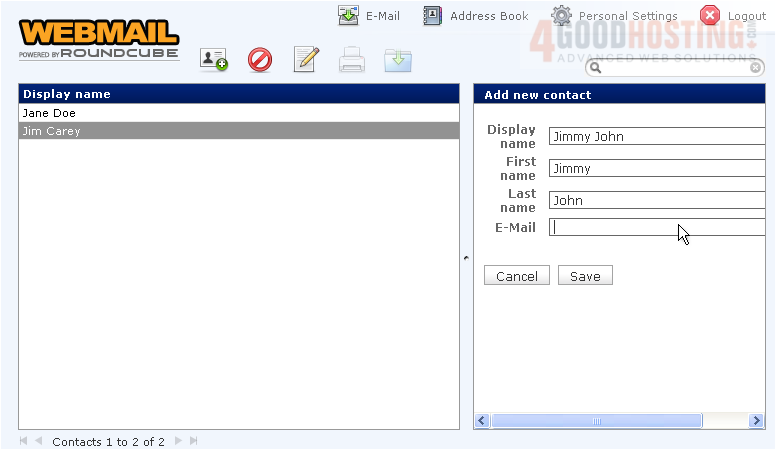
6) You can edit any of your contacts by highlighting them, then clicking the Edit Contact button
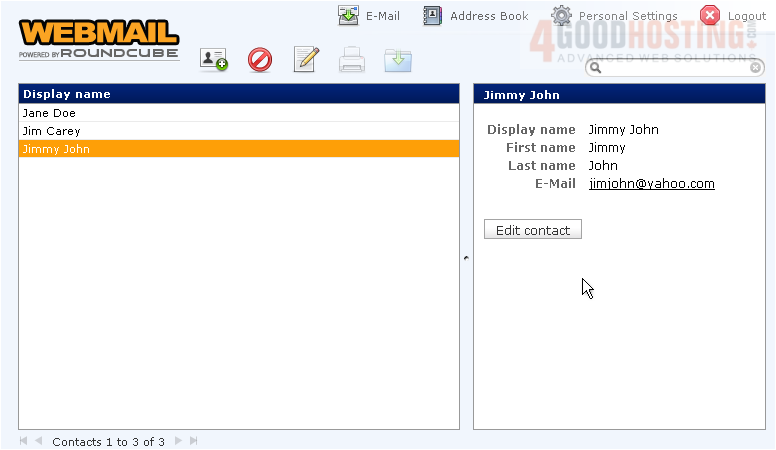
7) To remove a contact from the address book, highlight it.....
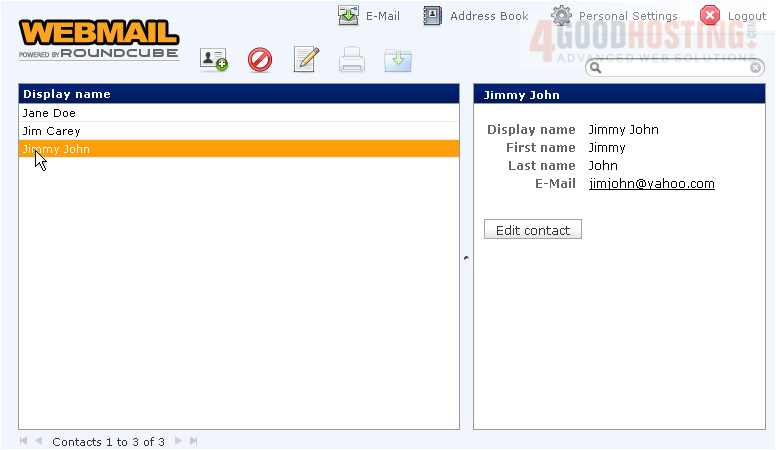
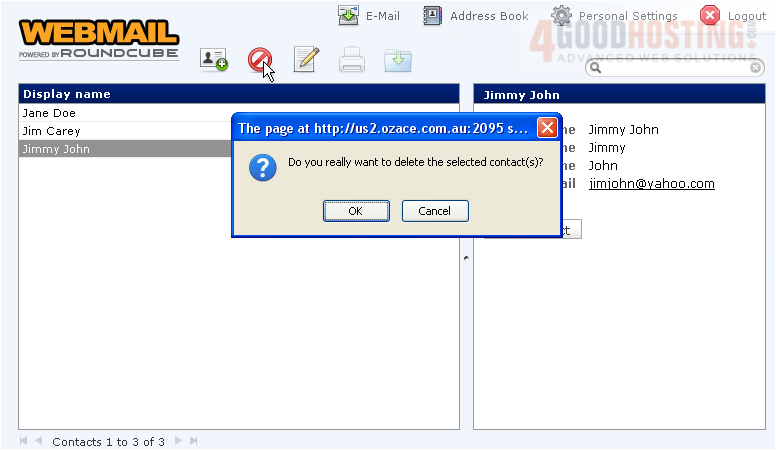
8) ..... then click the Remove icon
With a contact selected, you can click the Compose Mail To icon here to send them an email
9) Or if you want to send an email to multiple contacts, hold down your CTRL key while selecting multiple contacts.....
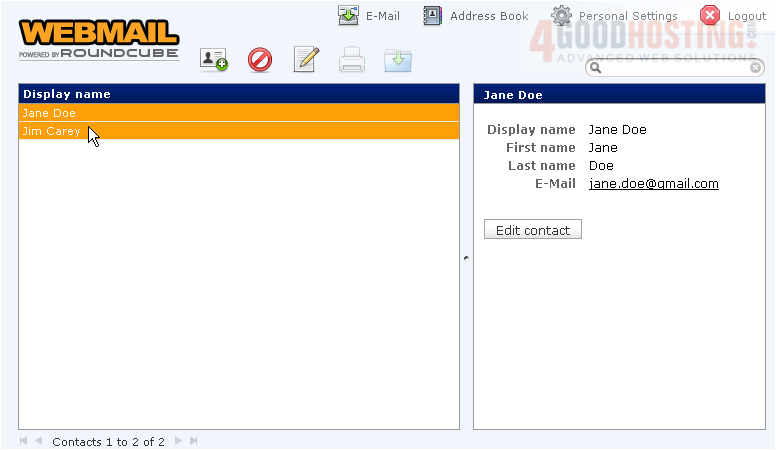
10) ..... then click the Compose Mail To icon
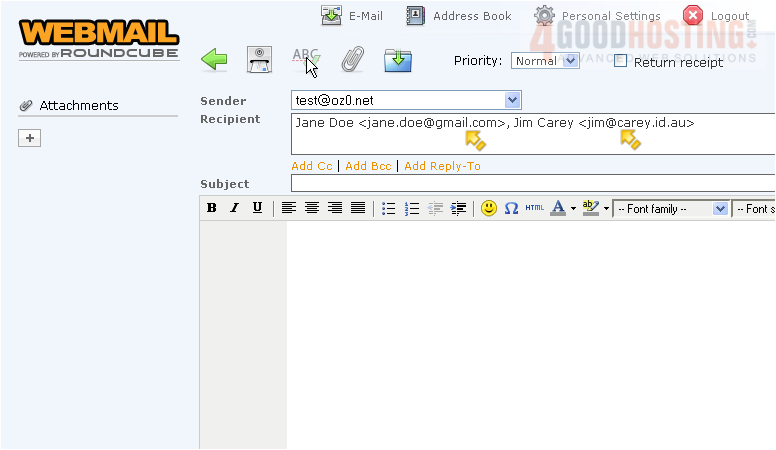
As you can see, the Compose Email window has opened, and our two contacts have automatically been inserted into the Recipient field
This is the end of the tutorial. You now know how to manage the address book in RoundCube

 WGS AI Assistant