
This tutorial assumes you've already logged in to RoundCube webmail
Now let's learn how to create folders to help organize our emails
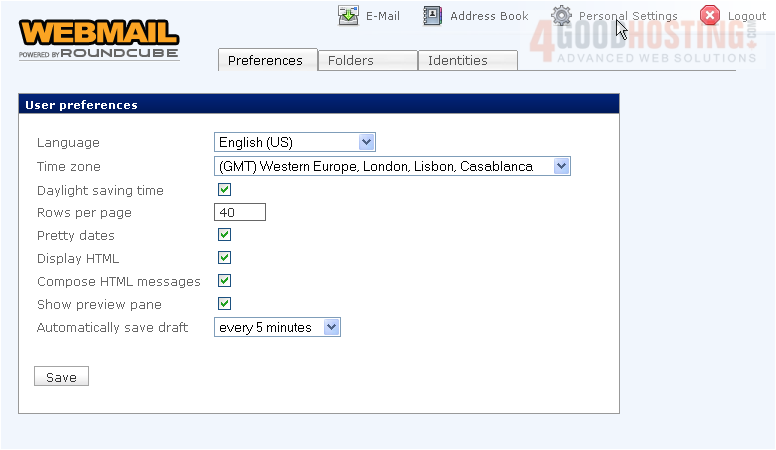
1) Click the Personal Settings link here

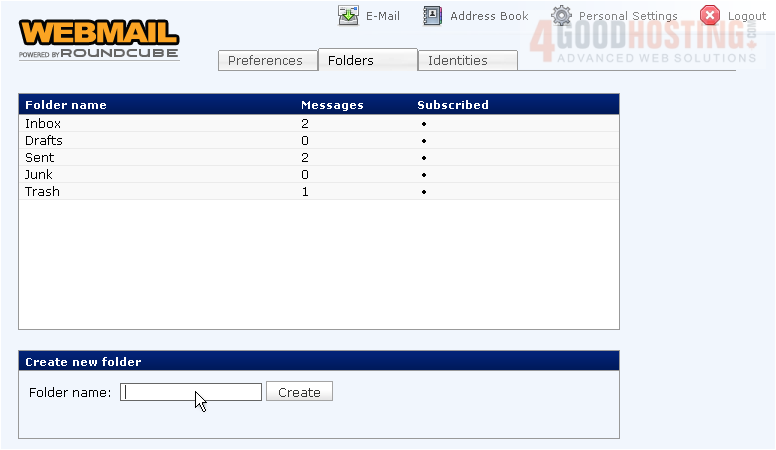
2) Then click the Folders tab
3) Type the name of the new folder here, then click Create
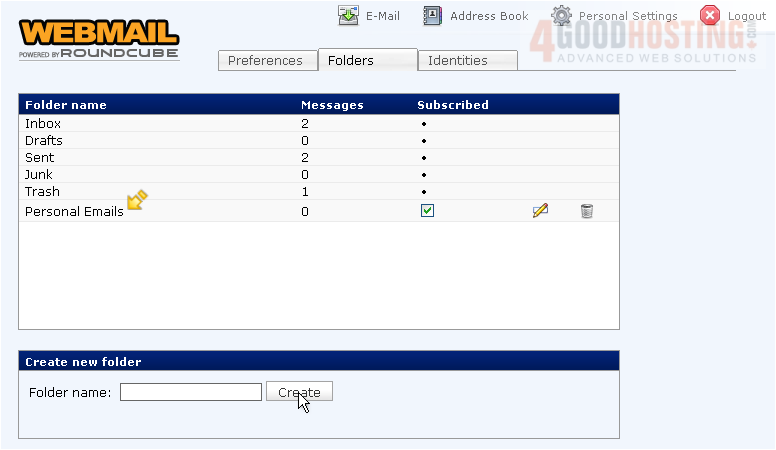
That's it! The new folder has been created, and is shown here in our list of folders
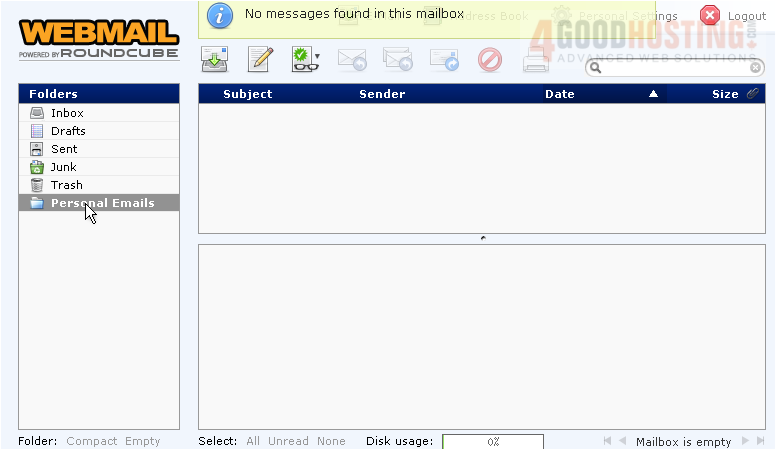
4) We can click our new folder here to see it's contents.....
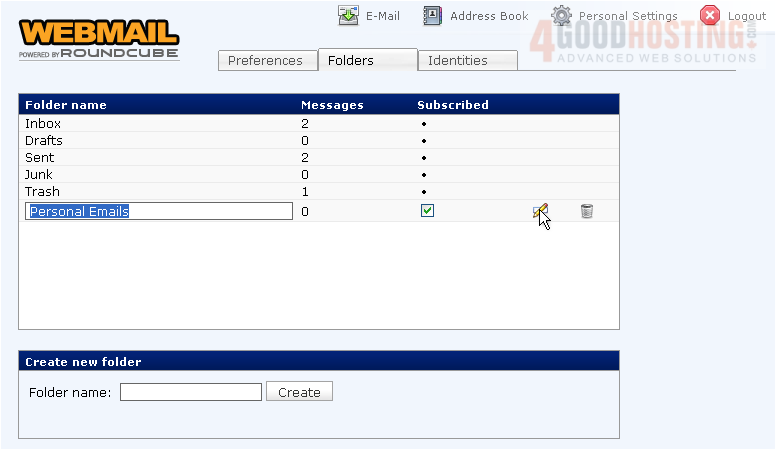
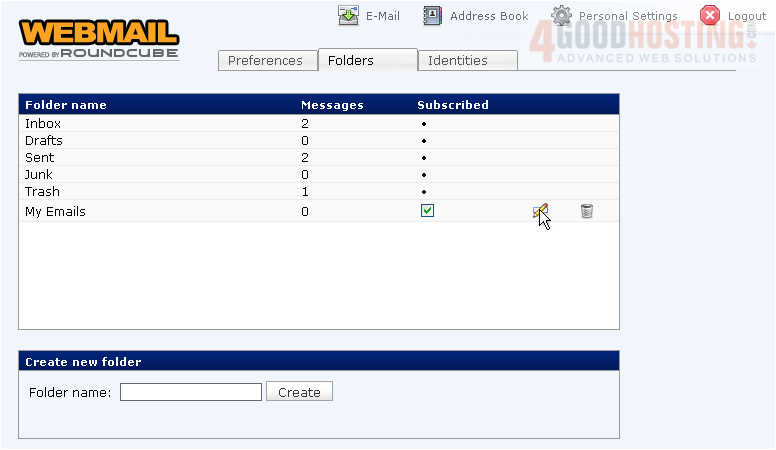
5) You can rename the folder at any time by clicking this icon..... and entering a new name here
6) You can delete the folder by clicking here
This is the end of the tutorial. You now know how to create additional folders in RoundCube

 WGS AI Assistant