
This tutorial assumes you've already logged in to Horde webmail. Now let's learn how to setup email filters
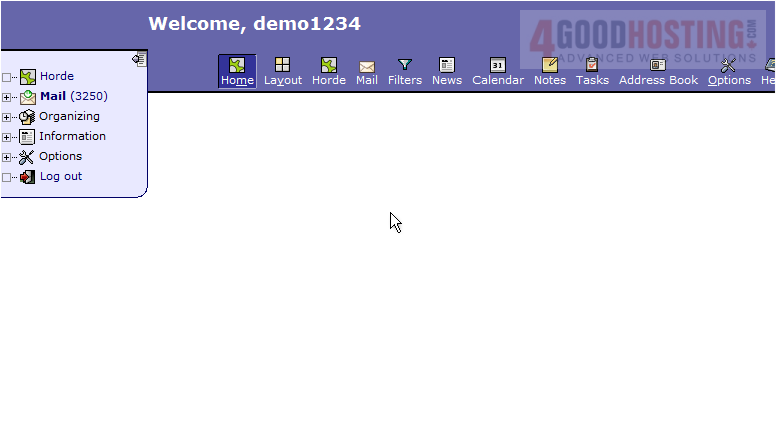
1) Click the Filters icon.
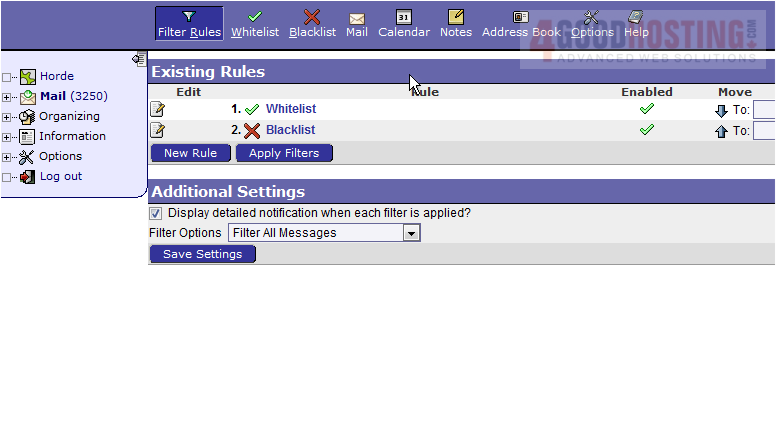
2) This is the Filters page. There are two options. Whitelist and Blacklist which we will look at now. Click the Whitelist link.
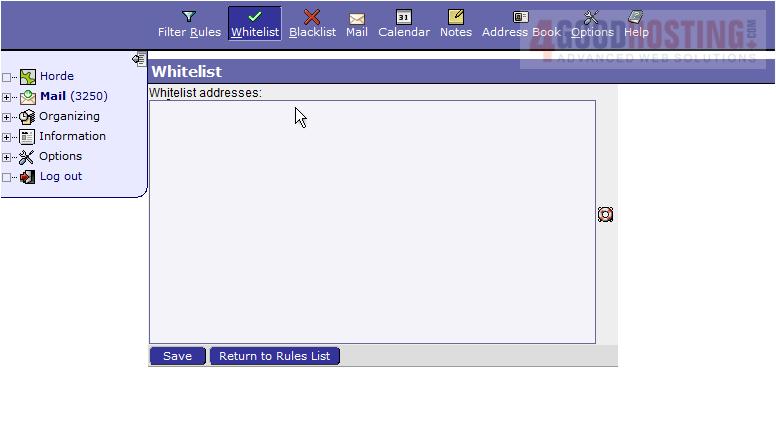
3) A whitelist is a list of addresses that should always be allowed. In this case, email addresses listed here should be only those you trust. Let's go ahead and add some addresses to our whitelist. Each address needs to go on a new line. When finished, click Save.
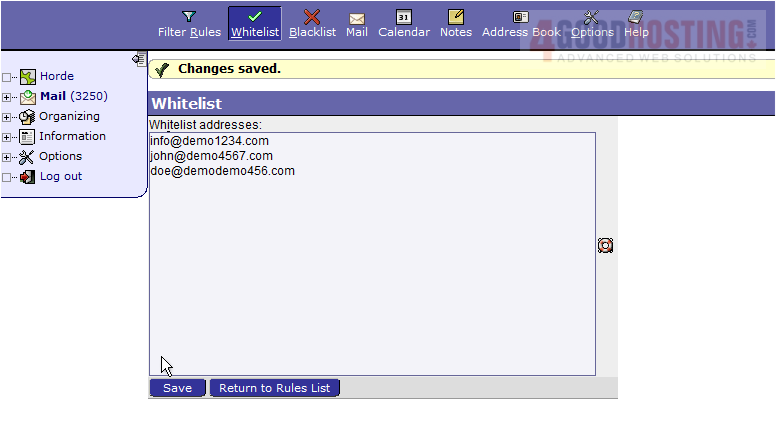
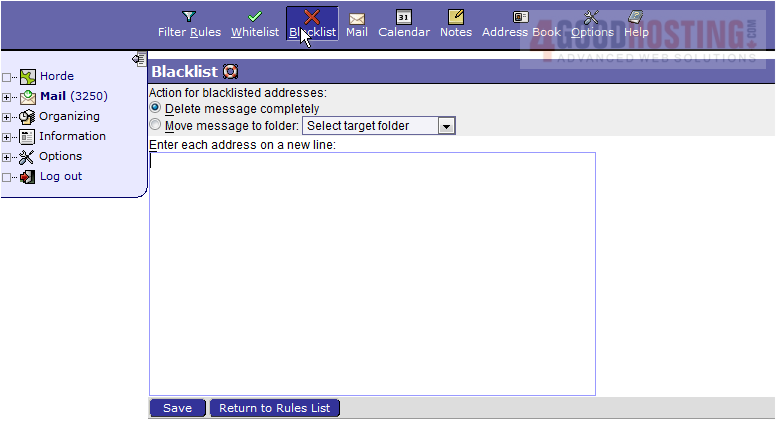
4) The Whitelist has been saved and these addresses will now be able to send email to us at any time, without the possibility of being tagged as spam. Now let's edit our Blacklist... click the Blacklist icon.
5) A blacklist is a list of addresses that are never allowed. In this case, email addresses listed here should be those you have determined as unwanted senders. Let's go ahead and add some addresses to our blacklist. Each address needs to go on a new line.
6) Click Save.
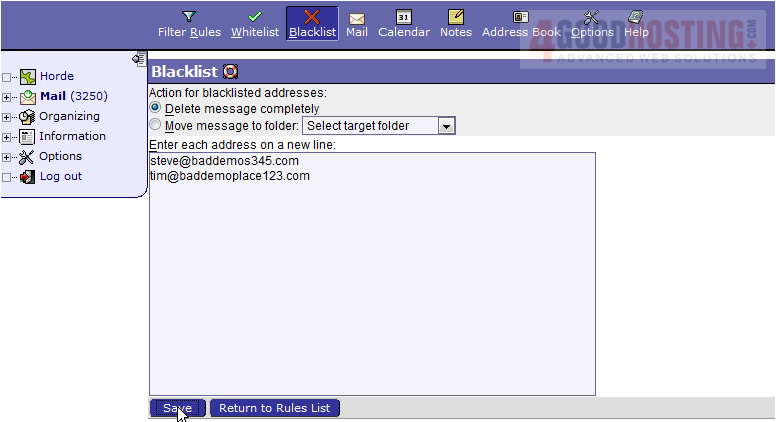
7) Our blacklist has now been saved and mail from the addresses listed here will be automatically deleted.
This is the end of the tutorial. You now know how to setup email filters in Horde

 WGS AI Assistant