cPanel is one of the most widely-used control panels in the web hosting industry. WebHost Manager, or WHM, is cPanel's backend; it's how web hosts create new accounts, configure settings and services, et cetera. The tutorials in this series and the three series that follow should teach you everything you need to know to set up and maintain a cPanel/WHM server. We recommend watching all the tutorials in order until you feel comfortable enough to skip around.
Keeping a cPanel server in working condition isn't always easy, so bear in mind that the information you'll learn is no substitute for hard-earned experience. To run cPanel, you'll need access to a Dedicated or Virtual Dedicated Server that meets the system requirements and is running one of the supported operating systems. Most web hosts will install cPanel for you before giving you access to a server, unless you request otherwise. If you know for certain this has been done for you already, move on to the login tutorial.
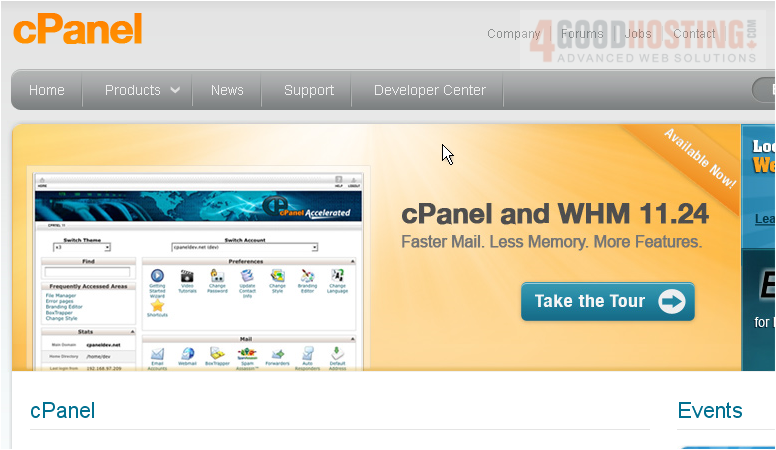
1) Before starting the installation process, you need to verify that your server meets all the requirements, as specified on cPanel's website. Start by going to cPanel.net, seen in the background here.

2) Click the arrow next to Products, and choose cPanel / WHM.

3) Scroll down and Click System Requirements.

This page contains a table detailing cPanel's basic requirements. Ensure that your server meets the hardware requirements. All dedicated servers should easily meet them, but some virtual servers might not.

If you plan to host a large number of domains and accounts, cPanel strongly recommends your system exceeds the minimum requirements. Unless you're running a Virtual Dedicated Server (VDS), disregard the virtual environments column. The only operating systems that will allow cPanel to function properly are CentOS, Red Hat Enterprise Linux, and FreeBSD. We'll be using CentOS, and that will work well in most cases. Note that FreeBSD is recommended only for experienced administrators.

Note: cPanel and WHM cannot be installed on a production web server; you must use a server with a freshly-installed operating system. You also shouldn't install any services, such as a web server or an FTP server, before cPanel; it will provide you with everything you need. In order for cPanel/WHM to function, you must have a valid license for your server's main IP address. The cheapest way to obtain a license will almost always be through your web host, but you can obtain them directly from cPanel.
You're almost ready to begin the installation. First, there are a few things that may be of assistance if you have problems.
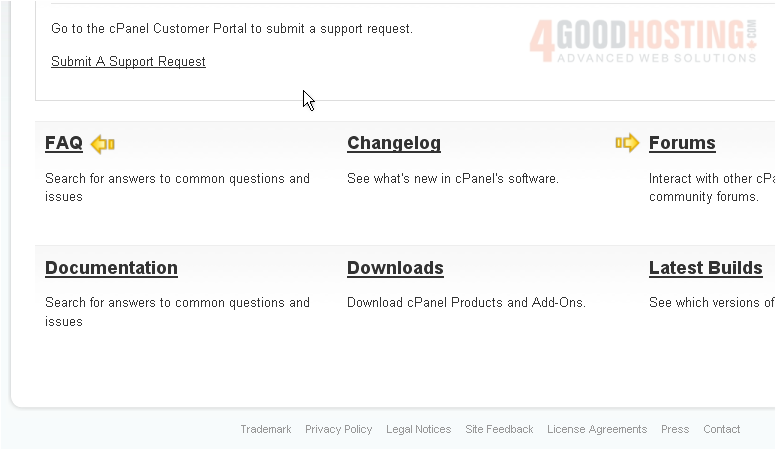
4) Scroll back up to the top.
5) Click the Support link.

Anyone with a cPanel license obtained directly from cPanel or one of its partners can request support using the link at left. The FAQ section and the Forums are sure to be useful, so we recommend you visit them both at some point.

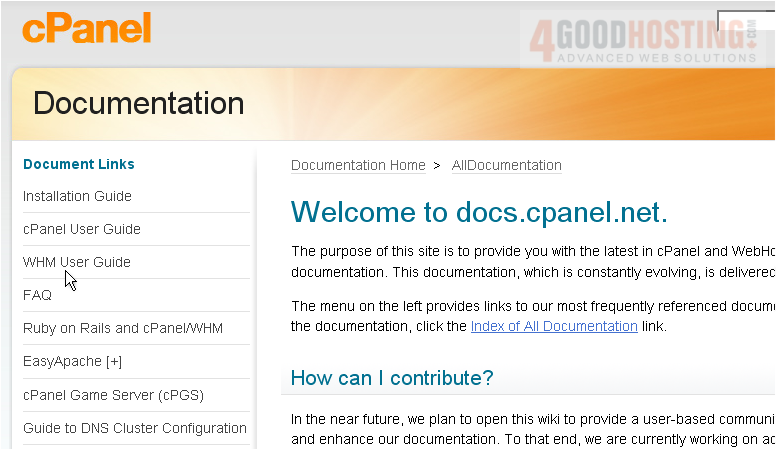
6) Now, let's go to the Documentation.

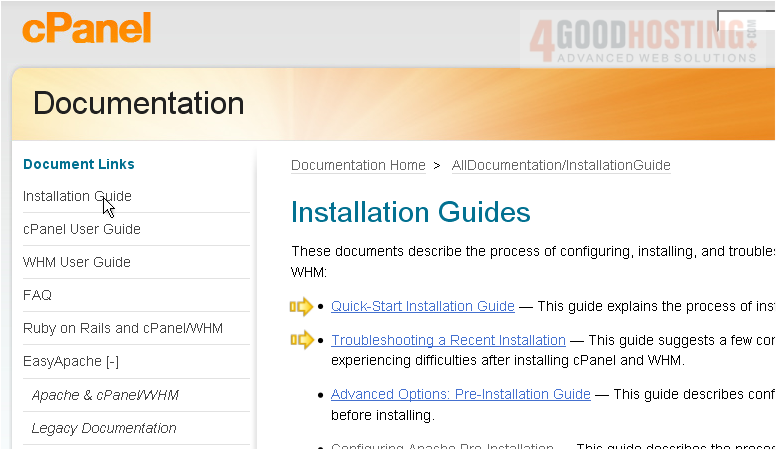
7) Click on the Installation Guide.

If you run into any problems during installation, be sure to check out these two documents.
This completes the tutorial. You're now ready to begin installing cPanel and WHM!

