
In the previous tutorial, you saw how to change your alert settings. Now let's find out how to tell WHM what destinations to use when sending the alerts.
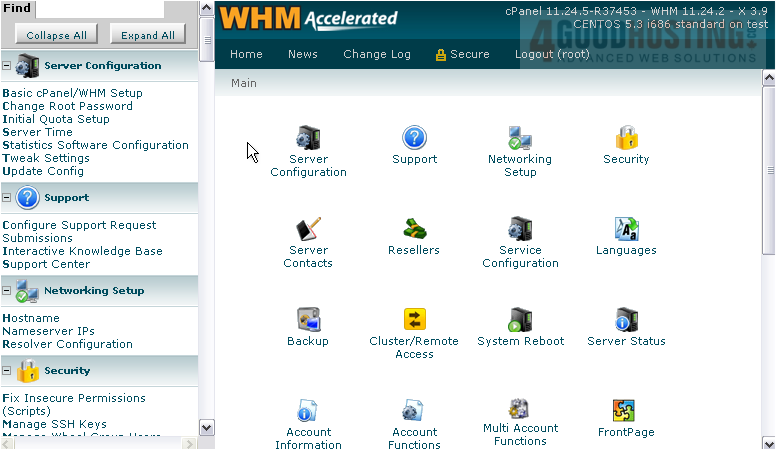
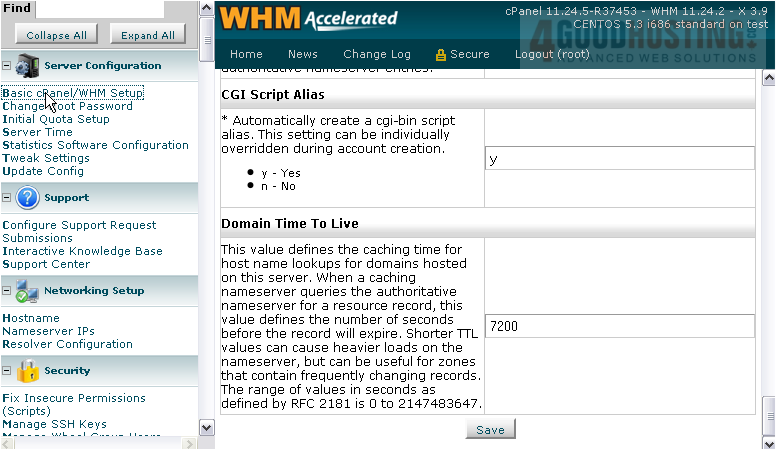
1) Look under Server Configuration, then click Basic cPanel/WHM Setup.
2) In order for WHM to be able to send AIM messages, it must have access to its own account. Specify the login info for an account using the AIM Password and AIM Username fields.
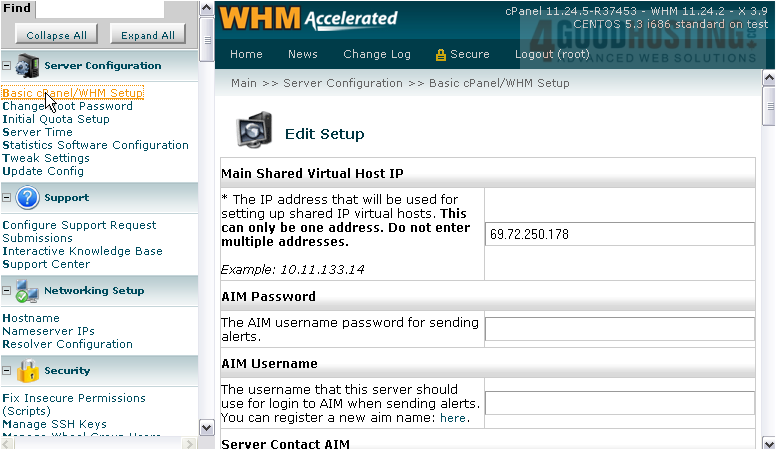
3) Then, specify your receiving AIM address with the Server Contact AIM field.

4) Above you can change your Server Contact E-mail Address. This is the only contact method you must have filled in; the rest are optional. If your cell phone or pager provider gives you an e-mail address, WHM can send messages that way and you'll receive alerts via text message. Use Server Contact Pager Address for that.
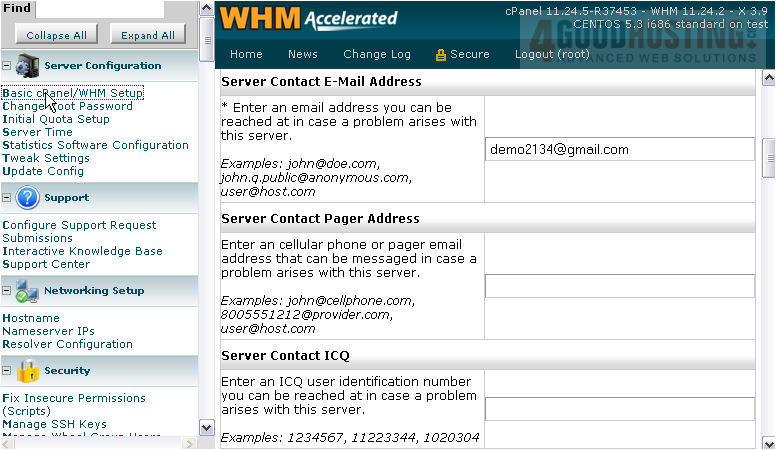
5) Enter a receiving ICQ address in the field below.
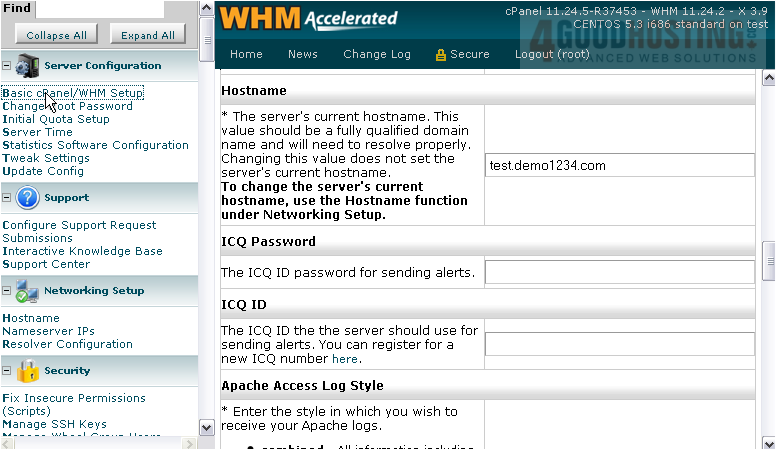
6) If you want to be notified via ICQ, use these two fields to enter the login info for a sending account, just like with AIM.
7) To finish here, click Save.
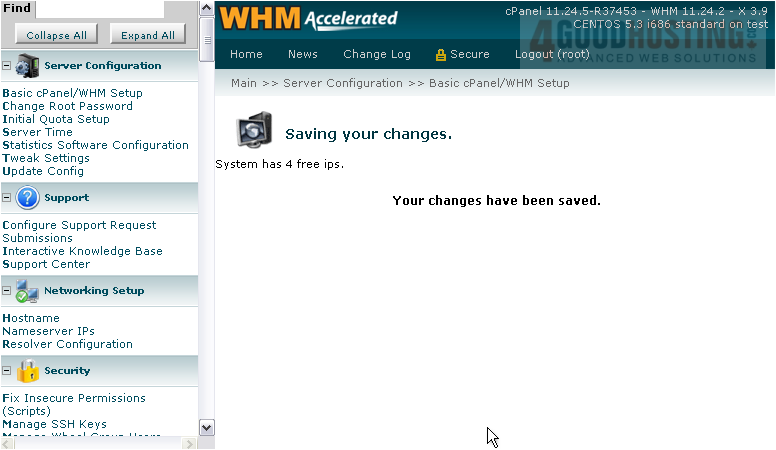
Your alert destinations have been updated successfully.

 WGS AI Assistant