
This tutorial assumes you have already logged in to your DNS ONLY server as the root user. The login process is exactly the same as for a regular WHM server.
This should look familiar. WHM DNS ONLY is, at the core, the same as regular WHM, with many limitations. You have access to only what's necessary to run a nameserver.

In order to keep this nameserver's DNS records in sync with our main server(s), we'll have to set up what's known as a cluster. You'll see how to do that in the tutorial that follows.
That's why cPanel doesn't force you to license a DNS ONLY server. It's pretty useless unless you're running at least one fully licensed server in conjunction with your nameserver.
Scrolling through the menu, you'll see there's not much for you to do here.
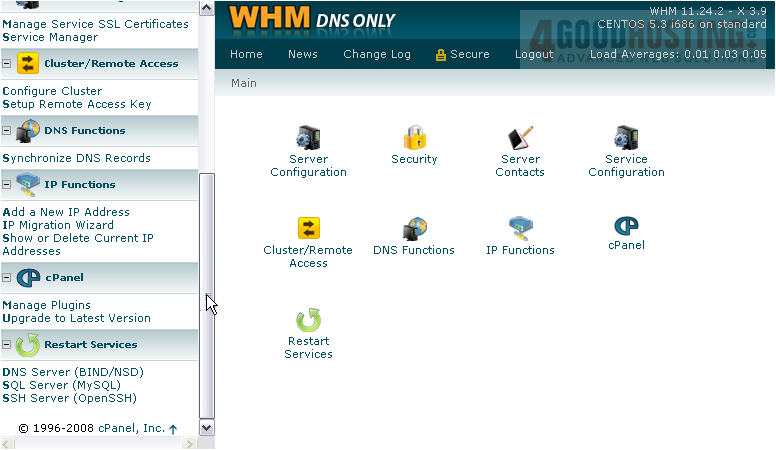
Everything in the menu should function exactly as it does in the full version of WHM. Watch any related tutorials for further assistance.
This completes the overview of WHM DNS ONLY. Be sure to add this server to a cluster for the most functionality.

 WGS AI Assistant