Disk quotas help you keep track of hard drive usage on a per-user basis and enforce the space limits you give each account. While some hosts want clients to think hard drive space is unlimited, small hosts usually don't have hundreds of terabytes of space and must enforce rigid limits. Quotas should have been enabled during the Initial Setup process. You only need to perform the steps in this tutorial if quotas weren't enabled then.
Most virtual dedicated servers and some dedicated servers will need quotas enabled at the operating system level before they can be set up in WHM. Contact support for assistance if you notice problems with the hard drive quotas.
1) To set up quotas, click Initial Quota Setup under Server Configuration.

Â
Take heed of the warning shown here. If your system does not support quotas, problems can arise if you try enabling them. Since your server was probably set up with quotas enabled, it should be safe to continue.
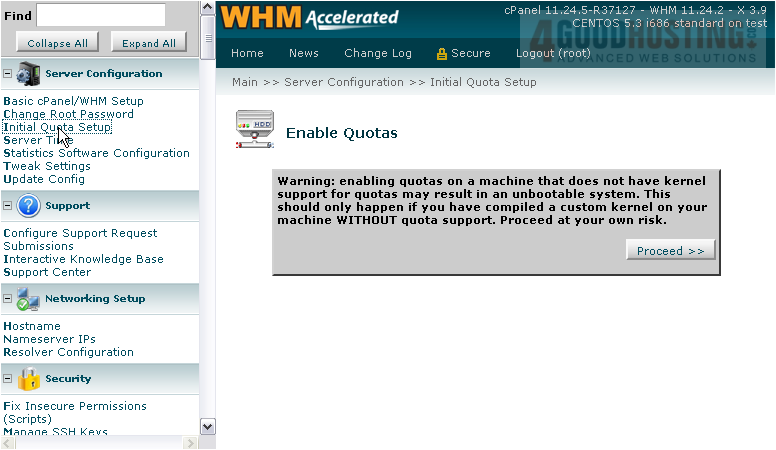
2) Proceed at your own risk.
Â
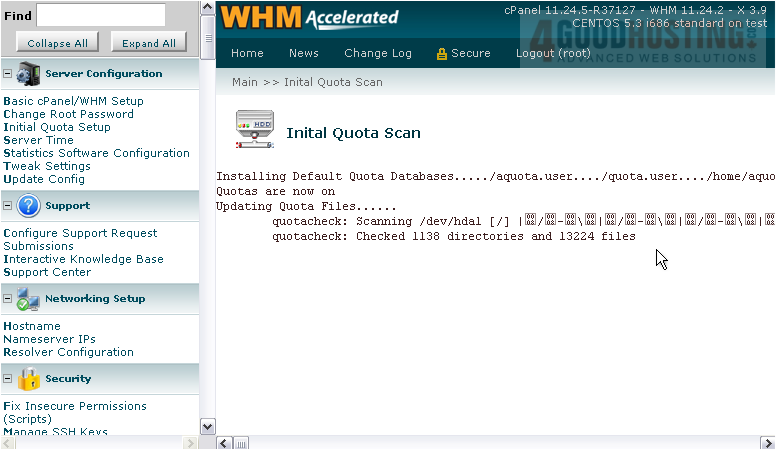
It may take several minutes for quotas to be turned on.
Â
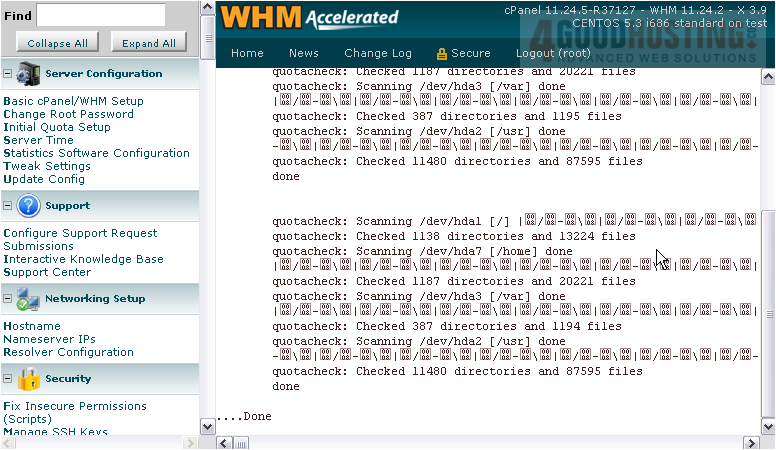
When the process is complete, you will see the word "Done" on your screen.
Â
That's it! Disk quotas have been enabled.

 WGS AI Assistant