
Your server's hostname should have been changed from the default during WHM's Initial Setup. If it wasn't, changing it here is a simple process.
1) Go to the Hostname page. It's located under Networking Setup.
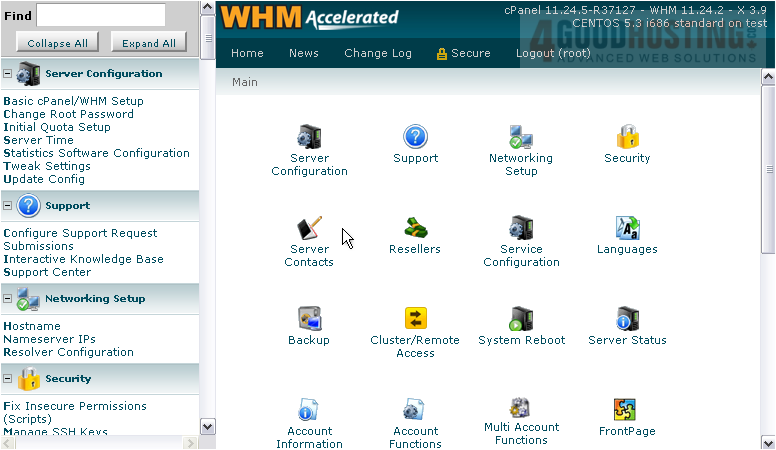
Note that you cannot permanently change your hostname on some virtual dedicated servers. The hostname must be changed on the host server, else the changes will revert when the virtual machine is rebooted.
2) Read over the instructions, and take note of the sample hostnames. Then, scroll down.
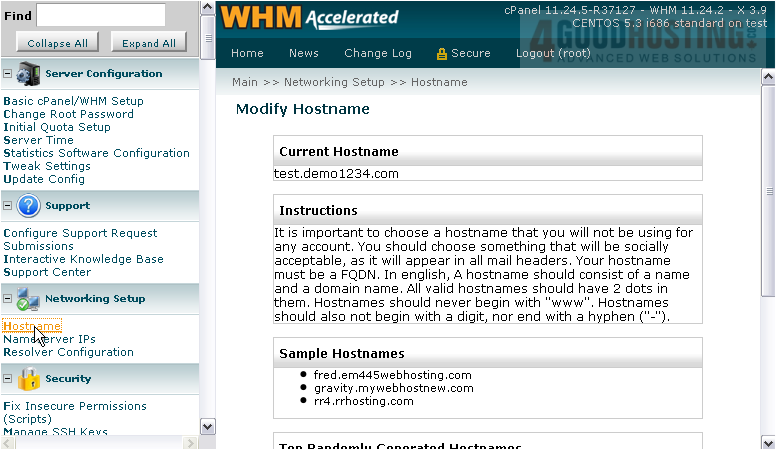
3) Enter your server's new hostname here.

4) Click Change.

Wait for the changes to complete.

Your server's hostname has been successfully changed.
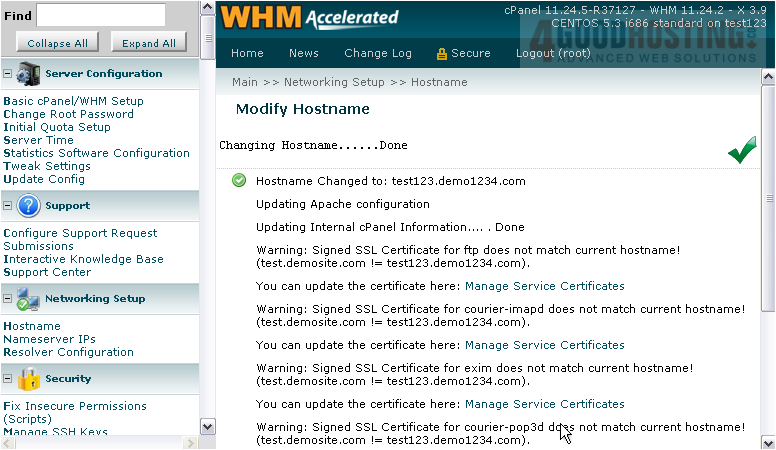
If you see all these warnings, use the Manage Service Certificates link to update all your SSL certificates to the new hostname. For details on how to do this, see the tutorial in the Services series.
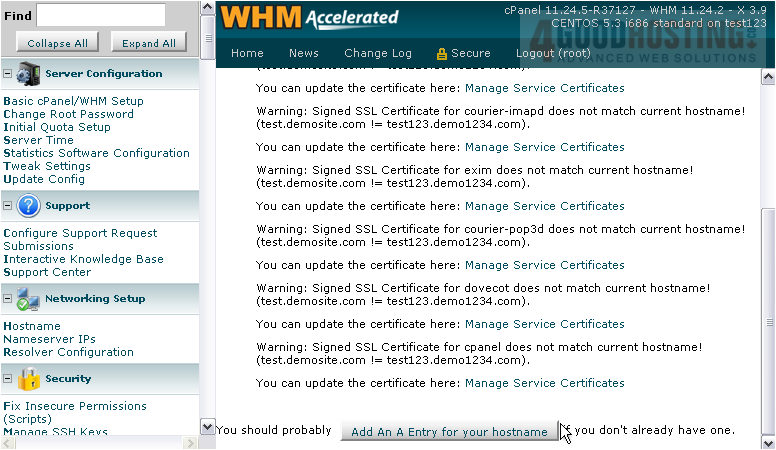
5) Use this button to add an A entry for your hostname if you don't already have one.
This completes the tutorial. You now know how to modify your server's hostname in WHM.

 WGS AI Assistant