
During the Initial Setup of WHM, you should have been given the option to change your system's nameserver program. This tutorial will show you how to do that the normal way in WHM.
1) Go to Service Configuration.
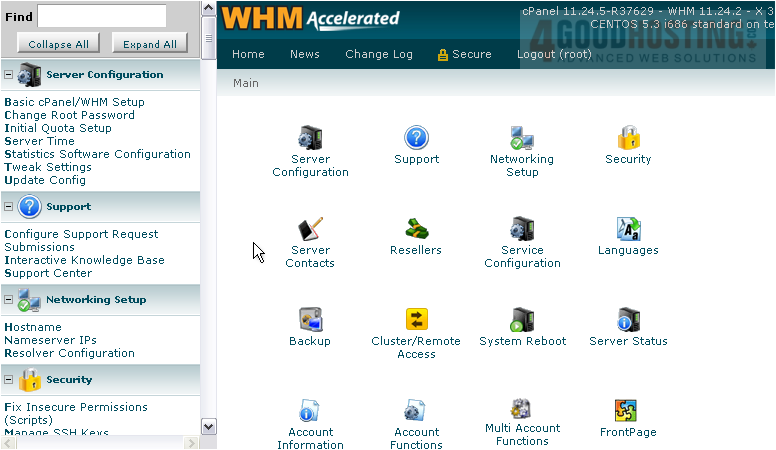
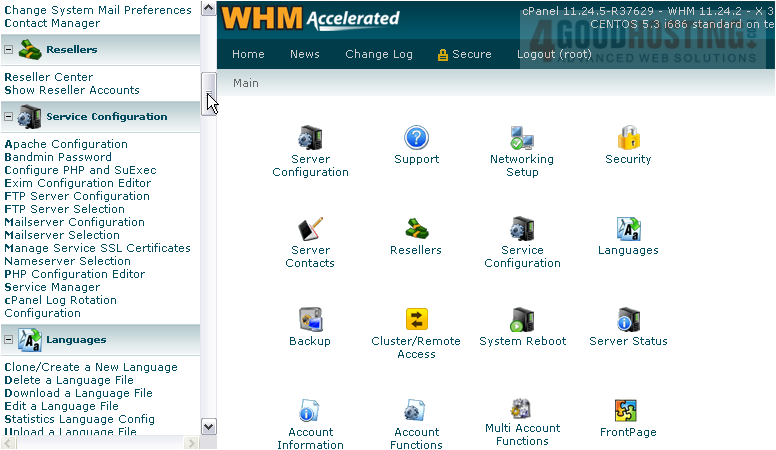
2) Click Nameserver Selection.
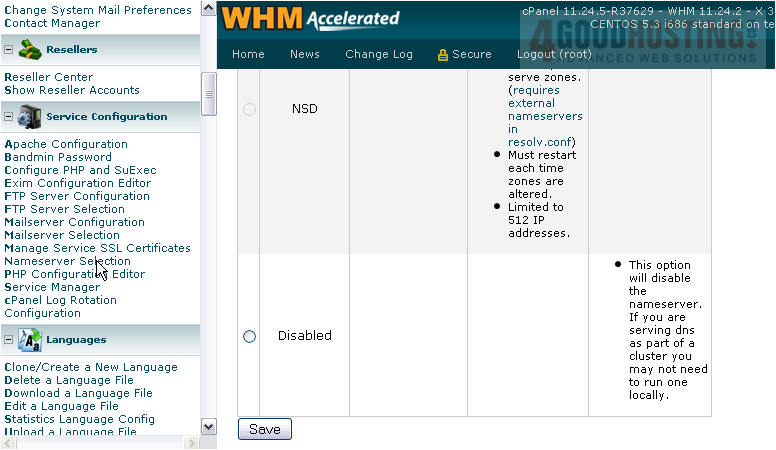
The default nameserver program is BIND, and that's the recommended solution for most systems.
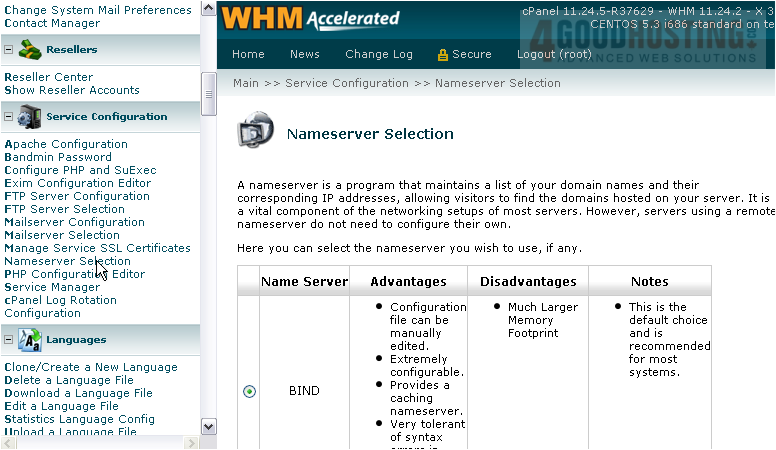
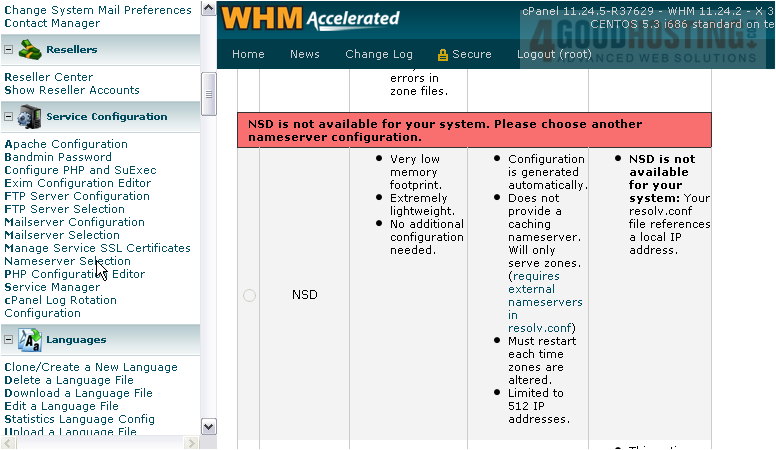
If your server is low on RAM, you might prefer to use NSD. Note that it does have several disadvantages when compared with BIND.
For example, if your server is configured to use the local nameserver as a DNS resolver, NSD cannot be used. You'll receive an error message like the one shown here if this is the case.
If your server is part of a DNS cluster, running a nameserver program is optional.
3) Click the button next to Disabled to turn off nameserver capabilities for this server.
4) Save your changes when ready.
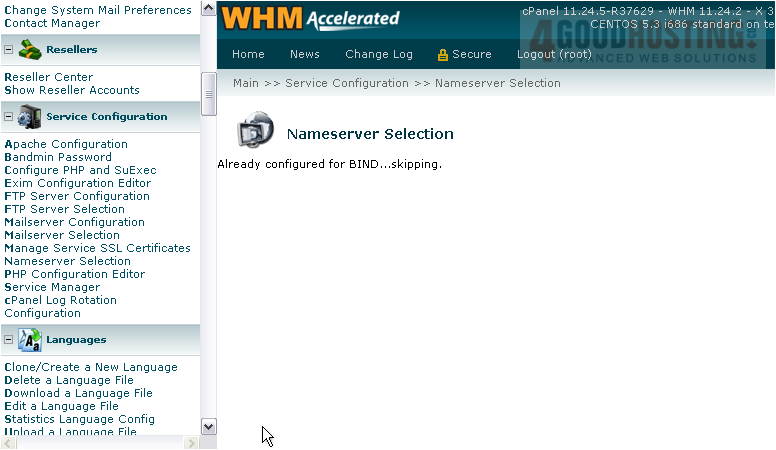
Your selection has been saved, assuming you made a change.
This completes the tutorial. For more details on nameservers, check out the tutorials in the Setup series.

 WGS AI Assistant