
This tutorial assumes you are already logged in to WebsitePanel
Now let's learn how to create a peer account
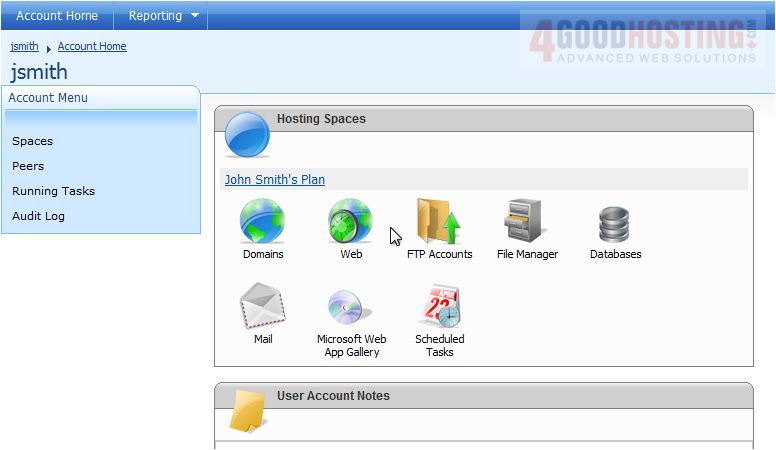
1) Click Peers
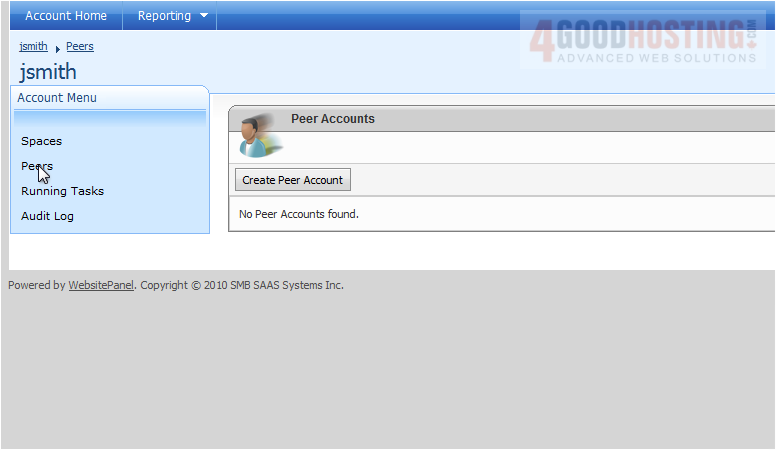
2) Then click Create Peer Account
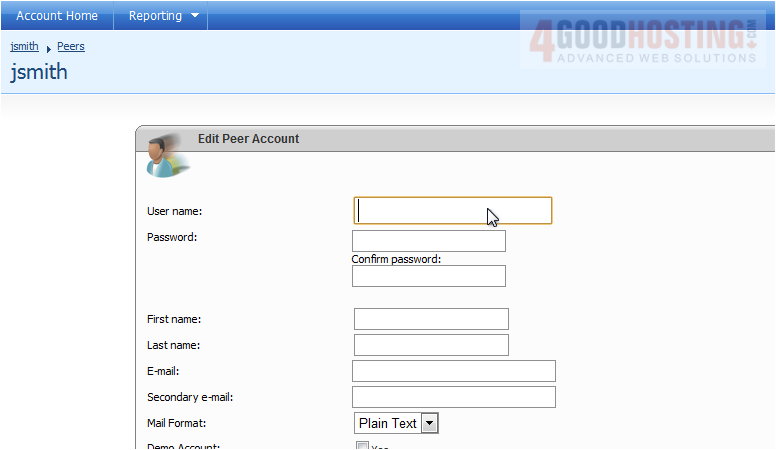
3) Enter a user name for the new peer
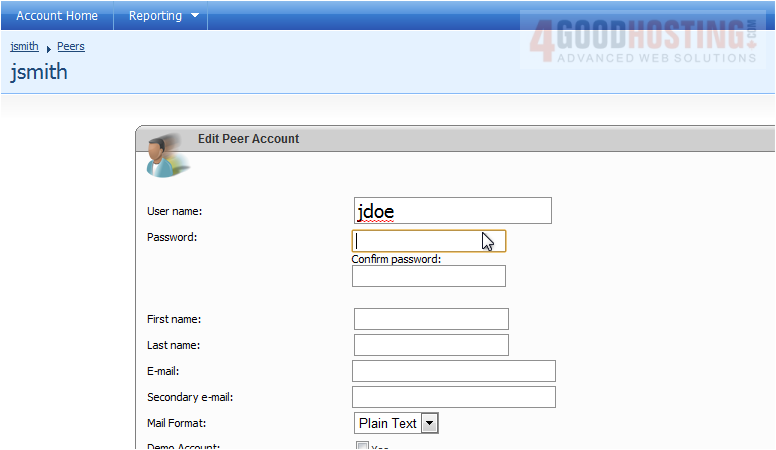
4) Enter a password
5) Re-enter the password
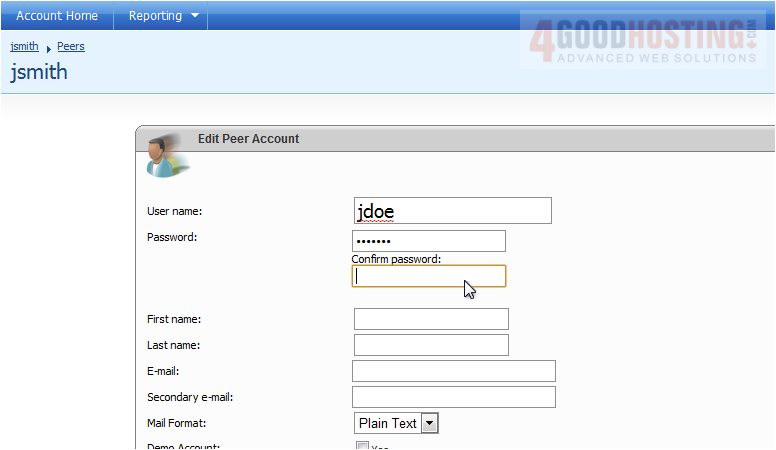
6) Enter the peer's first name
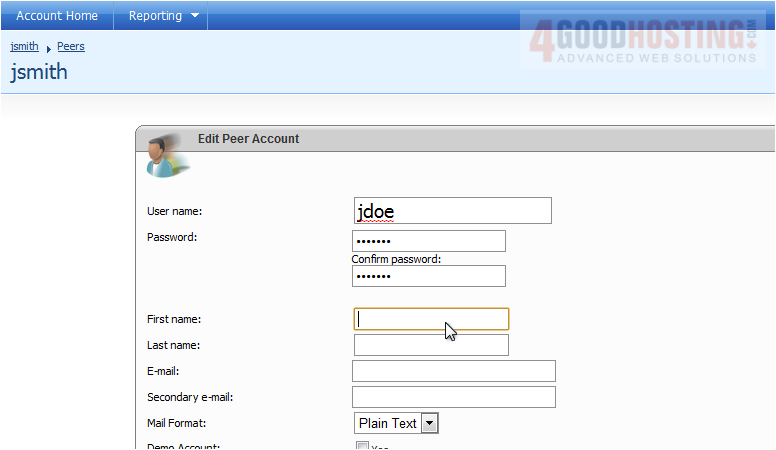
7) Enter the last name
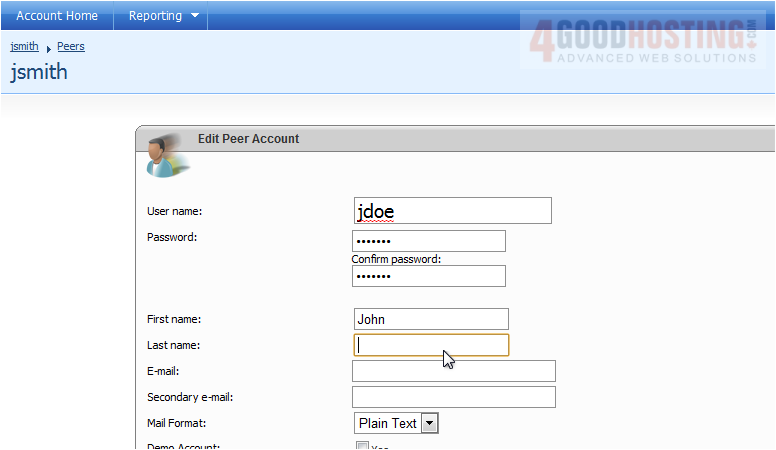
8) Enter the peer's email address
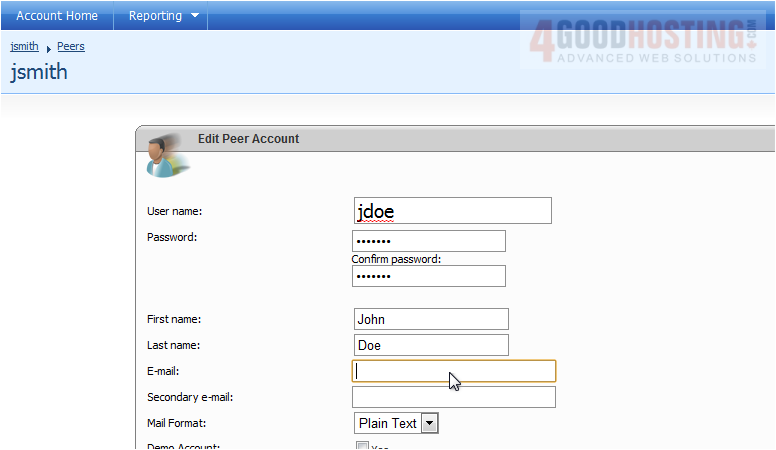
9) If there is a secondary email address, you can enter it here
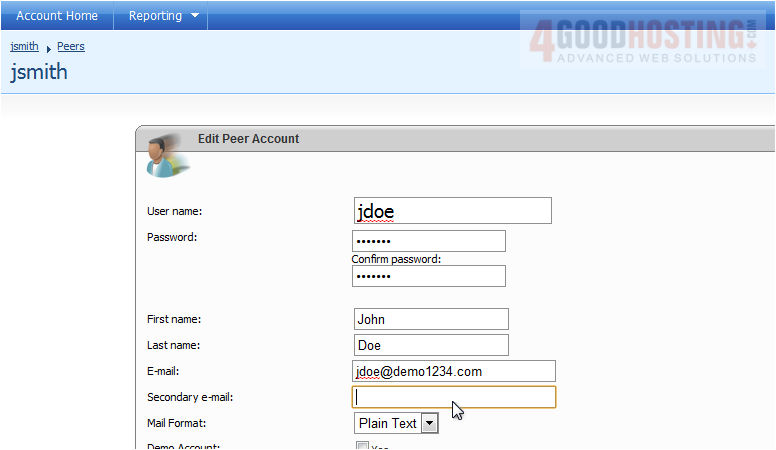
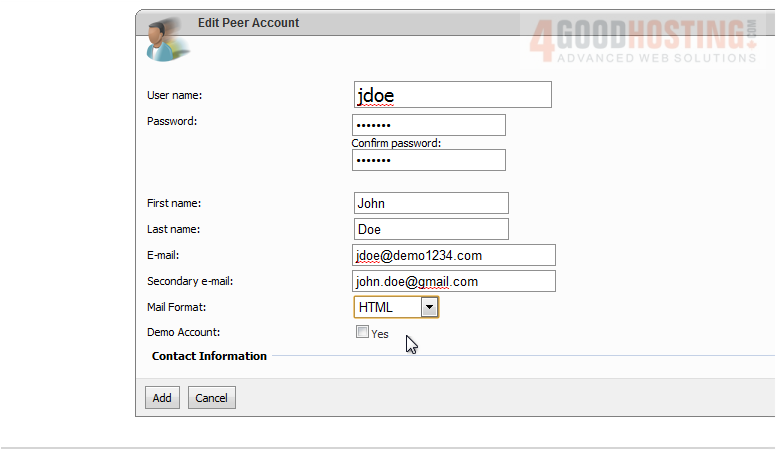
10) You can select the mail format
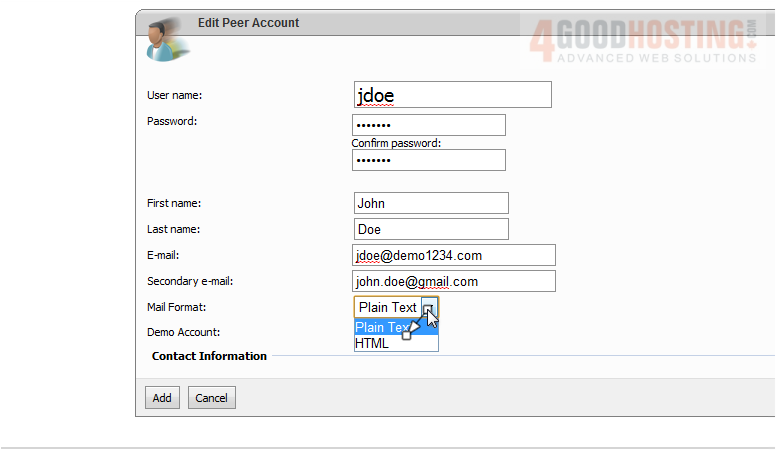
11) Click on Contact Information to see more options
12) You can enter more information like your peer's company name, address, phone number, etc
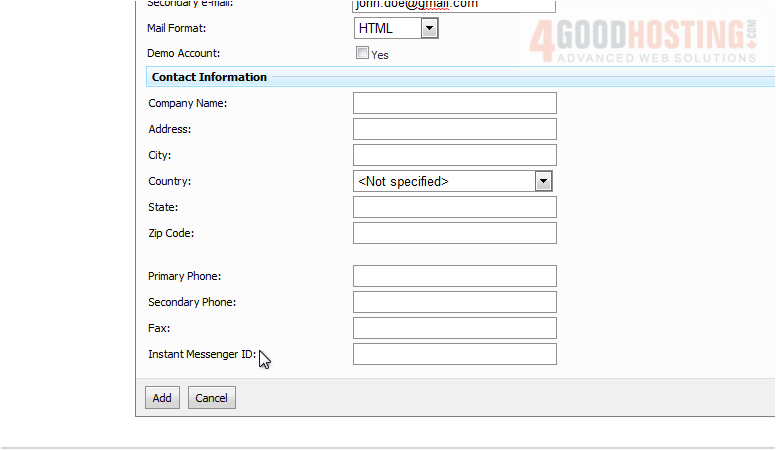
13) Click Add when you are finished
Success! Your new peer account has been added
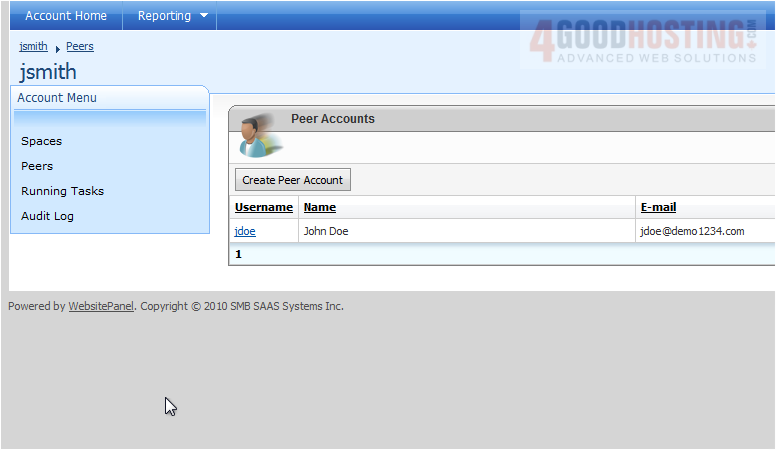
This is the end of the tutorial. You now know how to create a peer account in WebsitePanel

 WGS AI Assistant