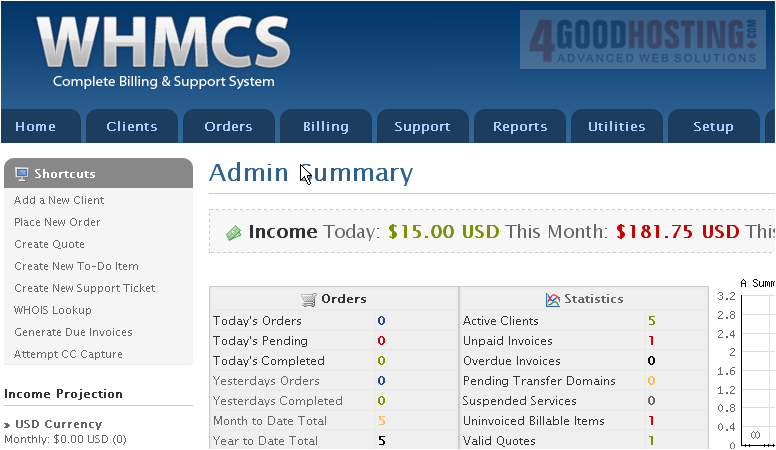
Almost all of your clients will eventually submit a support ticket for some reason. This tutorial will show you how to manage your WHMCS support queue
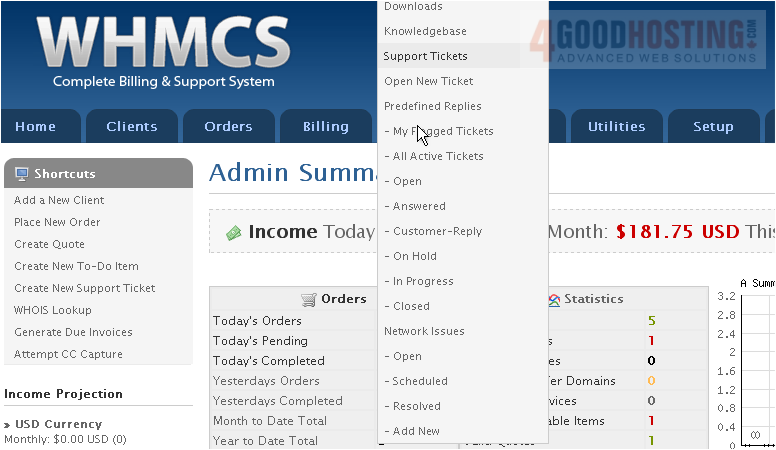
1) Go to Support
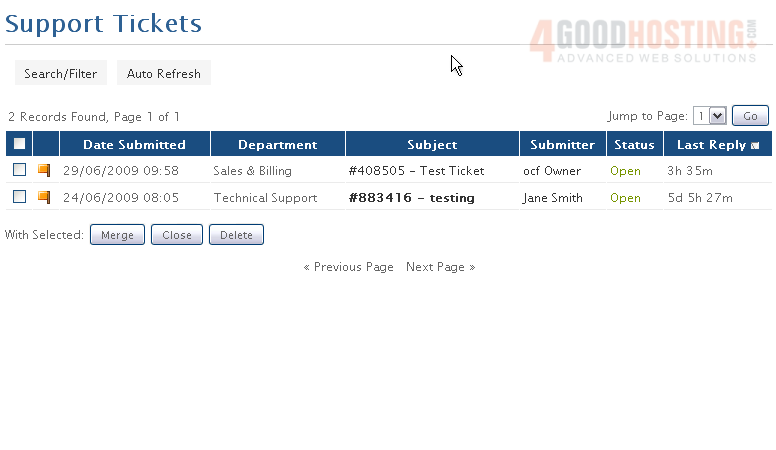
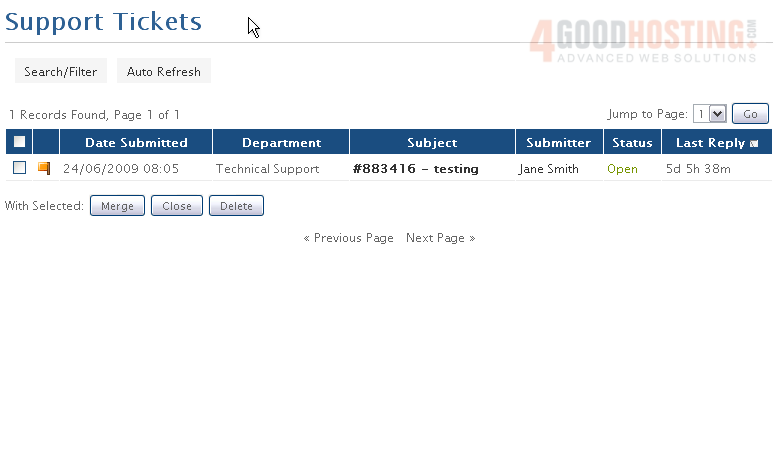
2) Then click Support Tickets
3) To open a Support Ticket, click its Subject
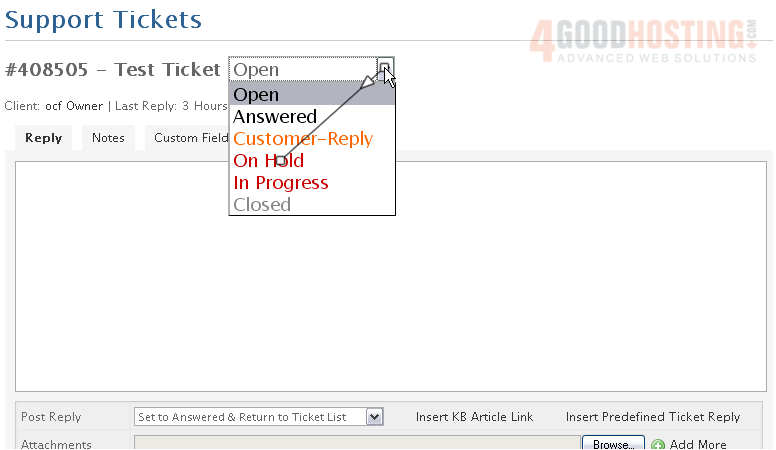
4) You can change the ticket's status using this drop-down menu
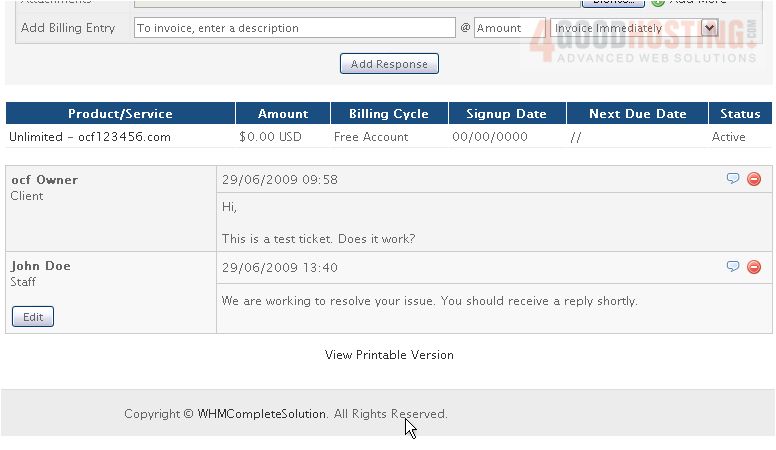
5) Enter your reply here, then scroll down
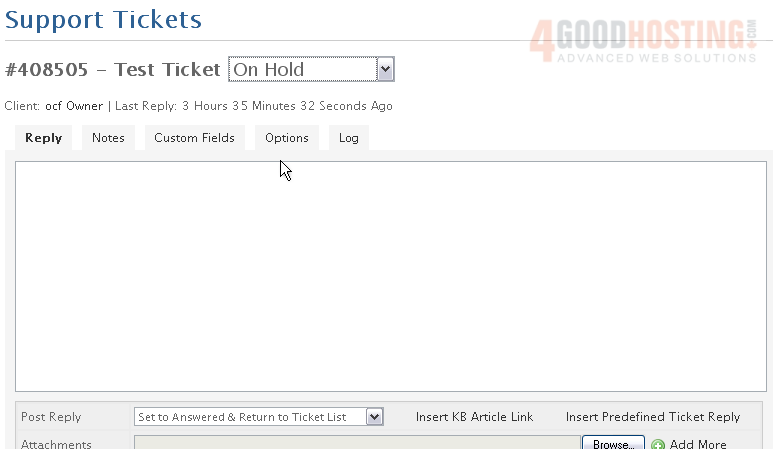
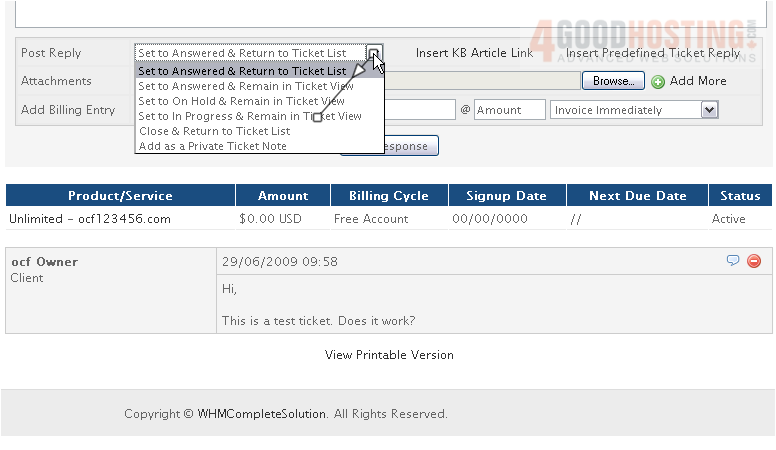
6) Select what to do after posting your reply
Â
You can insert a Knowledgebase link, a Predefined Ticket Reply, or an Attachment using these fields
Â
You can also add a billing entry right here, instead of having to do that separately
Â
Let's add a Predefined Reply
Â
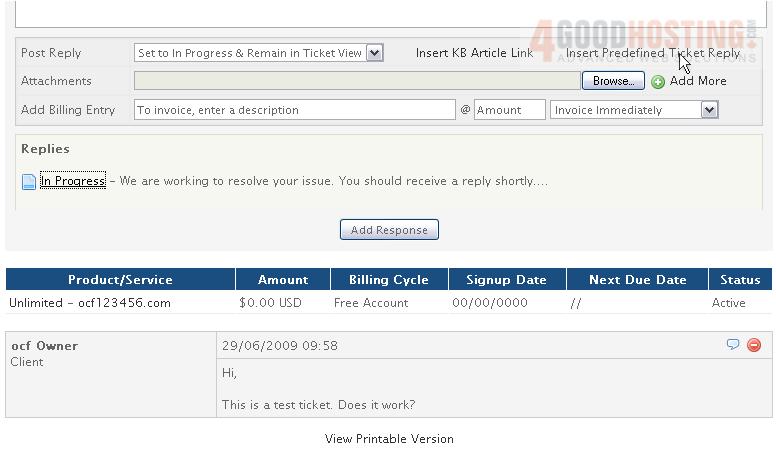
7) Select a Reply, then scroll up
Â
The predefined reply has been inserted here. Note that the reply will overwrite any existing contents of the box

8) When finished, click Add Response
Â
9) Scroll down to verify that your reply was submitted correctly
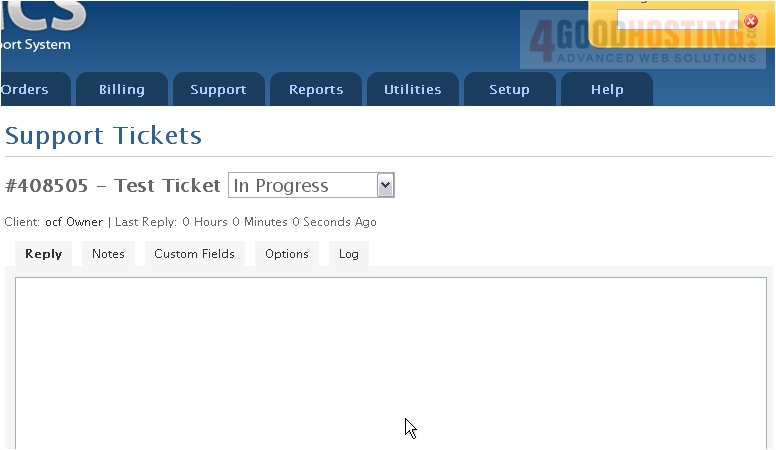
10) Here it is! Now, scroll back up and return to the support ticket queue
Â
Since the ticket is now marked In Progress, it will not show up here by default
11) You can change that by clicking the Search/Filter button
Â
12) Specify your desired filter settings, then click Filter
 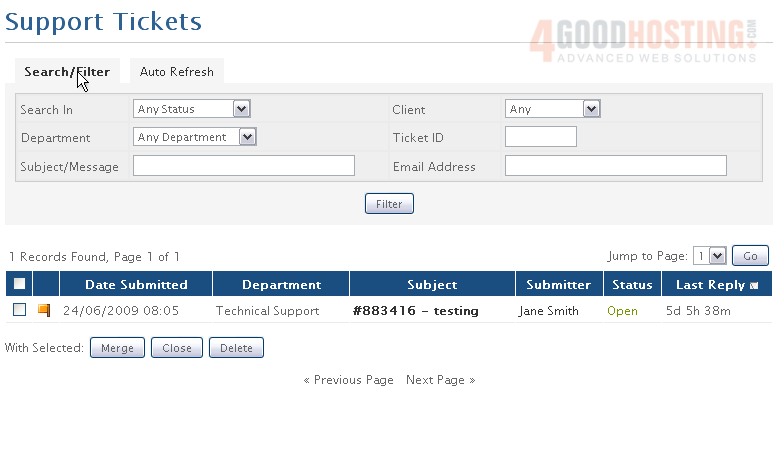
The page will reload, filtering the tickets as specified -- in this case, not at all

You might find it useful to auto refresh the page every few minutes

13) Specify the interval, then click Set Auto Refresh
 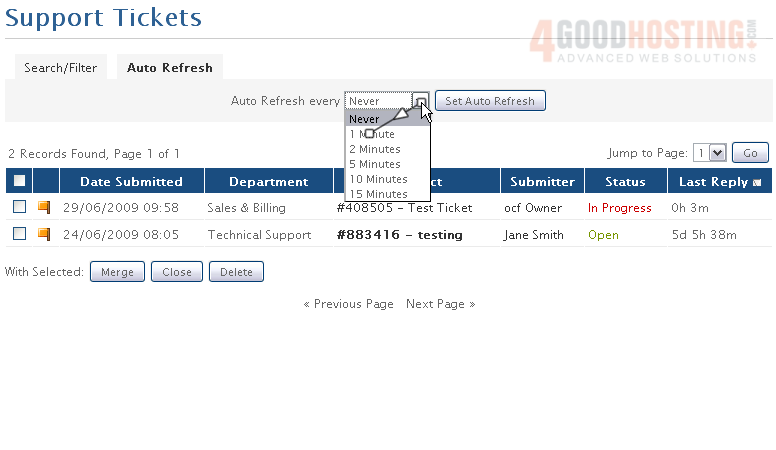
14) You can also merge, close, or delete tickets using these buttons

This completes the tutorial. Now you know how to manage the support ticket queue in WHMCS

 WGS AI Assistant