The Virtual Host Template allows you to configure the Panel to automatically include specific files and directories into webspaces created for newly hosted websites.
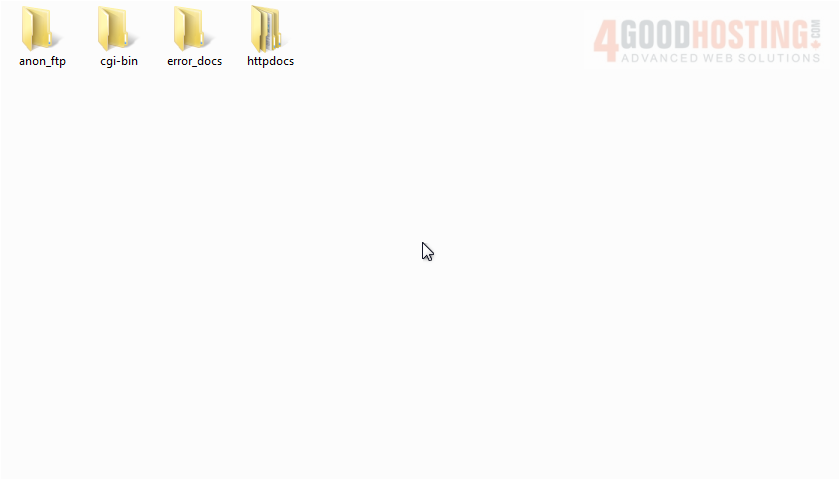
1) Begin by creating these four required directories on your local computer. Scripts should go into the cgi-bin folder, custom error messages in error_docs, and web pages in httpdocs.
2) Once you have set up your file and directory structure, pack them into an archive file in the format of tgz, tar, tar.gz, or zip. Make sure the directories are in the root of the archive, not in a subdirectory.
Â
3) Now, from your Plesk control panel, go to Tools & Utilities.

4) Click Virtual Host Template.

5) Click Choose File to browse for your archive file.
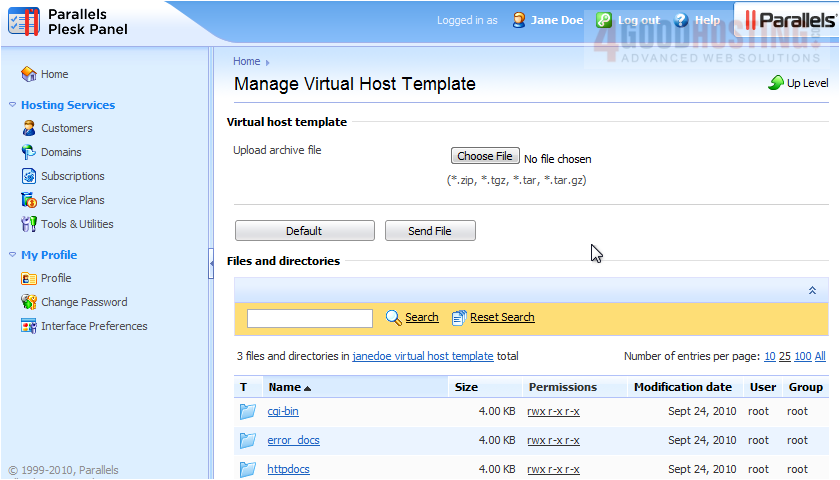
6) Click Send File.

Â
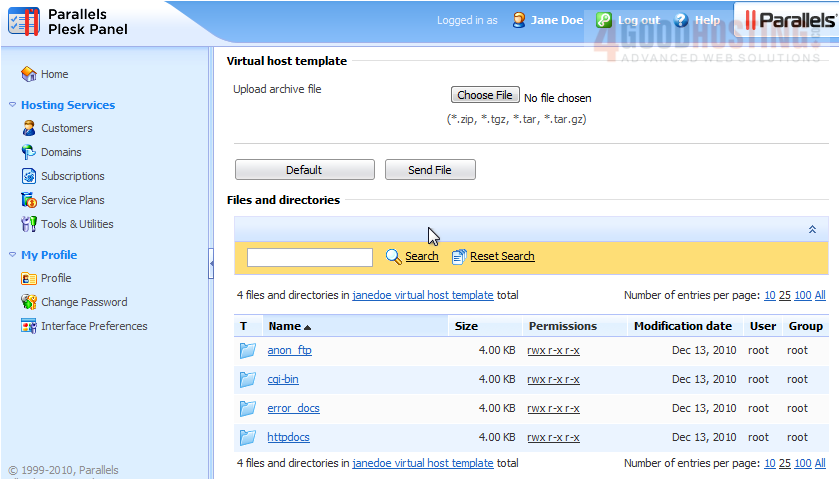
Here is our new template. If you don't see your file structure here or encounter errors, be sure your directories are in the root folder, as some archive programs may put them in a subdirectory.
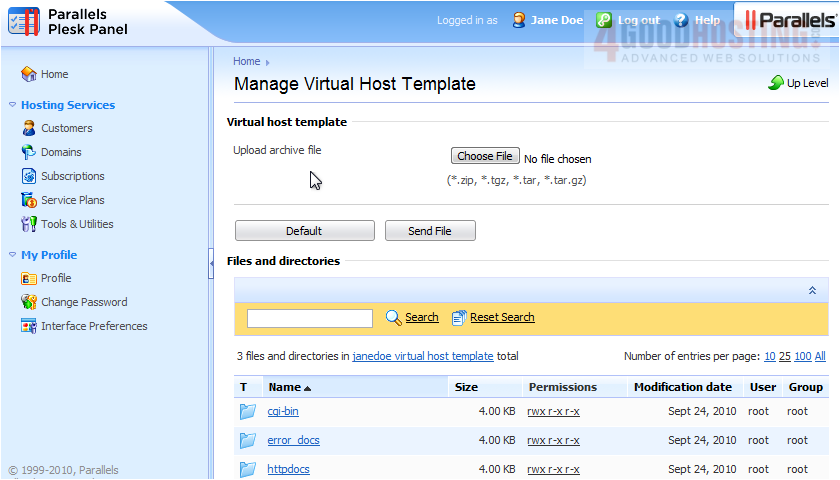
7) Click Default to use the original template.
Â
That's it! Now you know how to manage the virtual host template.

 WGS AI Assistant