
Before you can log in to Plesk, you will need to navigate your browser to the URL that should have been given to you by your hosting provider.
1) Once there, enter your reseller username and password in these boxes.

2) If you'd like to change the interface language, use this drop-down menu.
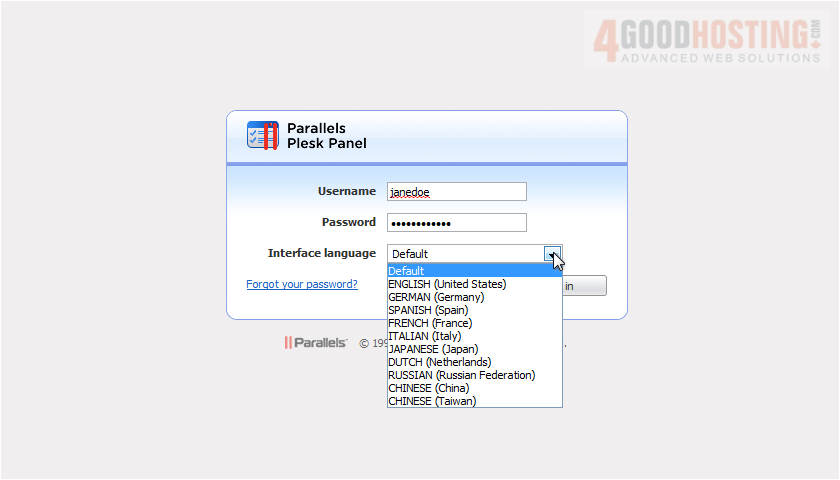
Depending on the language packs your server has installed, you may see different choices. We're going to keep the default for this tutorial.
3) Select Log In.
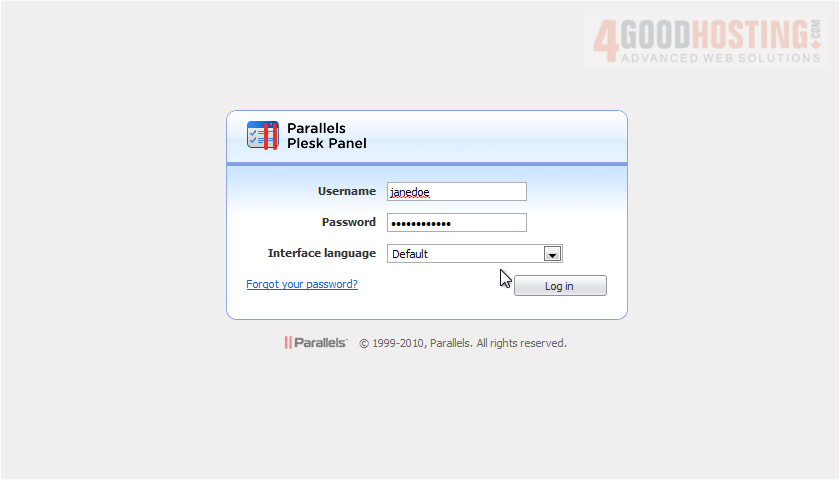
You are now logged in to your account and can manage all the various aspects of your reseller account.

For an overview of the most important features in Plesk, and what's changed since Plesk 9, check out the following tutorial, "Getting Started with Parallels Plesk Panel 10."
4) When finished using the reseller panel, be sure to log out to prevent unauthorized users from gaining access.
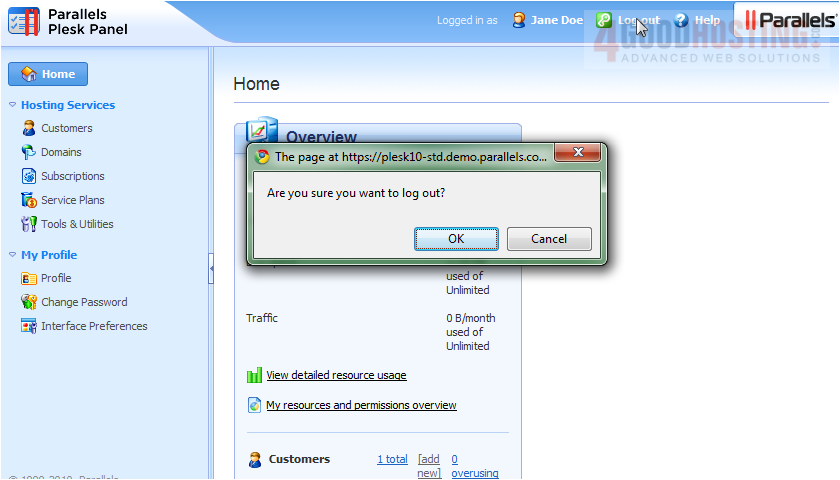
Now that you know how to log in and out of Plesk, continue to the next tutorial to become familiar with the interface.

 WGS AI Assistant