Add-ons let you broaden the amount of resources and/or services provided to a customer with a particular service plan.
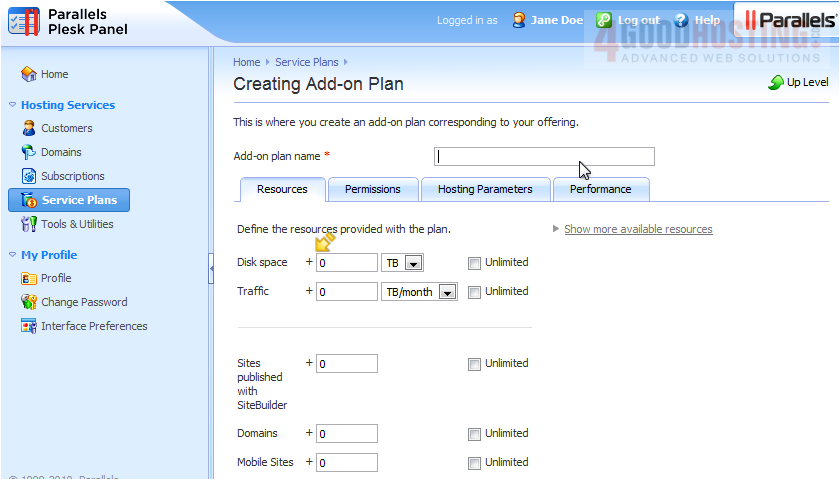
1) To create a new Add-on Plan, go to Service Plans.

2) Then click Add New Add-on.

3) Enter the add-on name.

Â
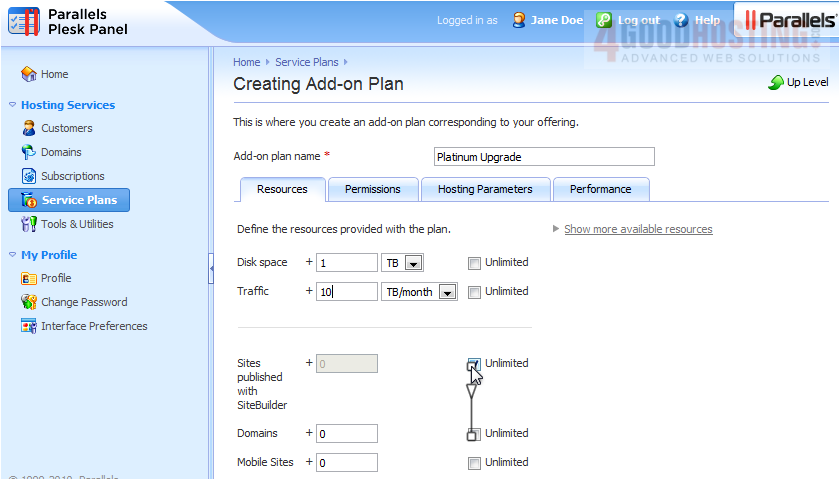
Setting up a new add-on is similar to creating a new plan. This plus sign means that anything typed in these boxes will be added to whatever resources the user already has.
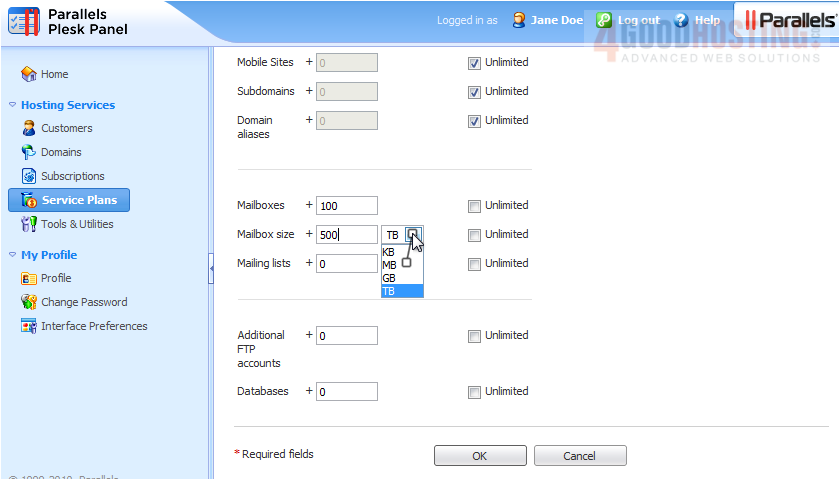
4) Choose Unlimited for any option you want to have no limit.
5) Enter any additional mailbox settings here.
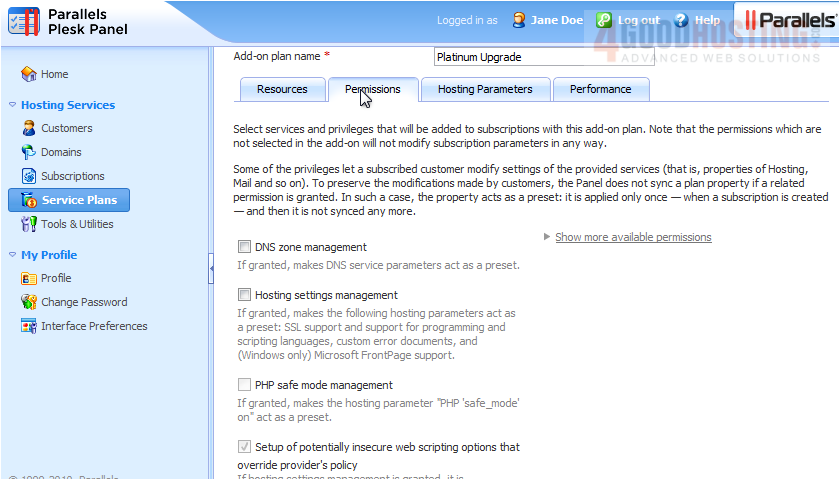
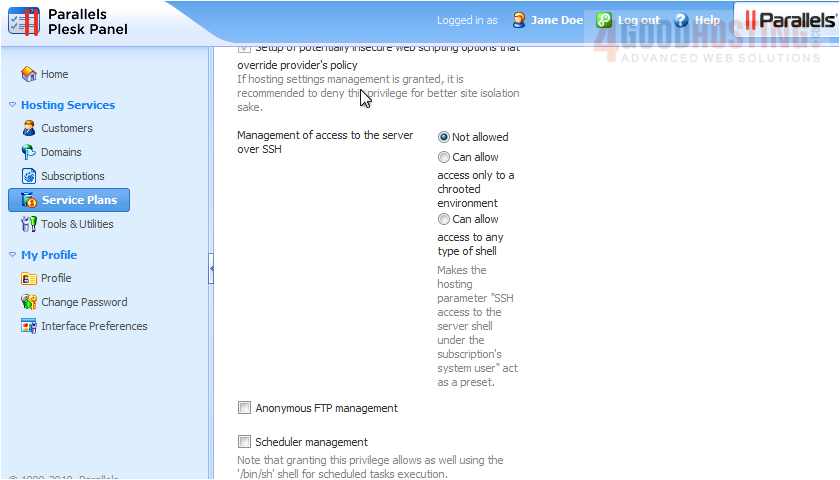
6) Go to Permissions.
Â
Any services and privileges you select here will be added on to subscriptions with this add-on plan. Anything left unchecked will not affect or modify the settings associated with the original plan.
7) Click Hosting Parameters.
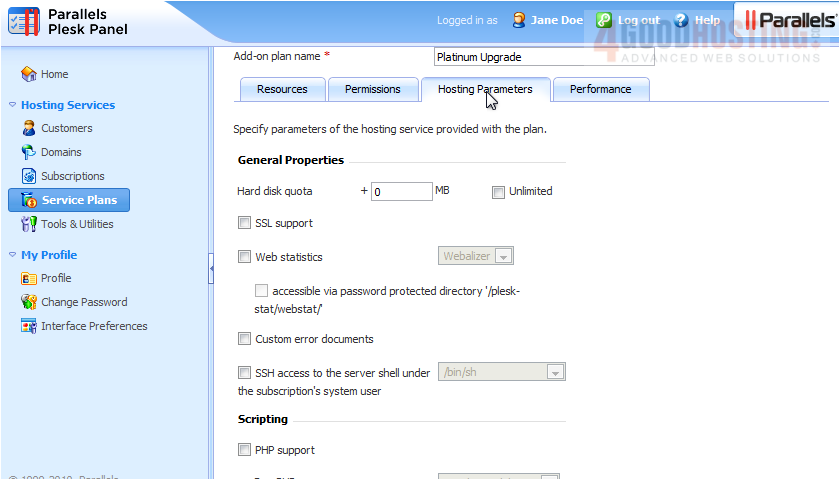
8) Specify the parameters that should be provided with this add-on.

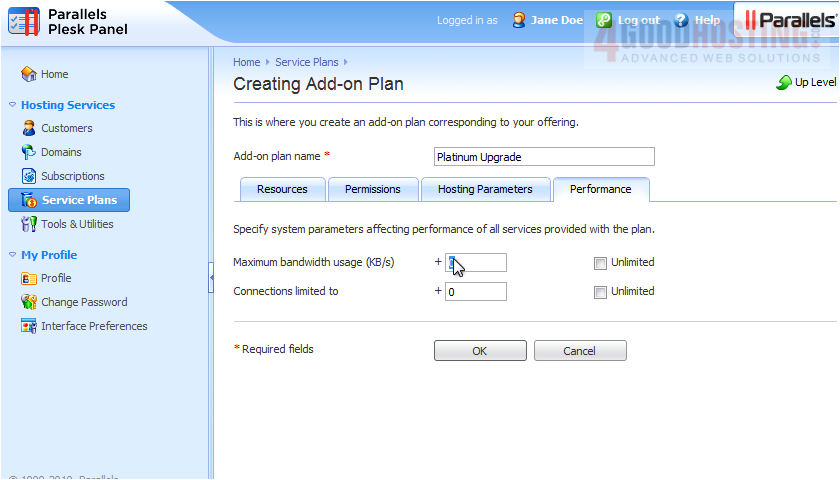
9) Click Performance.
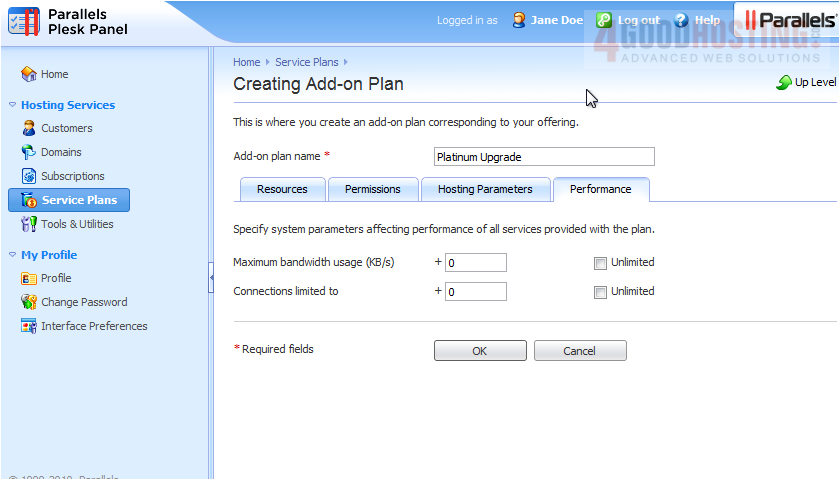
10) Optionally enter values here to offer additional bandwidth usage and simultaneous connections.
11) Click OK.

Â
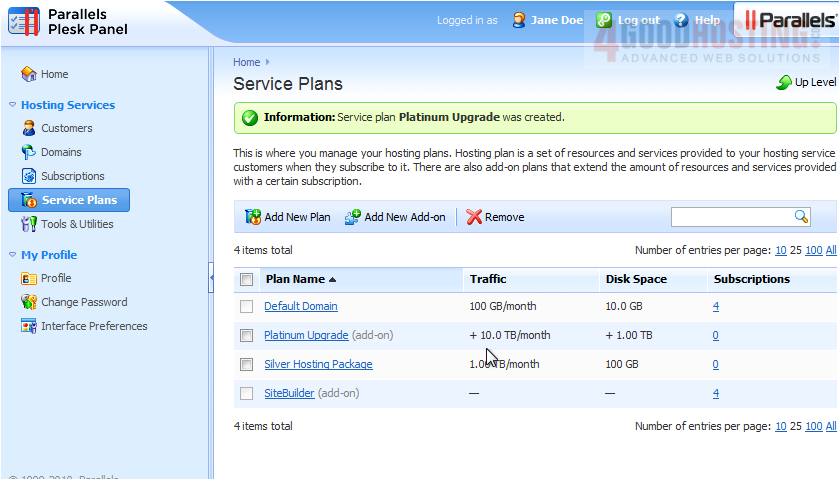
That's it! The new add-on has been created and can now be included with subscriptions for your users.

 WGS AI Assistant