Portal Home  /  Knowledgebase  /  Parallels Plesk Panel 10 admin series  /  How to enable domain forwarding in Plesk

How to enable domain forwarding in Plesk

Guide from Parallels Plesk Panel 10 admin series — written for Canadian customers. Billing always in CAD.

Parallels Plesk Panel 10 admin series
This tutorial assumes that you have already logged in to Plesk.

Now let's learn how to create a domain redirect in Plesk.

A domain redirect is needed when you have a domain which should redirect to another domain.

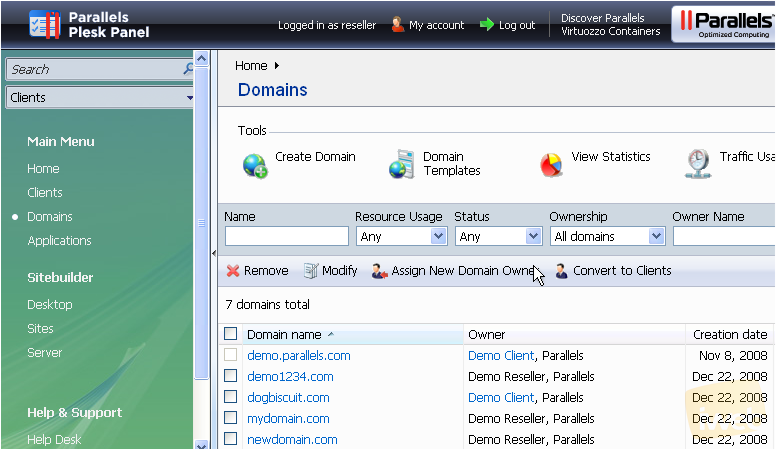
1) Click Domains icon here.
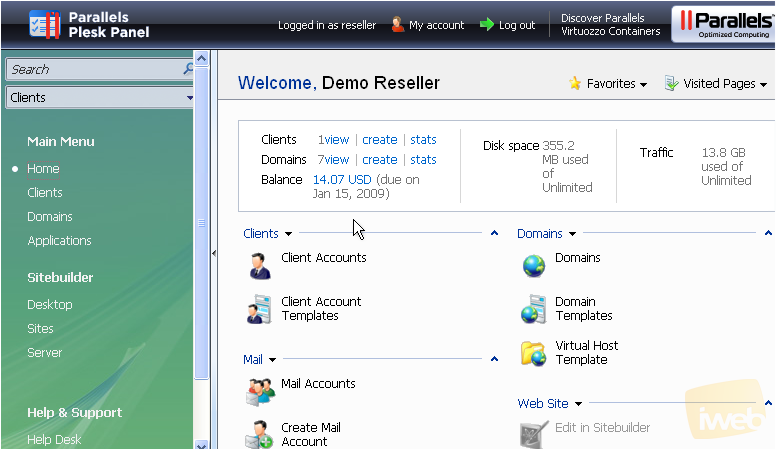

frame02_1.png


2) Click Create Domain icon here.


frame03_1.png


Let's go ahead and create a domain for redirect...

3) Select www check box here.
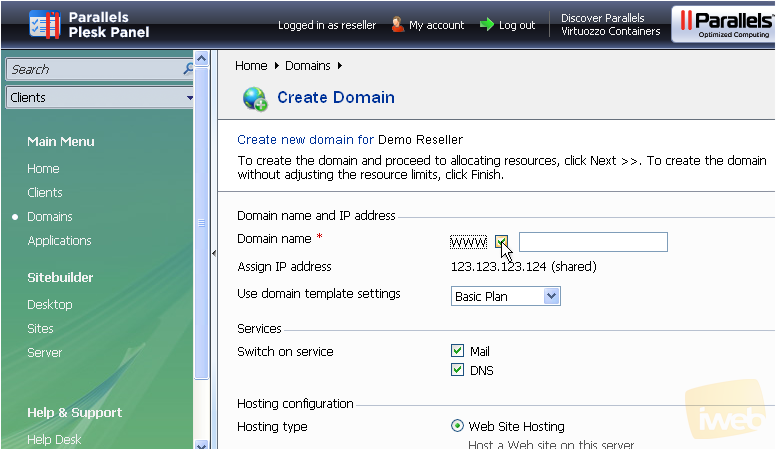

frame05_1.png


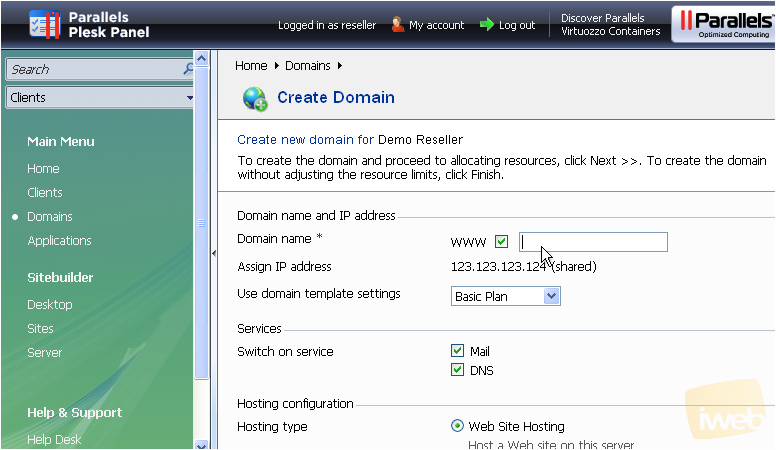
4) Type in the domain name for redirect.

frame06_1.png


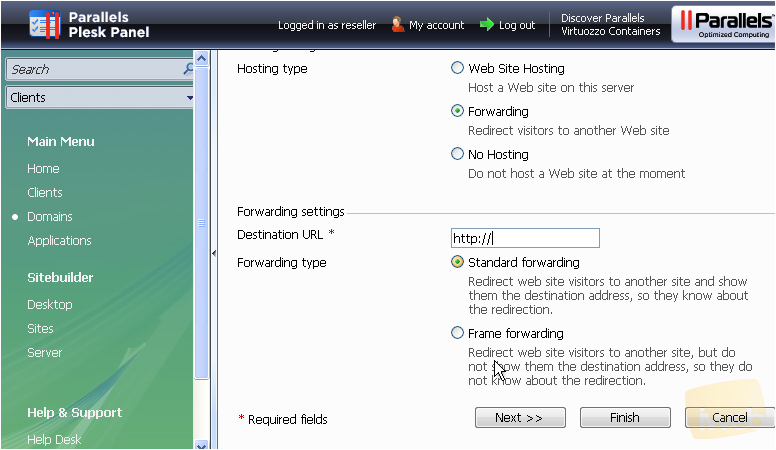
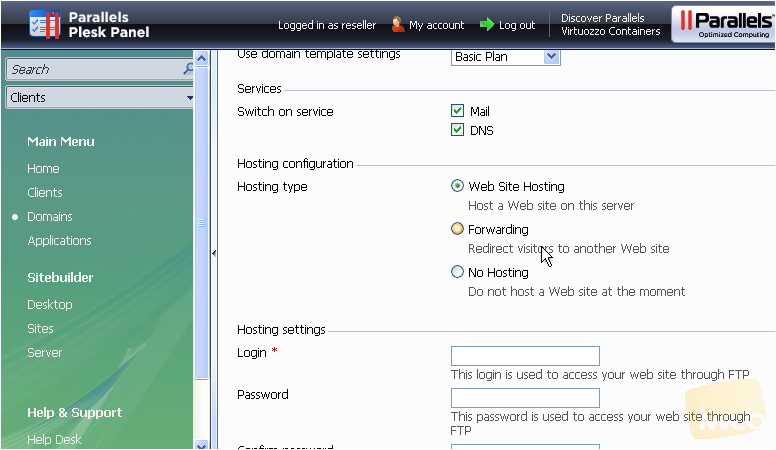
5) Select Forwarding hosting type here.

frame07_1.png


6) Type in the Destination URL.


frame09_1.png


Let's leave Standard forwarding type which shows the destination address to your users.

7) Click Finish when ready.

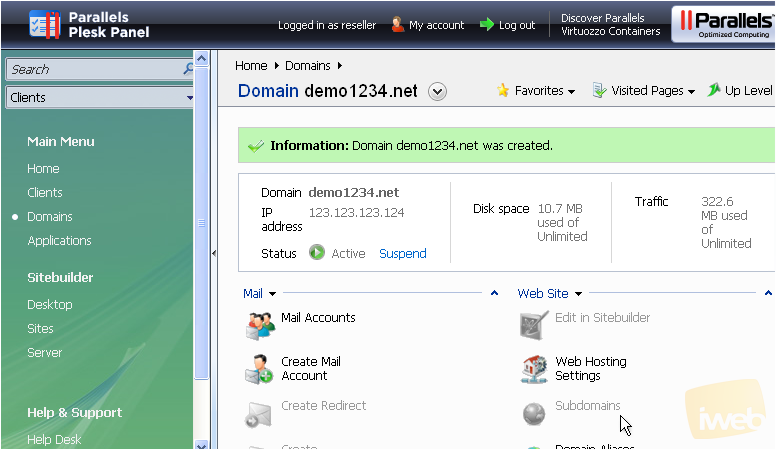
That's it! The domain demo1234.net has been created and the redirect has been set up...let's go take a look.

frame10_1.png


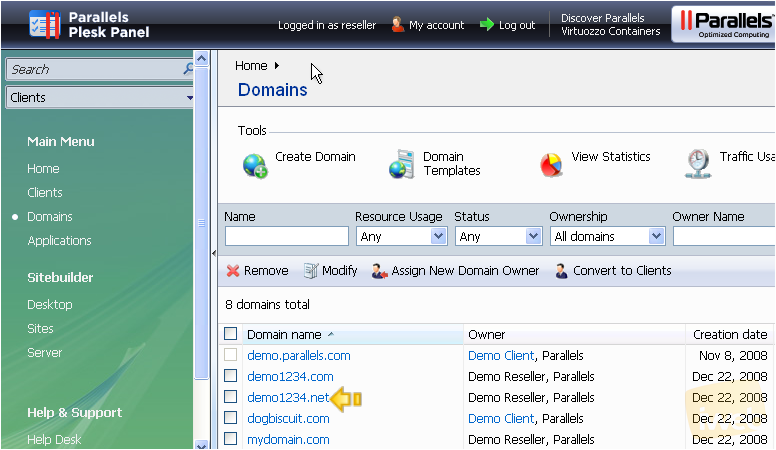
8) Click Domains link here.

Here it is!

frame11_1.png


This is the end of the tutorial. You now know how to create new domain redirects (or forwarders) from within Plesk.

Was this answer helpful?

🇨🇦 Canadian support that answers

Chat or ticket — Vancouver & Toronto team, same timezone as most of our customers. Billing always in CAD.

Open a support ticket

Live chat

Quick questions while you’re working through this guide.

Start chat

More in this category

Browse other guides in Parallels Plesk Panel 10 admin series .

Parallels Plesk Panel 10 admin series →