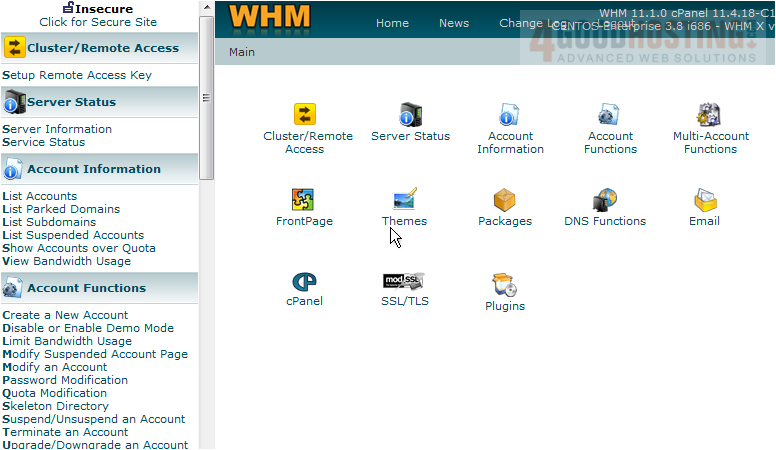
This demo assumes you've already logged in to WebHost Manager (WHM)
Now let's learn about the Feature Manager and how you can use it to help create hosting accounts
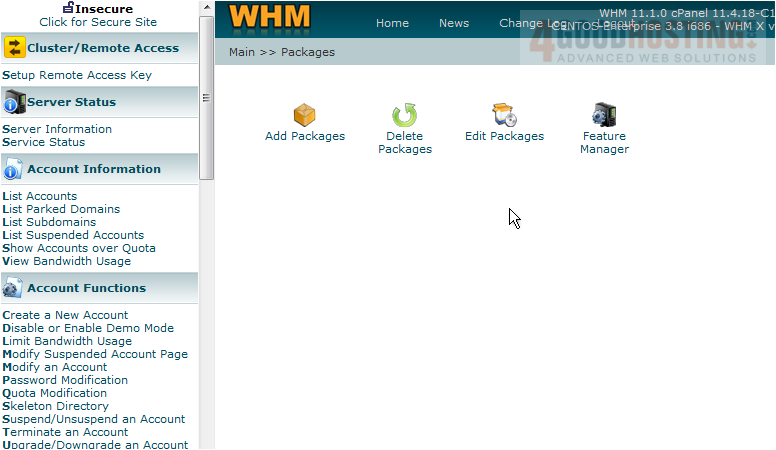
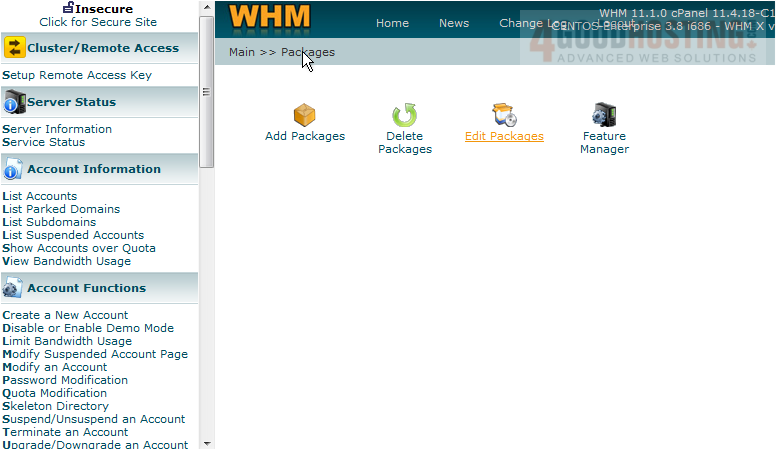
1) Click the Packages link
Â
2) Then click the Feature Manager link
Â
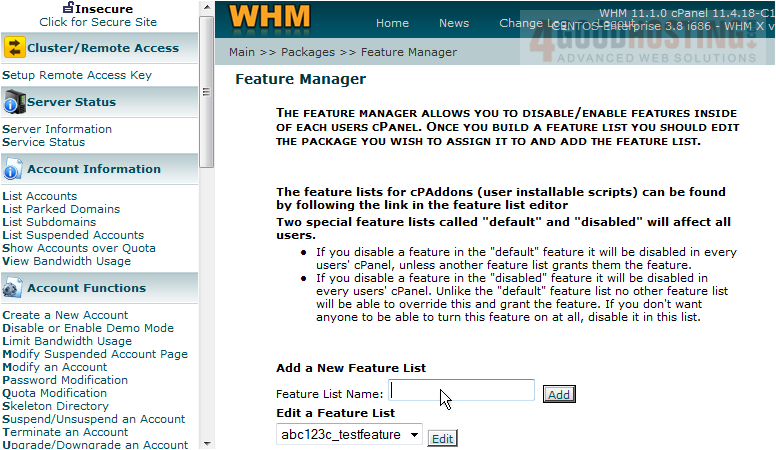
Feature Manager let's you assign a custom set of features to a specific package
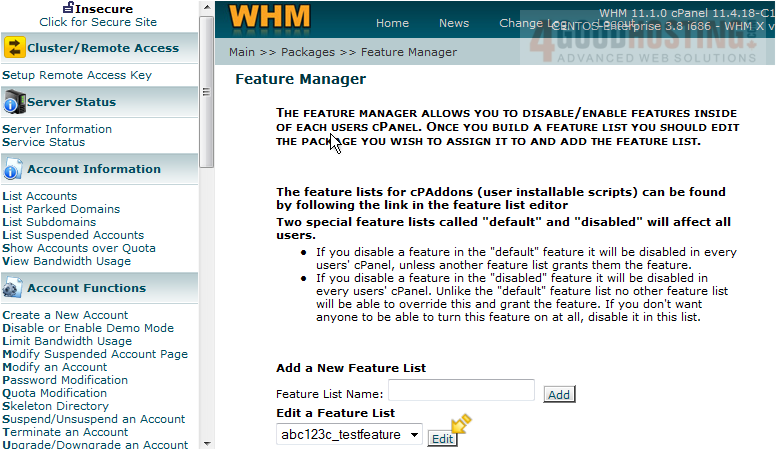
The first thing we must do is create a feature list name
Â
3) Enter a Feature List Name here
Â
4) Click the Add button
Â
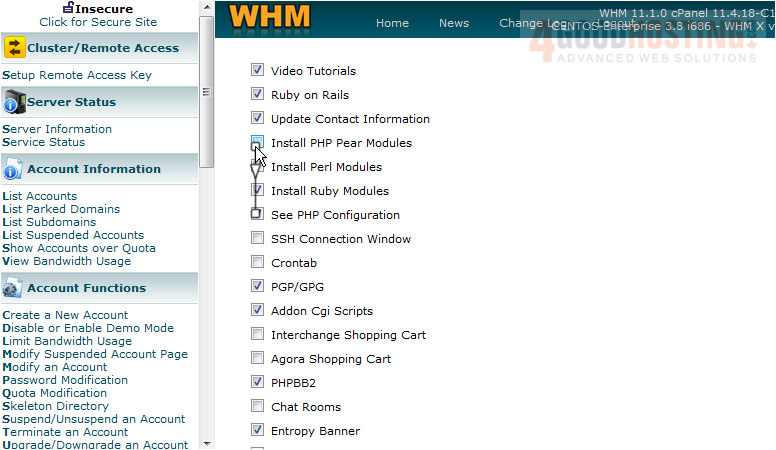
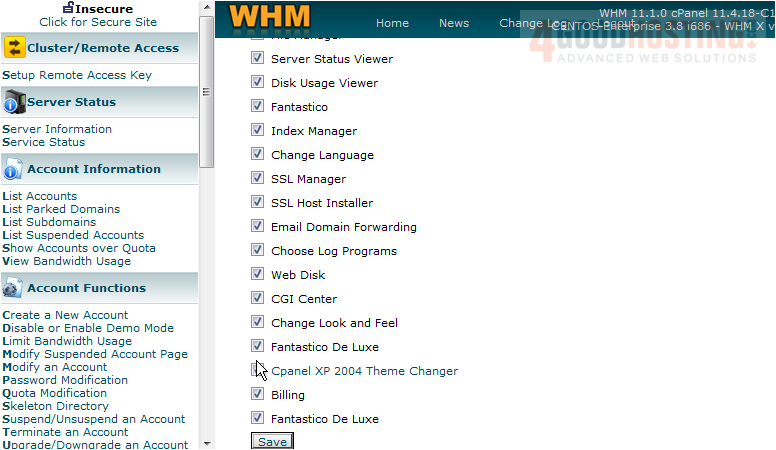
This is a list of all the features available in cPanel, and by default, most are all selected. Â But we want to create a custom feature list whereby not all features will be available to certain accounts

Â
5) So let's go ahead and make changes in the feature list
Â
6) When finished, click Save
Â
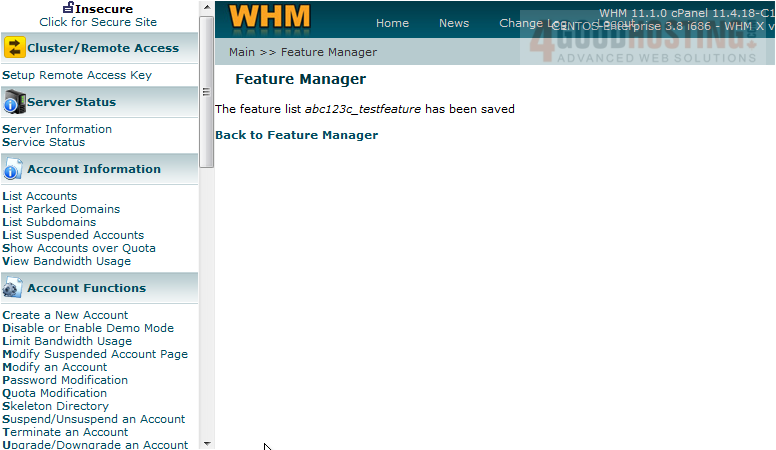
That's it! We've just created a custom feature list
Â
7) Click here to go back to the Feature Manager
Â
8) From here, we can edit the feature list we just created
Â
In order to use the feature list we created, it must be linked to a specific package
9) Click the Packages link
Â
10) Then click Edit Packages
Â
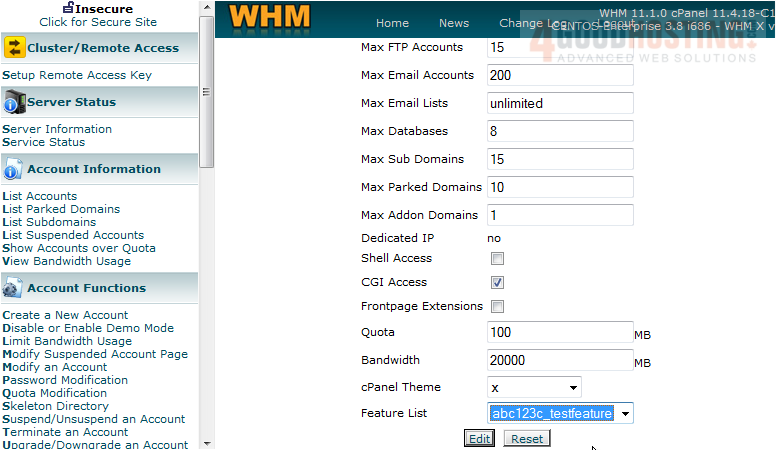
11) Select the abc123c_bronze package, then click Edit
 
Â
12) Select the feature list we created here
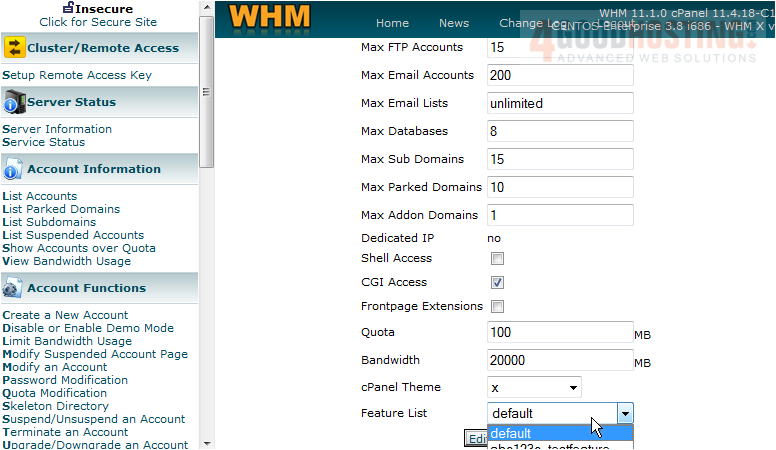
Â
13) Then click Edit
Â
That's it!  Now, any time we create a hosting account and assign it the bronze package, the account will only have those features available to it that we assigned when we created the testfeature feature list

Â
This is the end of the tutorial. Â You now know how to use the Feature Manager tool in conjunction with Account Packages, to limit the availability of features to certain accounts
Â

 WGS AI Assistant