
This demo assumes you've already logged in to WebHost Manager (WHM)
You have the ability to turn any account in your WHM into a demo account. A demo account is commonly used as a sales tool, as it allows potential customers to login to CPanel and browse around, but restricts the user's ability to alter files or folders
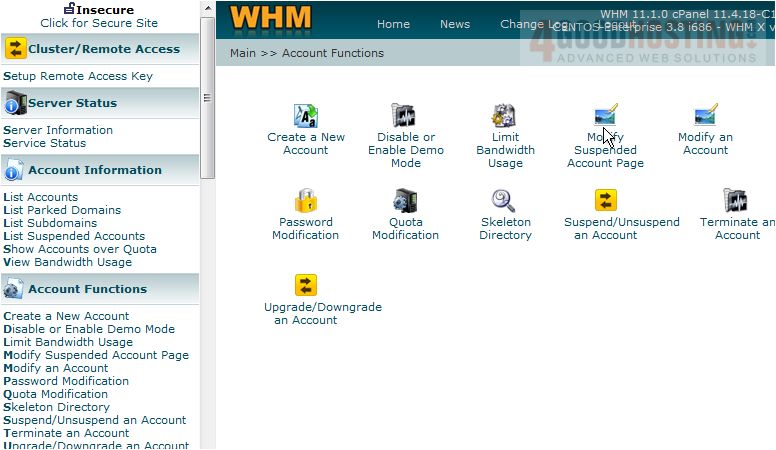
1) Click the Accounts Functions link

2) Click the Disable or Enable Demo Mode link
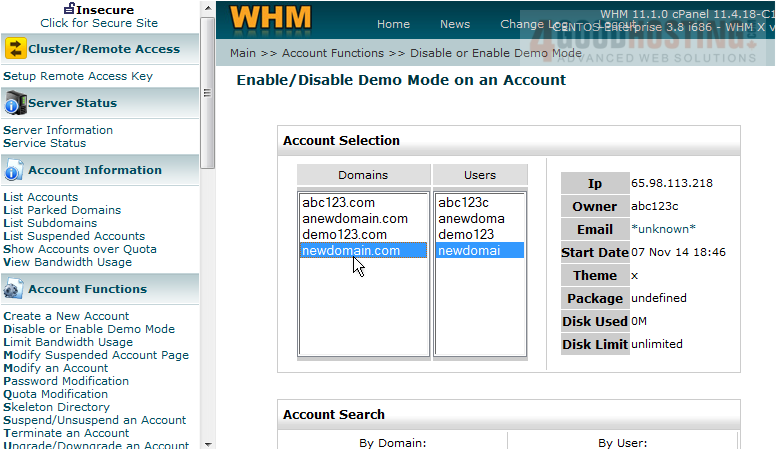
3) Select newdomain.com as the account we want to convert into a demo account
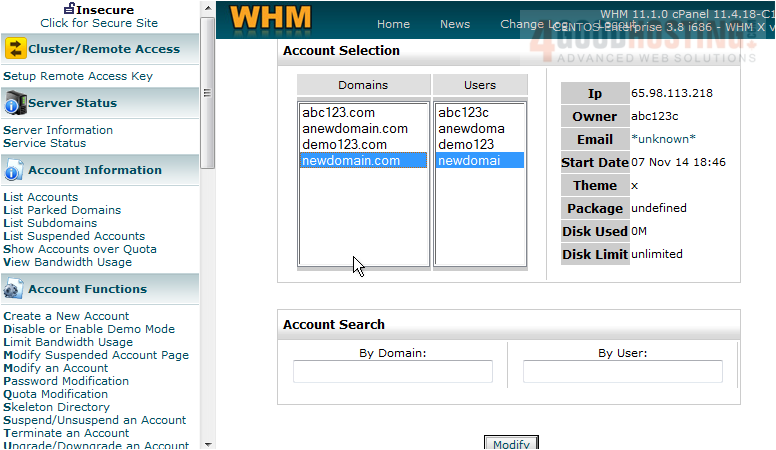
4) Click Modify
5) We can see here that demo mode is currently disabled for this account. Click the Enable button
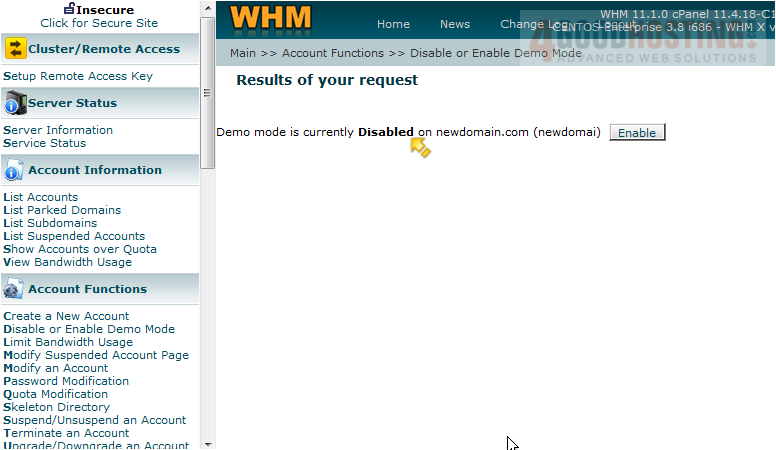
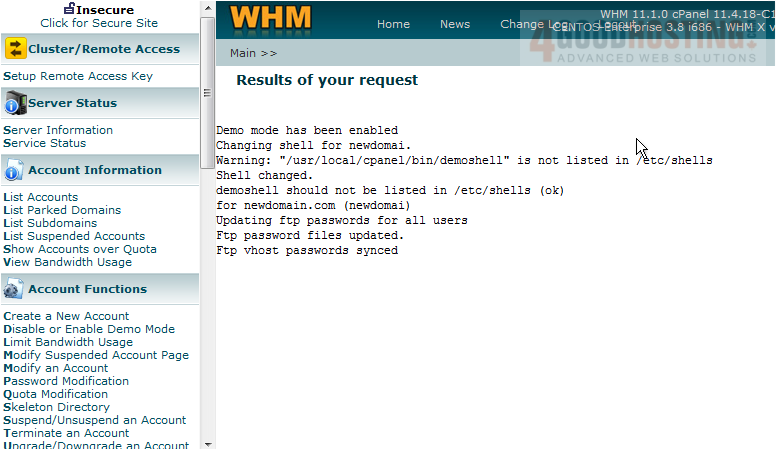
That's it! Demo mode has been enabled, meaning that when a user logs in to this account's cPanel, certain functions will be disabled
6) Click the Disable or Enable Demo Mode link
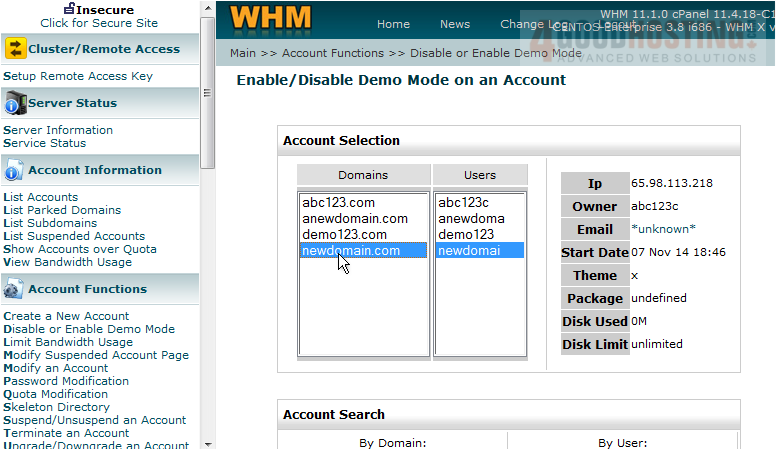
7) Select newdomain.com again
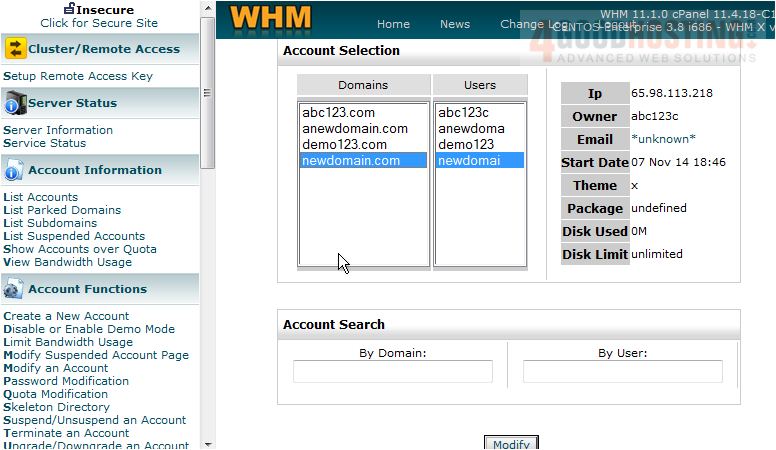
8) Click Modify
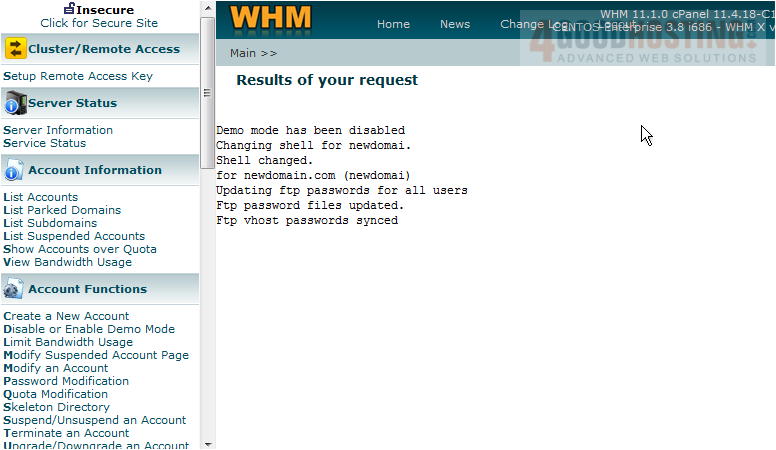
9) Then click Disable
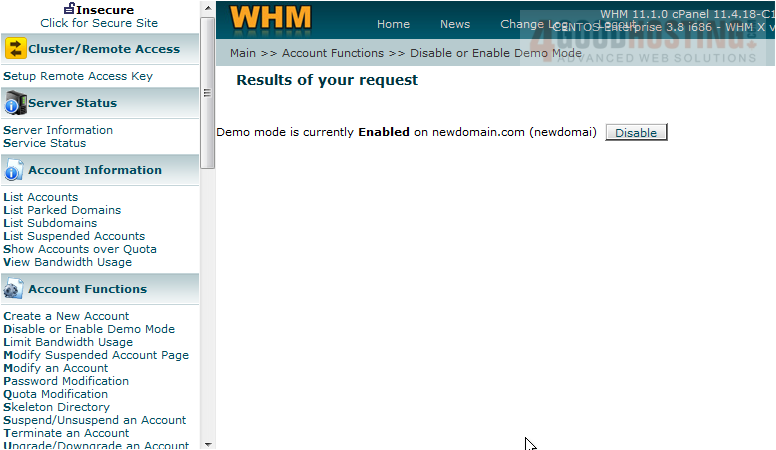
Demo mode has been turned off, and the account is once again fully functional
This is the end of the tutorial. You now know how to setup a demo account, so you can allow your customers access to a seemingly fully functional CPanel, but that won't allow them to alter any files

 WGS AI Assistant