This demo assumes you've already logged in to WebHost Manager (WHM)
Now let's learn about the Skeleton Directory
1) Click the Account Functions link
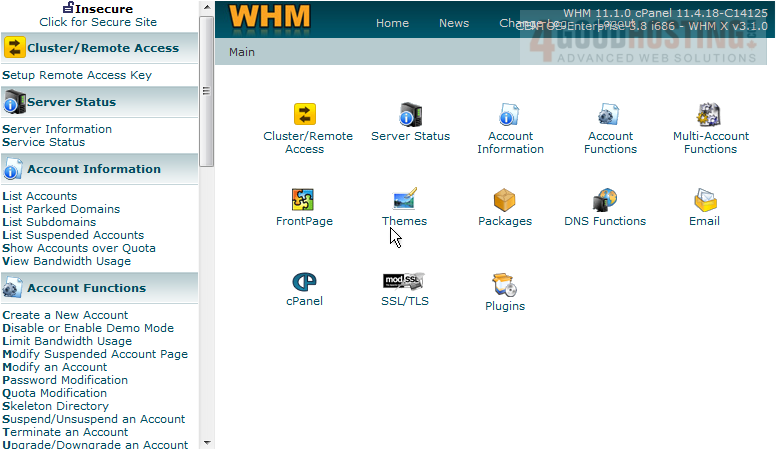
2) Then click the Skeleton Directory link

Â
The skeleton directory is where you put a temporary home page for all accounts you create in WHM. The temporary home page is what visitors will see in their browsers, until a new home page is uploaded to the account. In this tutorial, the reseller's account's main username is abc123c, so that's where the skeleton directory is located (see here)

3) To change the temporary (or default) home page, simply upload a new page to the cpanel3-skel directory in the location shown above, using either an FTP program or the File Manager tool in your main account's CPanel
Â
This is the end of the tutorial. Â You now how to view the skeleton directory in WHM

 WGS AI Assistant