
User roles allow you to configure how much access each type of user has to your hosting subscription.
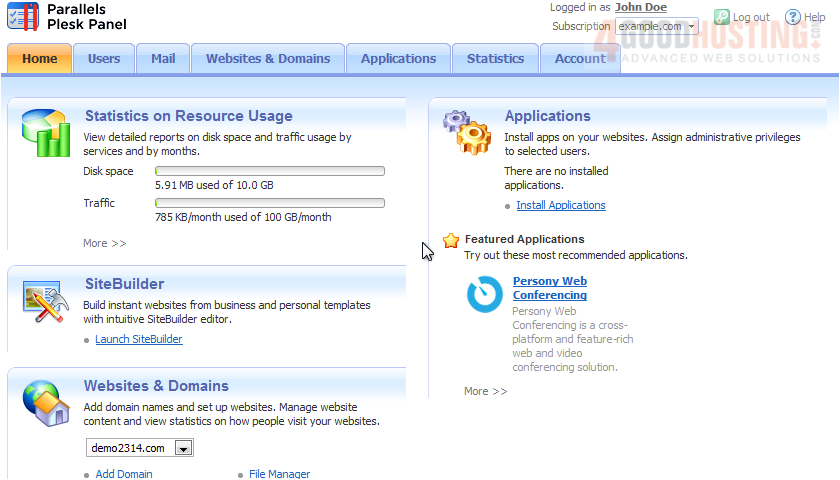
1) Go to Users, and click the User Roles tab.
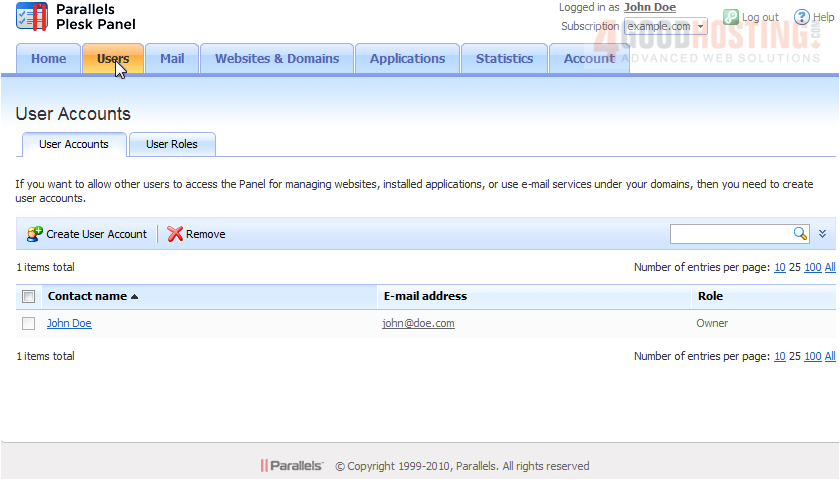
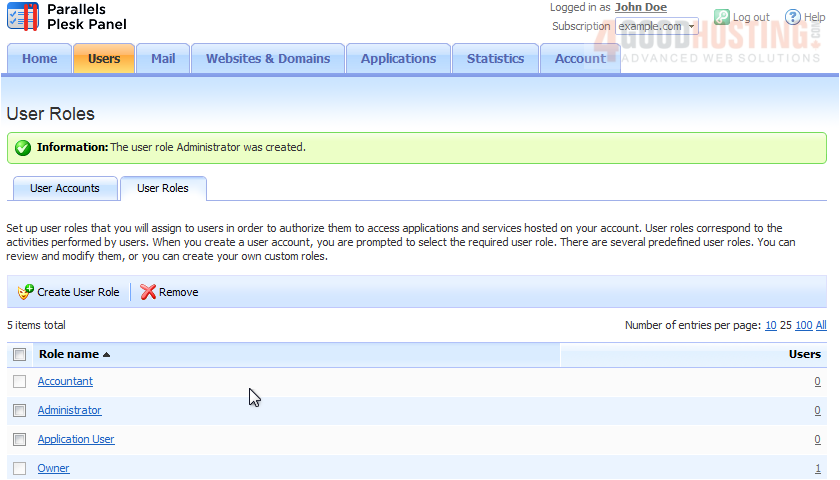
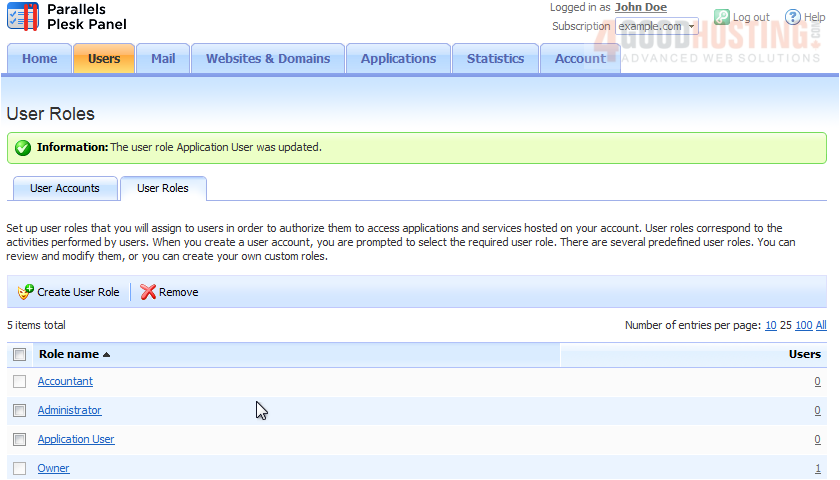
These are the predefined user roles that are automatically created by Plesk. You can review and modify them, or you can create your own custom roles. Go to Create User Role to create a new role.
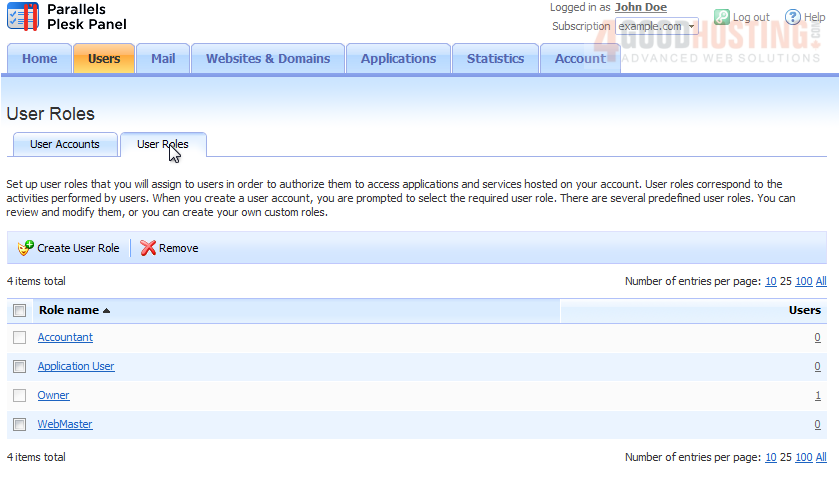
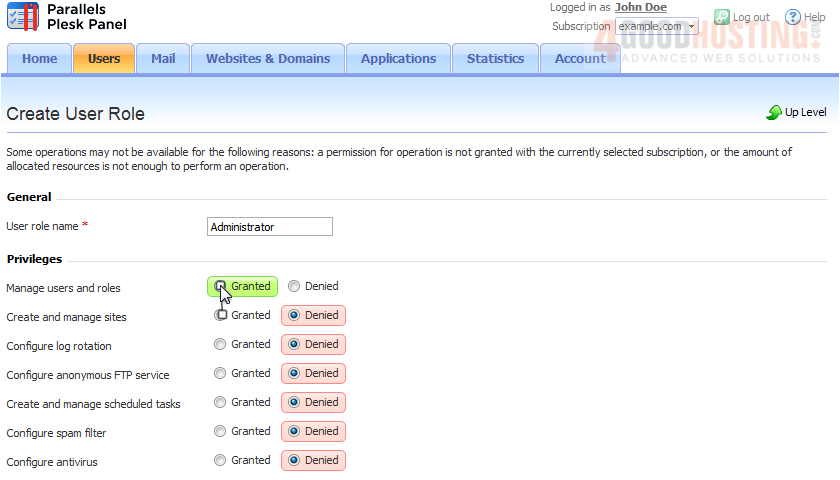
3) Type the role name.
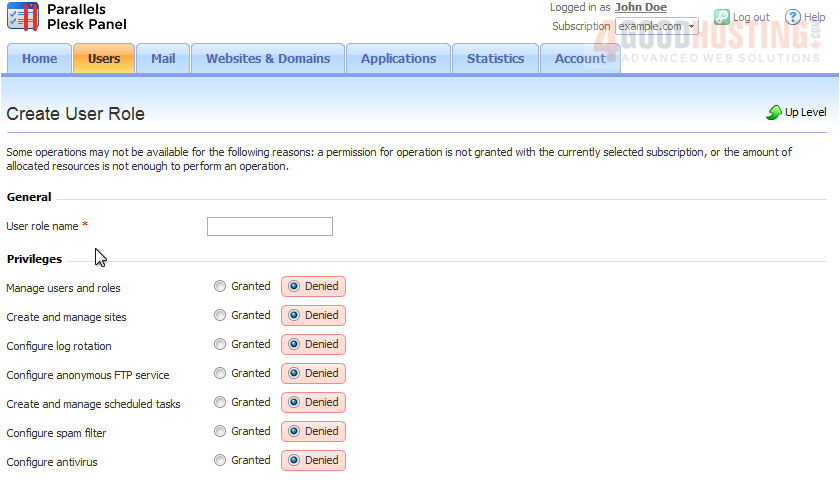
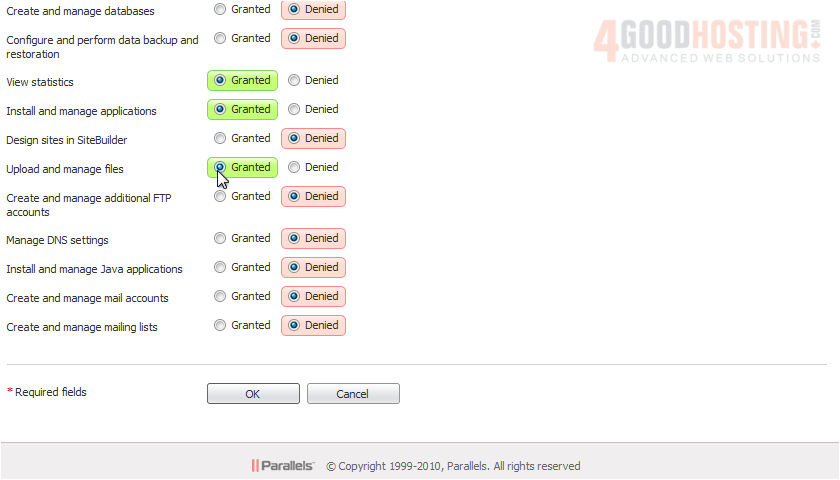
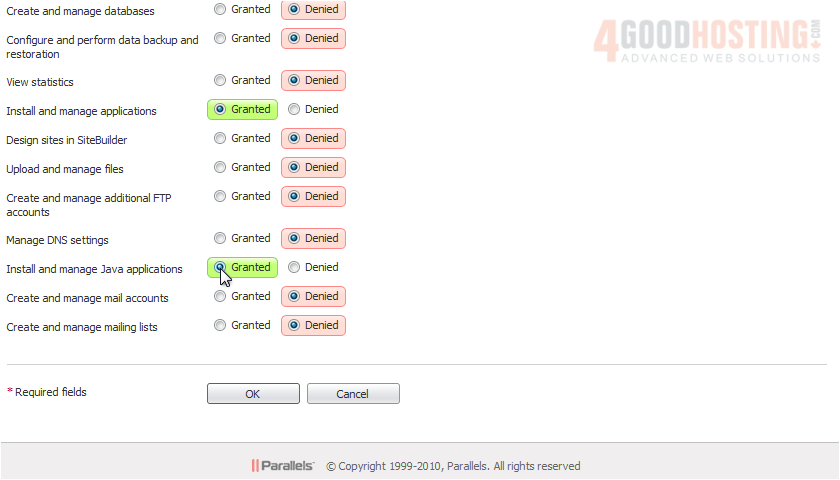
4) Now we can grant this user group specific privileges. Privileges are what let you allow or deny access to each user group. By default, all privileges are set to denied. Choose desired priviledges and click OK to save.
5) The new role we created shows up in the list and is ready for use. Click on a role name to edit the permissions.
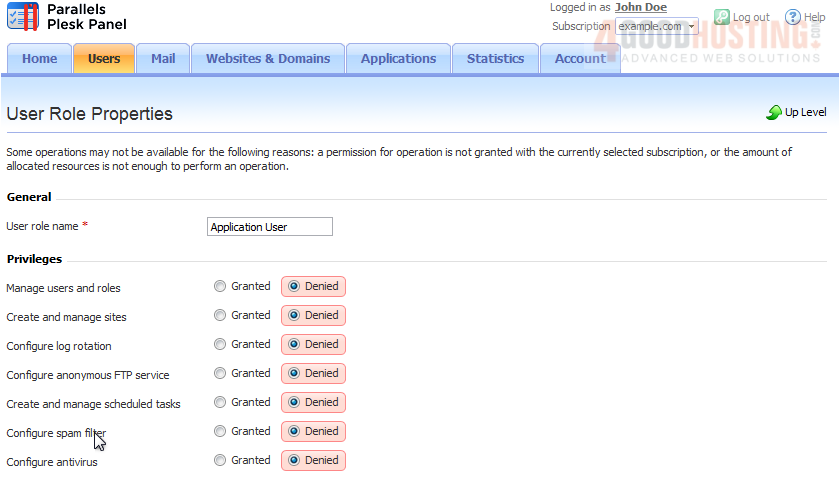
6) Again, this is where you can edit the role's name and its various privileges. Click OK to save.
Now that our roles are set up, they can be assigned to users, which you'll see how to do in the following tutorial.

 WGS AI Assistant