
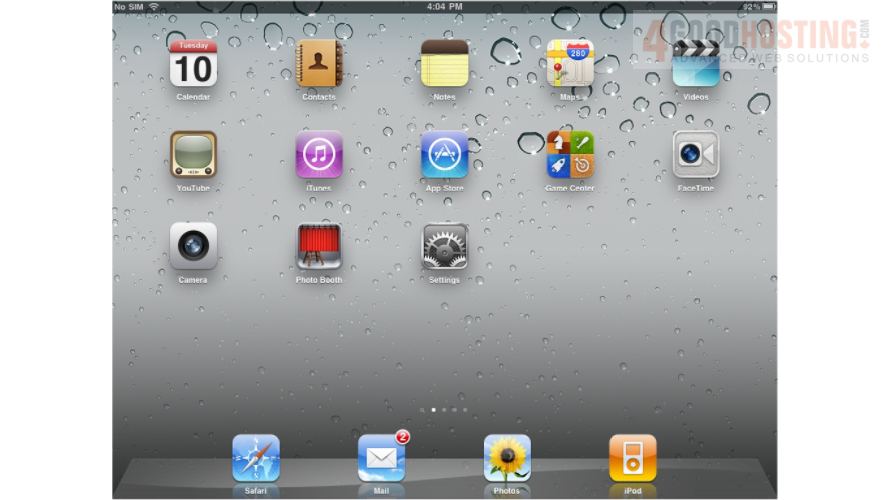
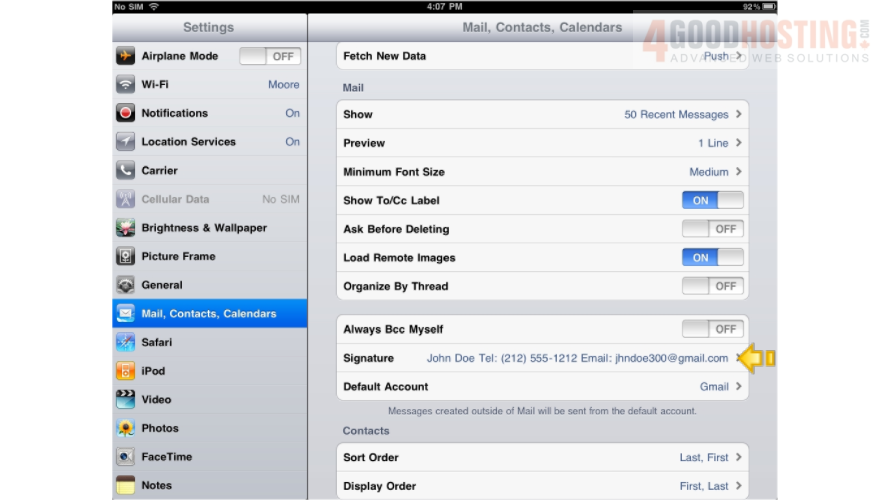
1) This tutorial will show you how to setup your email signature on your iPad. First, locate and press the "Settings" icon. It may be on a different screen or in a different location than shown here.
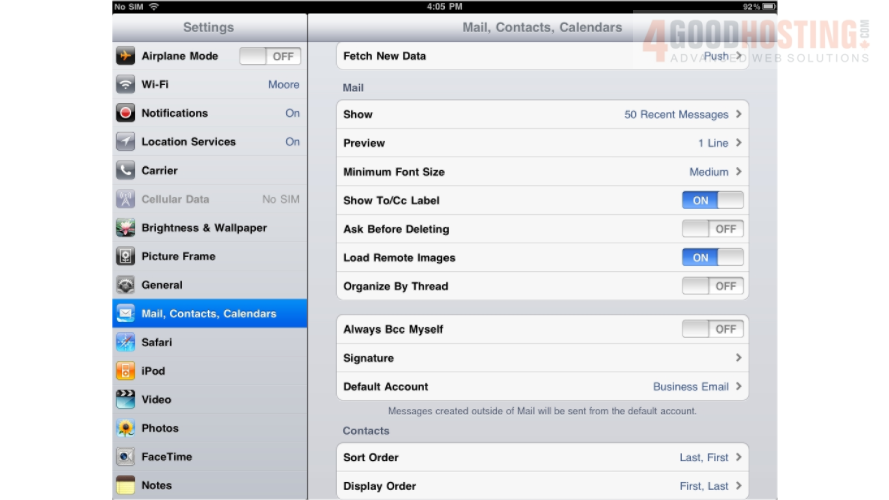
2) Then select "Mail, Contacts, Calendars"... and then select the "Signature" option.
3) Enter your signature here. It should be something that you want automatically added to the end of the emails you send from your iPad.
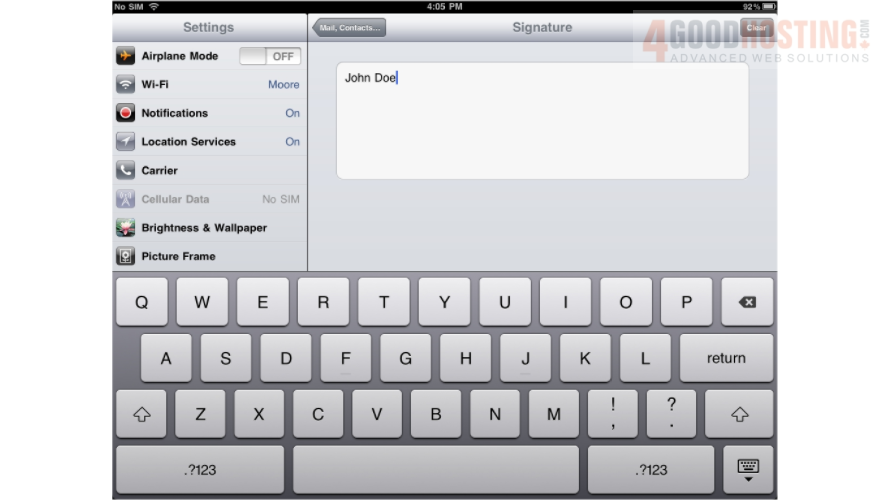
4) When finished, press the "Mail, Contacts..." button to go back.
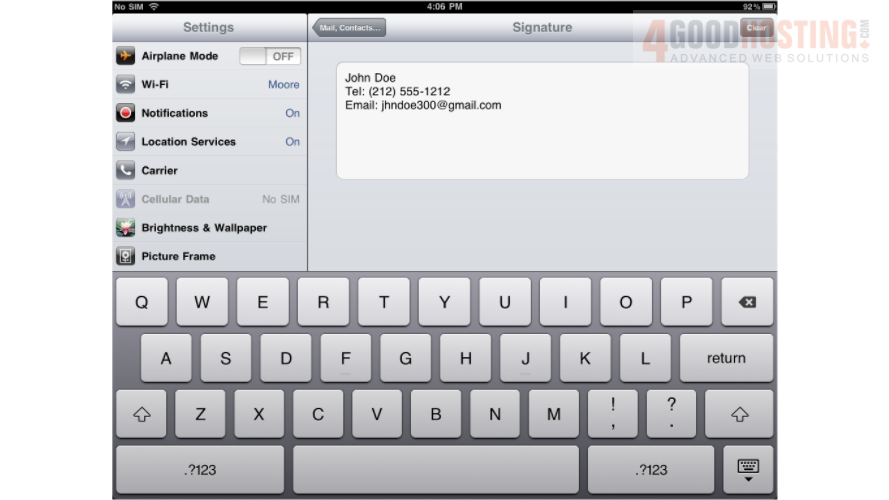
5) Success! Your new signature has been saved, as you can see here.
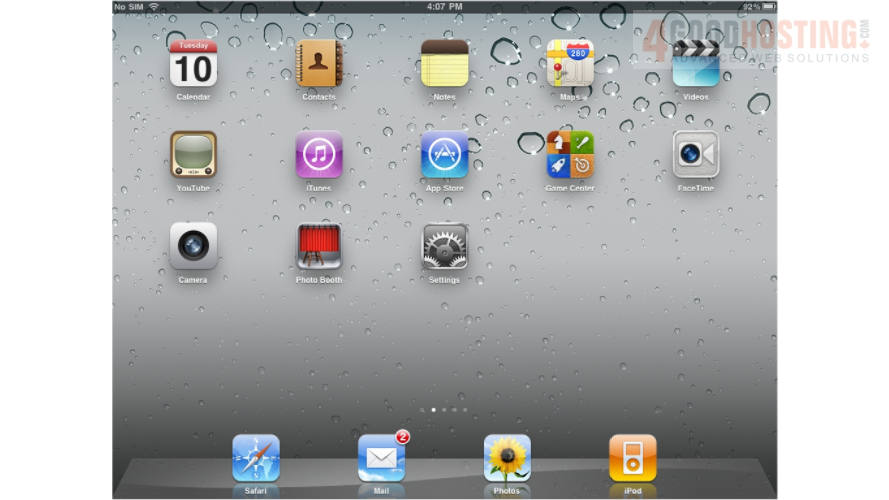
6) Let's return to the home screen by pressing the Home button on the iPad... and then let's test the signature... press the "Mail" icon (Note: the icon may be in a different location on your iPad).
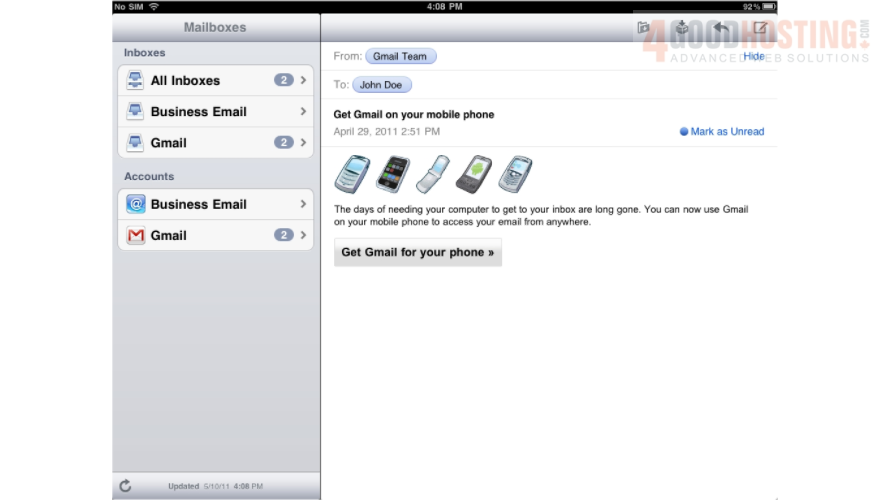
7) Then press the "Compose" icon in the upper right to start composing a new email message.
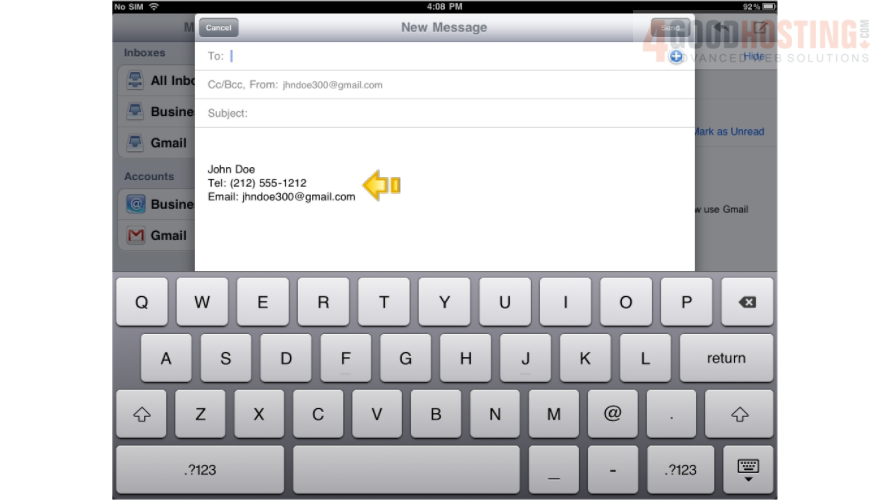
8) There it is! Our signature has automatically been added to the bottom of this email we were about to create.
That's it! You now know how to setup your email signature on your iPad.

 WGS AI Assistant