
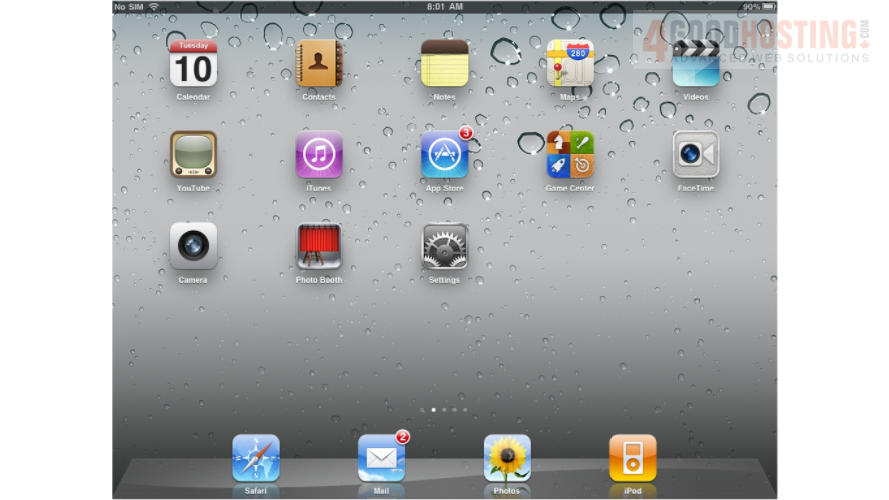
1) First, locate and press the "Settings" icon. It may be on a different screen or in a different location than shown here.
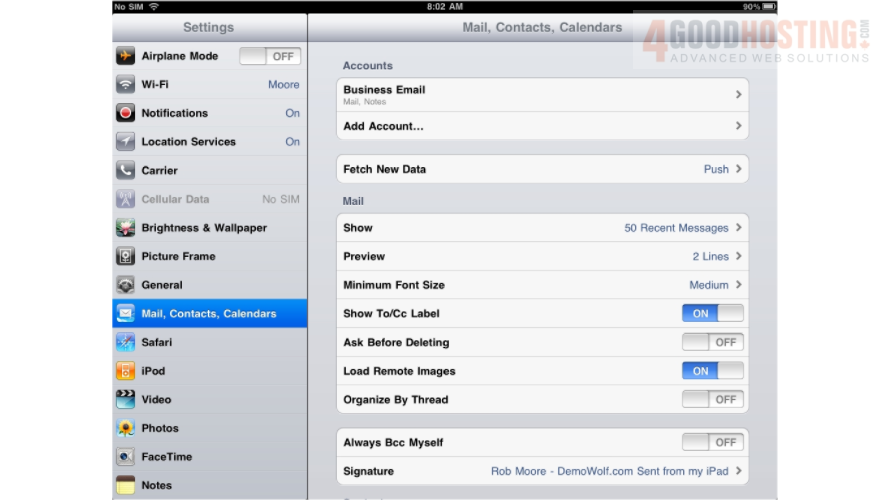
2) Then select "Mail, Contacts, Calendars", then click "Add Account".
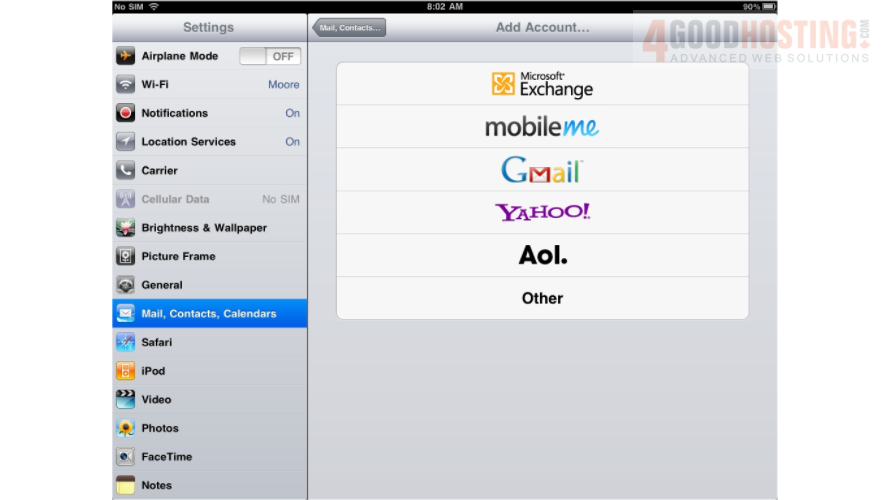
3) Then choose "Other".
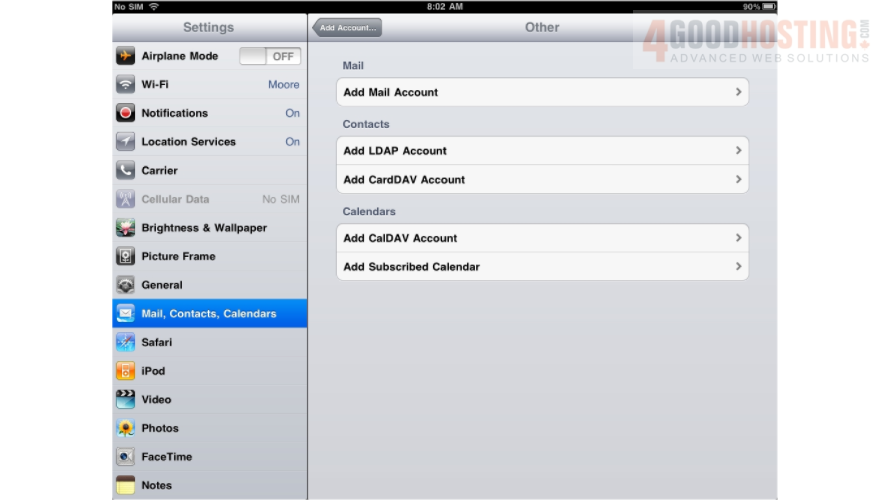
4) Press "Add Mail Account"
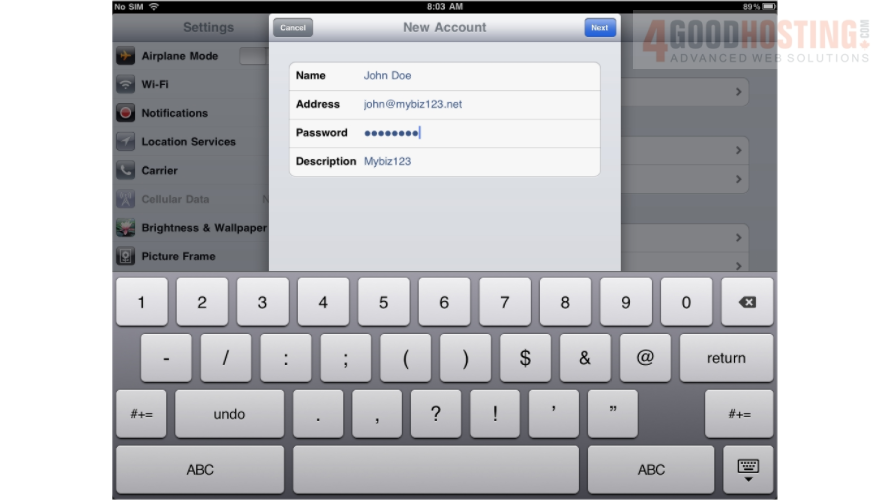
5) Enter the Name, Email address, and Email password of the email account you're adding.
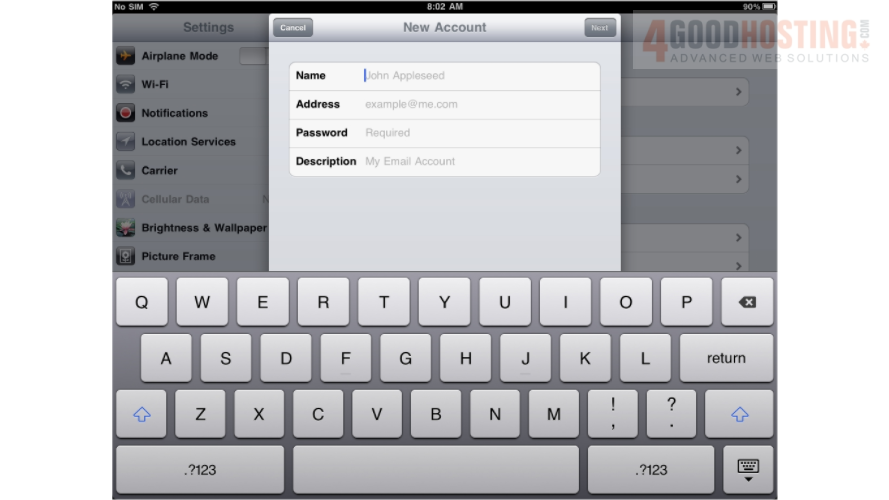
6) A "Description" will automatically appear, but you can change it if you like. When finished, press "Next"
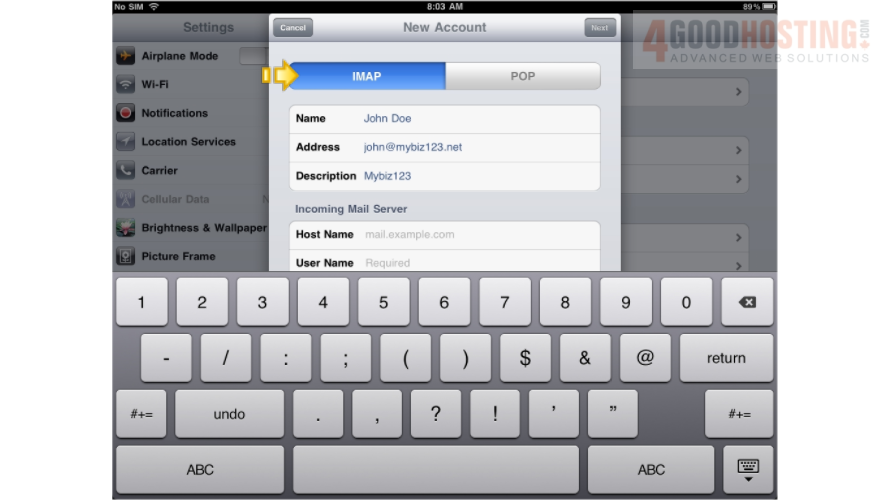
7) In this tutorial we are creating an IMAP account... therefore, ensure the IMAP option is selected here.
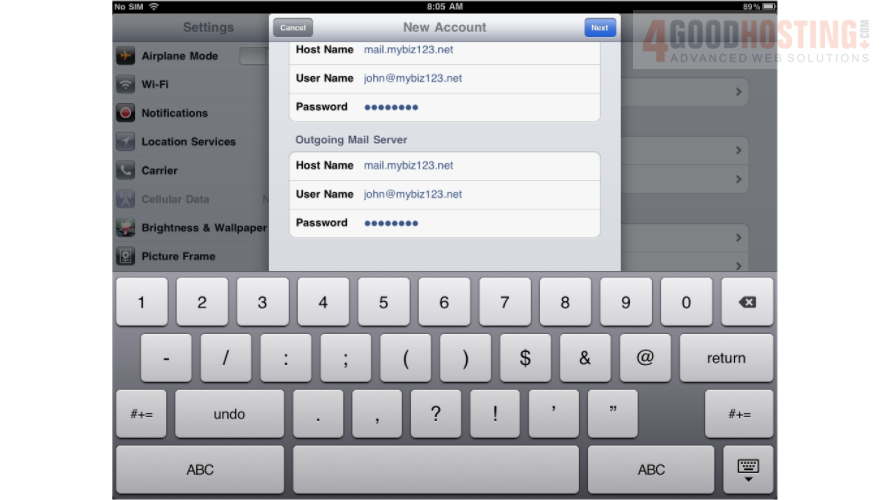
8) Next you have to enter your Incoming Mail Server settings... the Host Name, User Name and Password for the Incoming Mail Server.
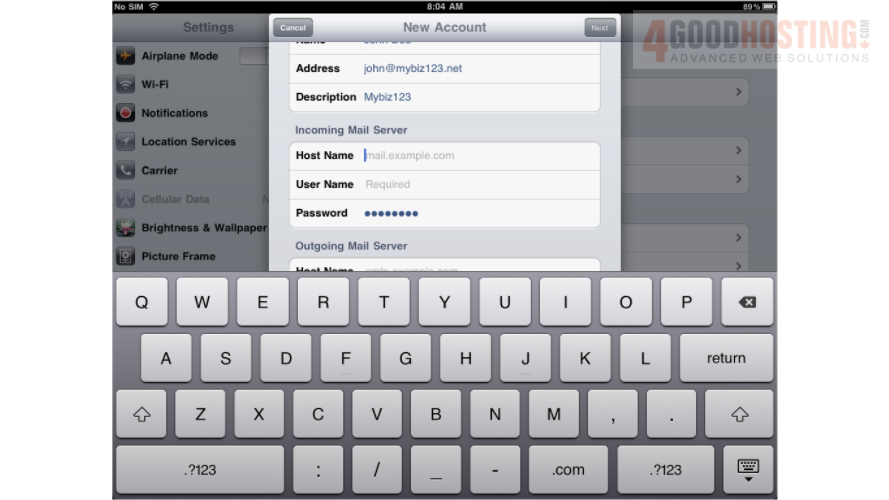
9) Next, enter the Host Name, User Name and Password for the "Outgoing" Mail Server

10) When finished, press "Next"
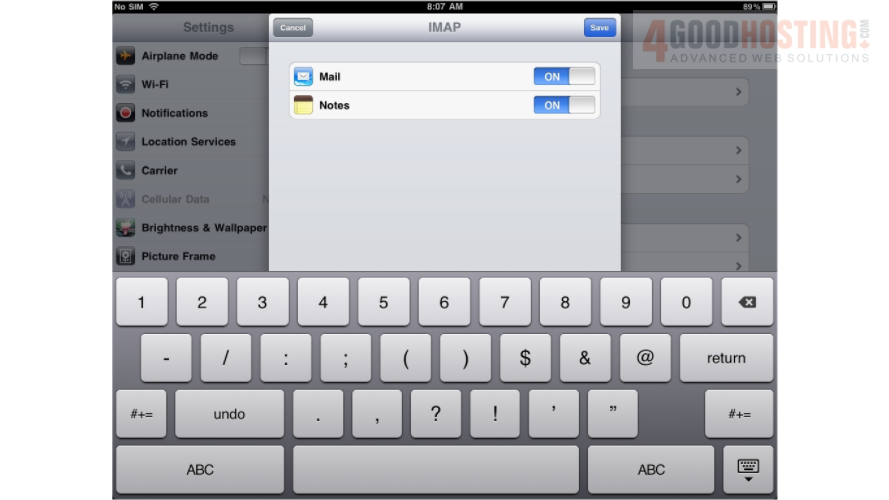
11) Then press "Save"
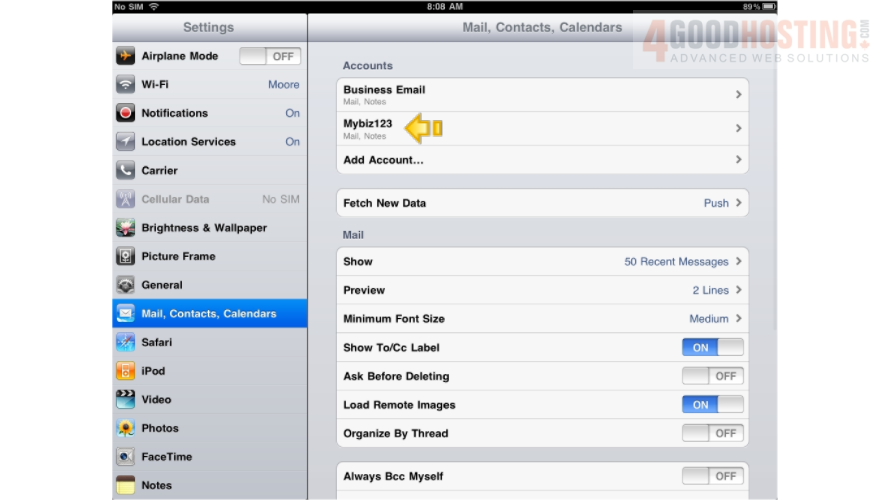
12) Success! The IMAP email account has been setup on the iPad, and you can see it here listed under "Accounts"
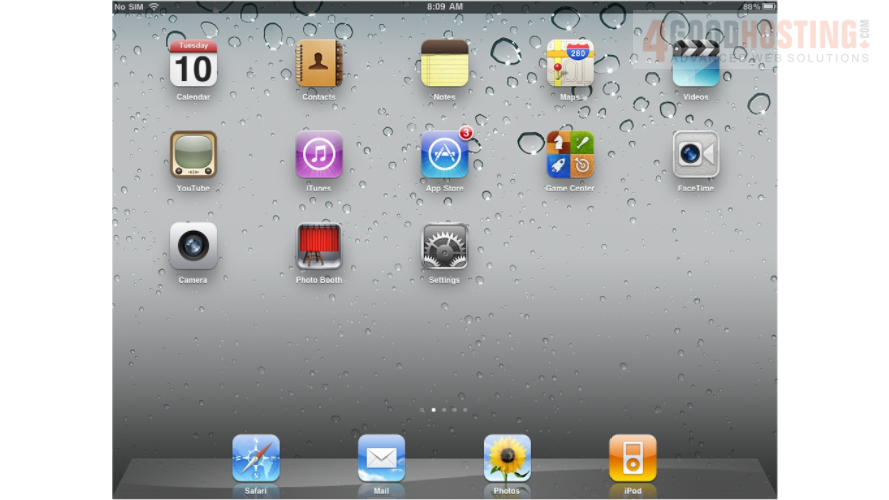
13) Let's return to the home screen by pressing the Home button on the iPad. Then to check your email, press the "Mail" icon (Note: the icon may be in a different location on your iPad)
14) If you have multiple email accounts setup in your iPad, they'll all be listed here. Select the email account we just setup...
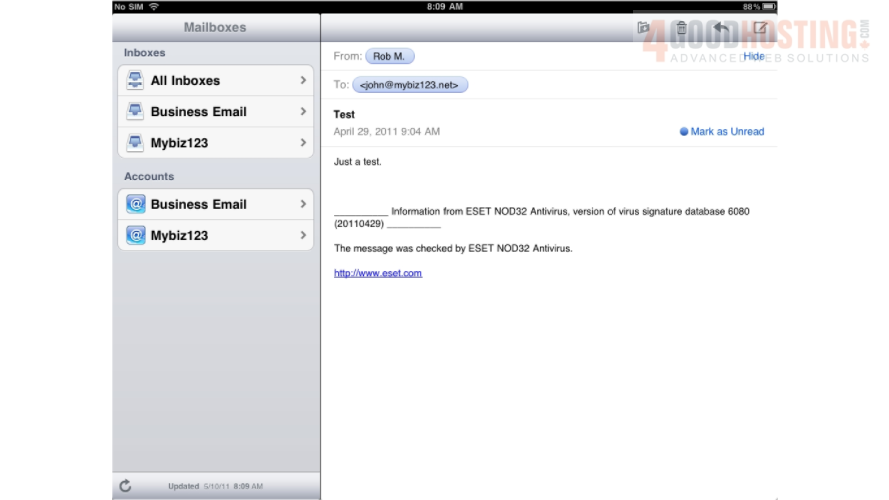
That's it! You now know how to setup an IMAP email account on your iPad.

 WGS AI Assistant