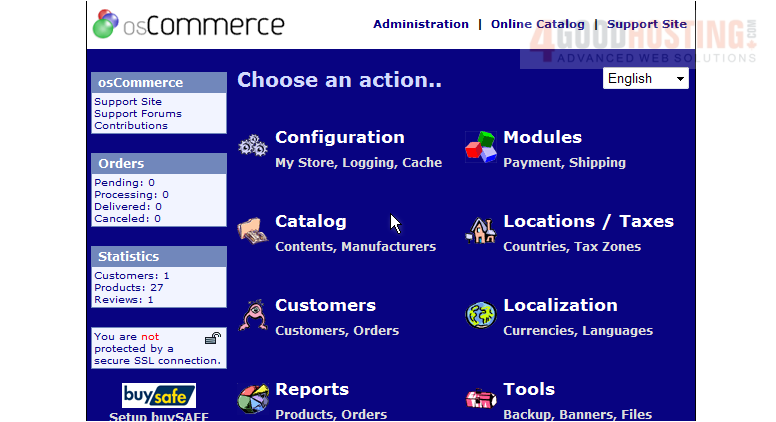
This tutorial assumes you've already logged in to osCommerce
Now let's learn how to add categories to your store
1) Click Catalog
Â
A list of existing categories is displayed here. Let's go ahead and add another one
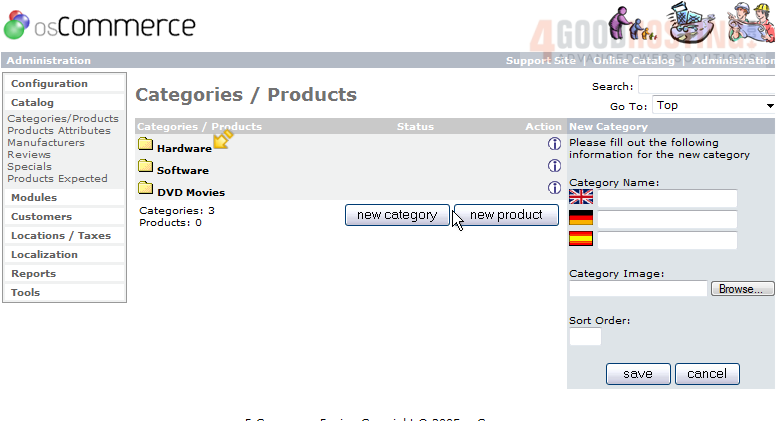
2) Then click New Category
3) Enter the name of the new category here

4) Enter an image here or optionally click the Browse button to locate the image file
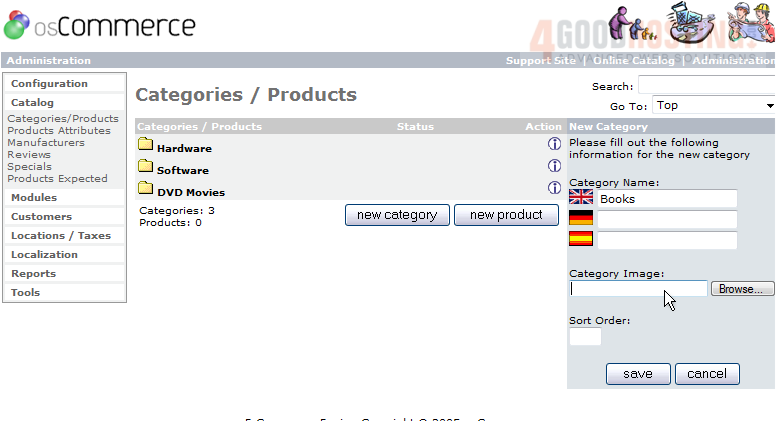
5) Click Save
Â
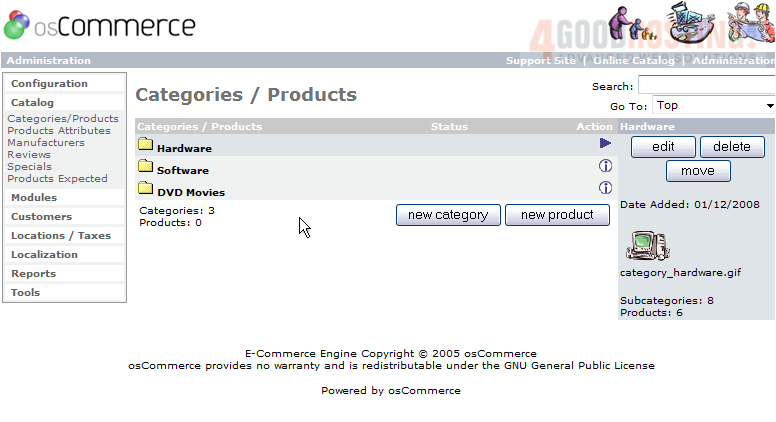
That's it! Â The category has been created and can now be seen here in the category list
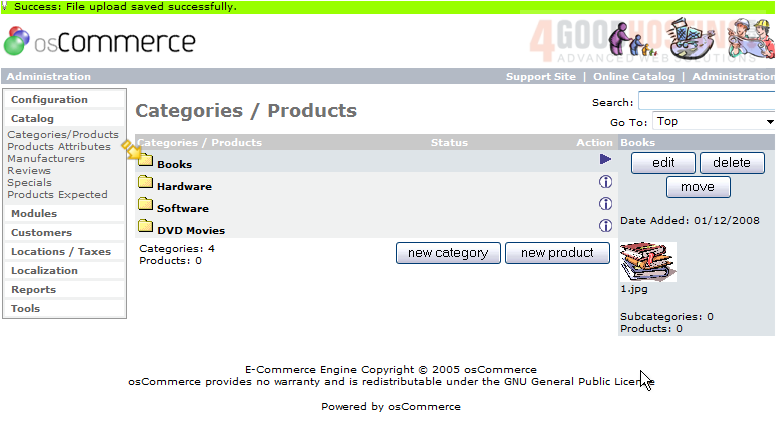
6) Click Books to view the category we just created
Â
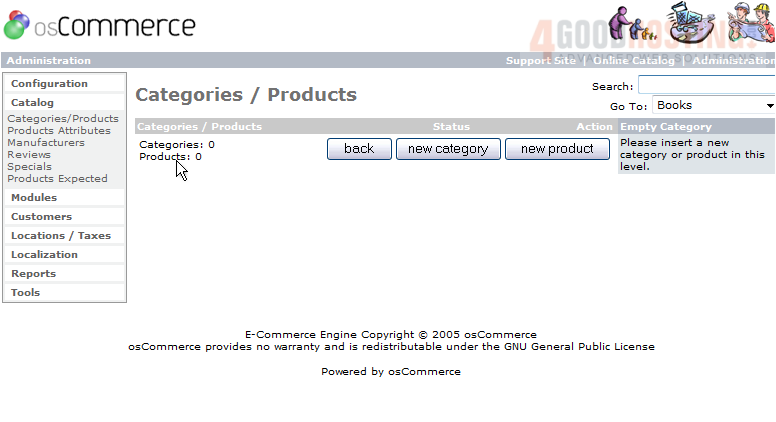
We can also create sub-categories, let's go ahead and do that now
Â
7) Click New Category
8) Enter the name of the sub-category here
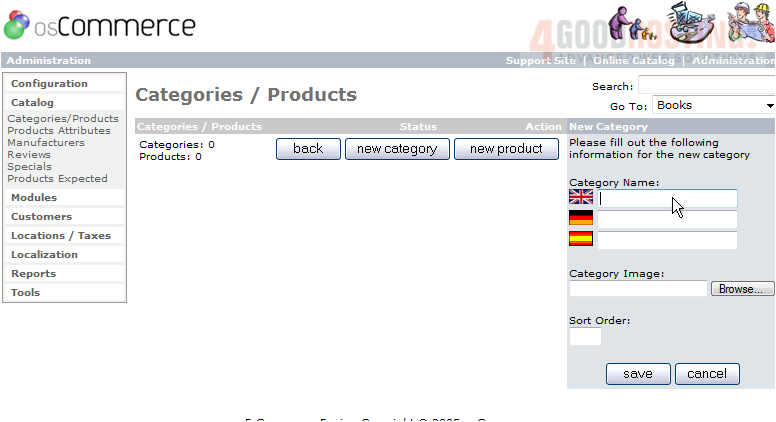
9) Enter the Category Image here

10) Click Save
Â
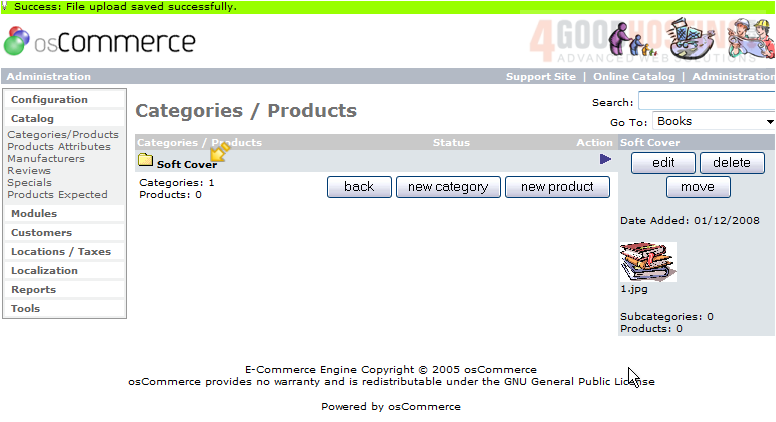
That's it! Â The new sub-category has been created and can be seen here
Â
You can create as many categories and sub-categories as you wish
Â
This is the end of the tutorial. Â You should now know how to add categories to your store in osCommerce

 WGS AI Assistant