
There are three ways to change an account's owner in WHM, none of which are actually listed in the main menu.
1) First, find the Account Information category.
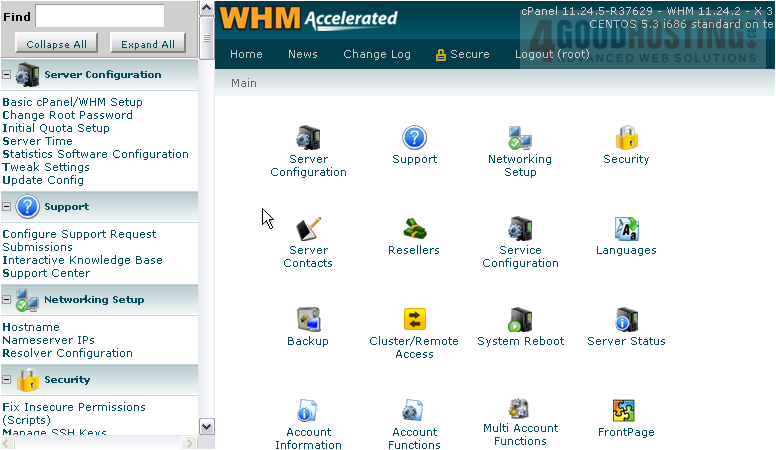
2) Go to List Accounts.

3) Find the row containing the account whose owner you wish to change, then scroll right.
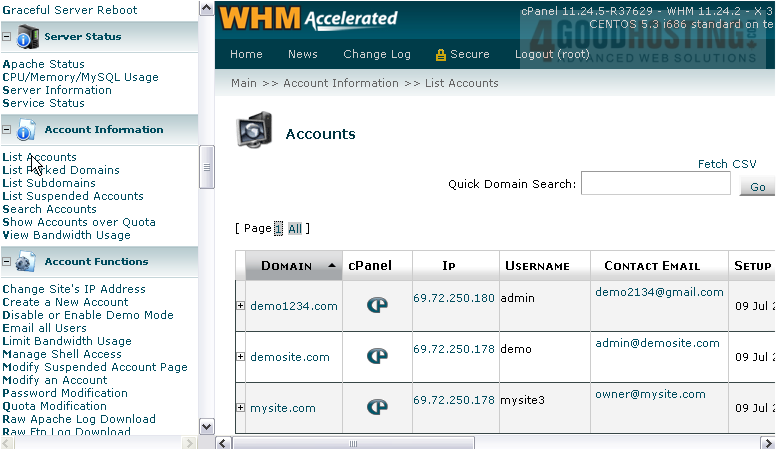
4) Hover over the row to activate the edit links.
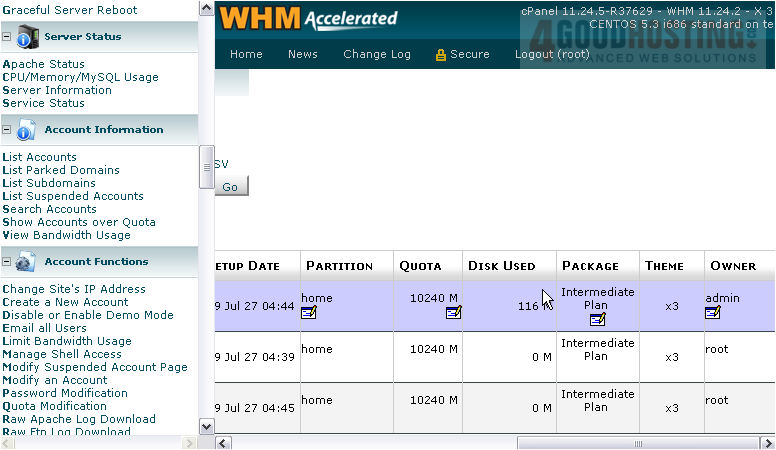
5) Then, click the edit icon under the account's current owner.
6) Select a new owner from the list.
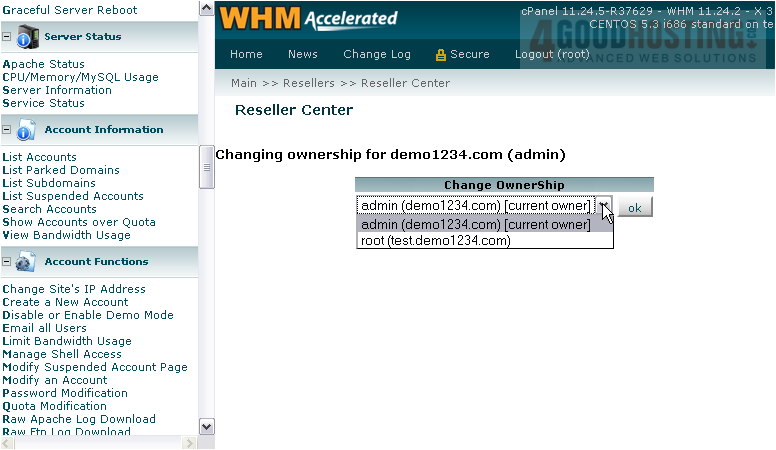
7) Then, click OK.

That's it! The account's owner has now been changed.
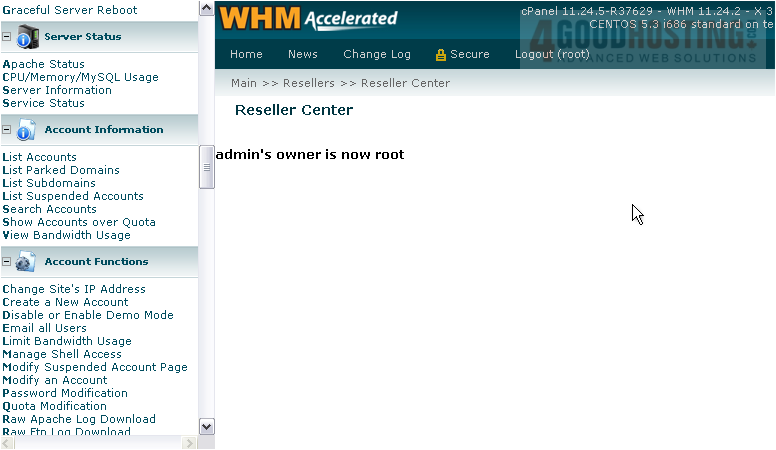
8) You can also change an account's owner by going to the Reseller Center, under Resellers.
Here it is.

You can change the ownership of a single account with this link, above. Or, change the ownership of multiple accounts with the link below.
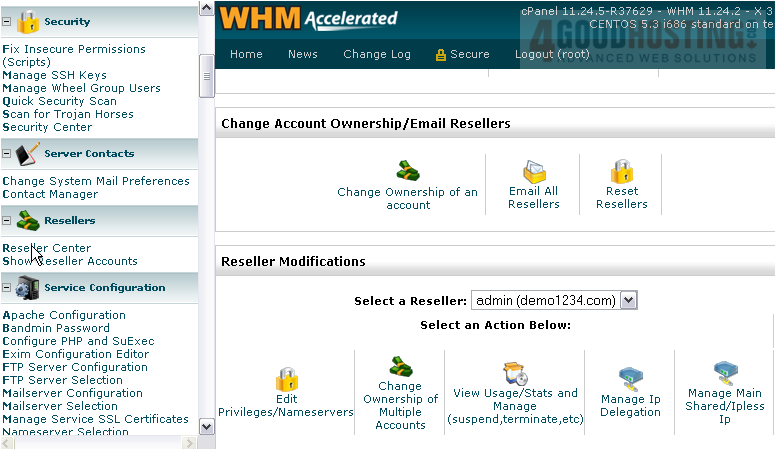
When changing ownership of multiple accounts, be sure to select the reseller from the list which you want to be the new owner of the accounts.
This is the end of the tutorial. You now know how to change the owner of an account in a few different ways.

 WGS AI Assistant