
This tutorial assumes you have already logged into your WebsitePanel reseller control panel
Now let's learn how to create a Peer Account
1) Click Peers
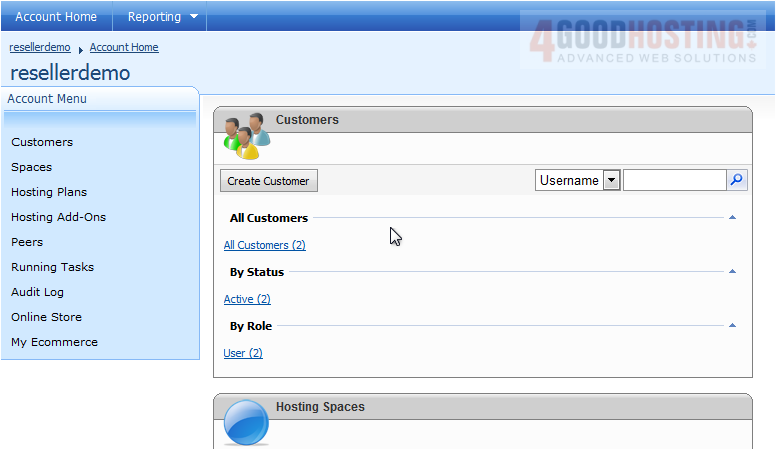
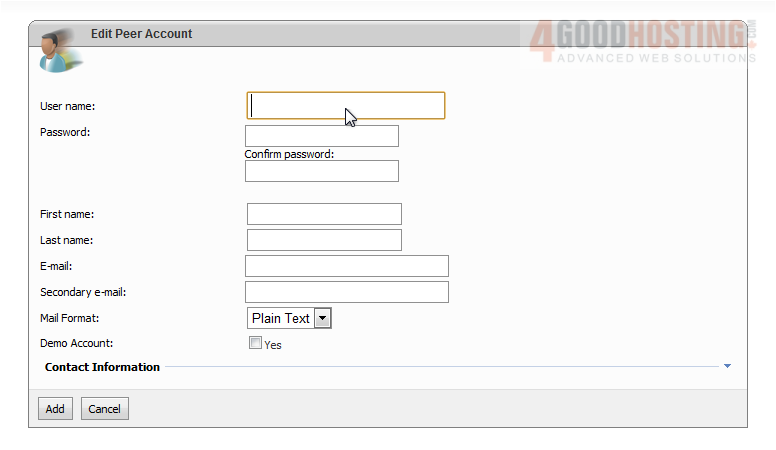
2) Click Create Peer Account

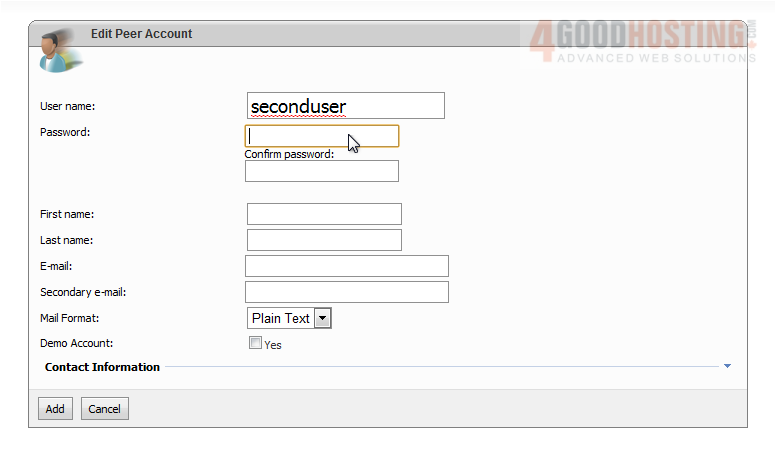
3) Enter a username here
4) Enter a password here
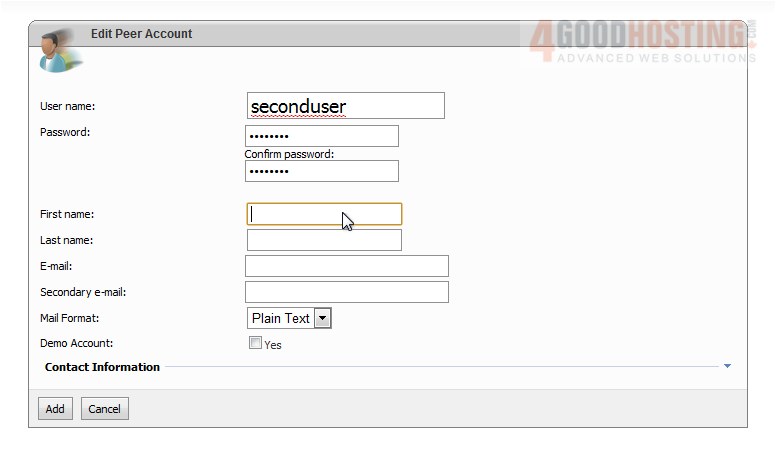
5) Enter the password again here

6) Enter the peer's account information below
7) Click Contact Information
Here you can enter the peer's contact information
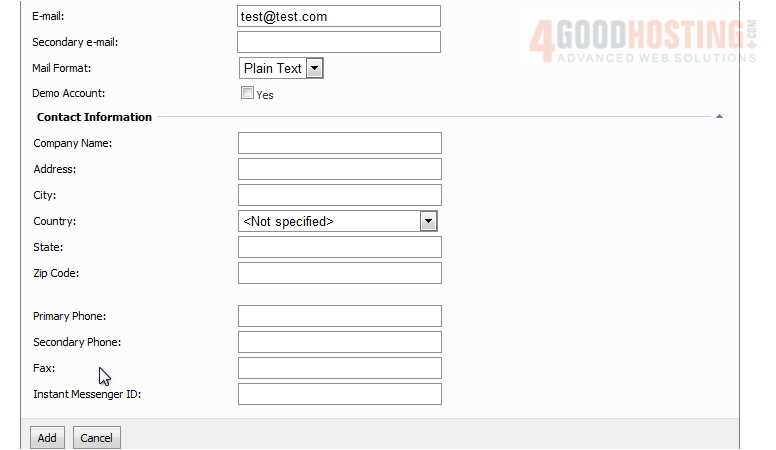
8) Click Add to create the Peer
You can now see the new Peer account information below. The peer can now log into your WebsitePanel using the account you just created

This is the end of the tutorial. You now know how to create Peer accounts

 WGS AI Assistant