
This tutorial assumes you have already set up an e-mail account in your control panel.
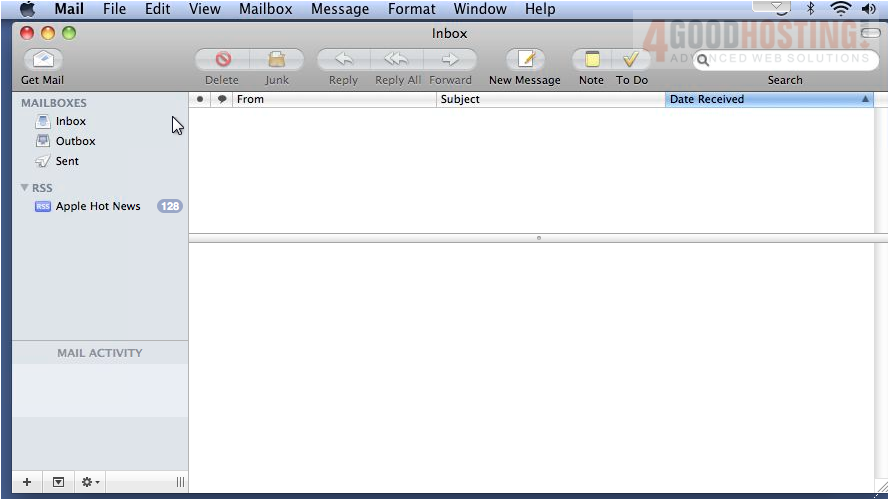
1) Click File... then click Add Account.

2) Type your name here as you want it to appear on outgoing mail... your full e-mail address... then enter the password associated with this e-mail address.
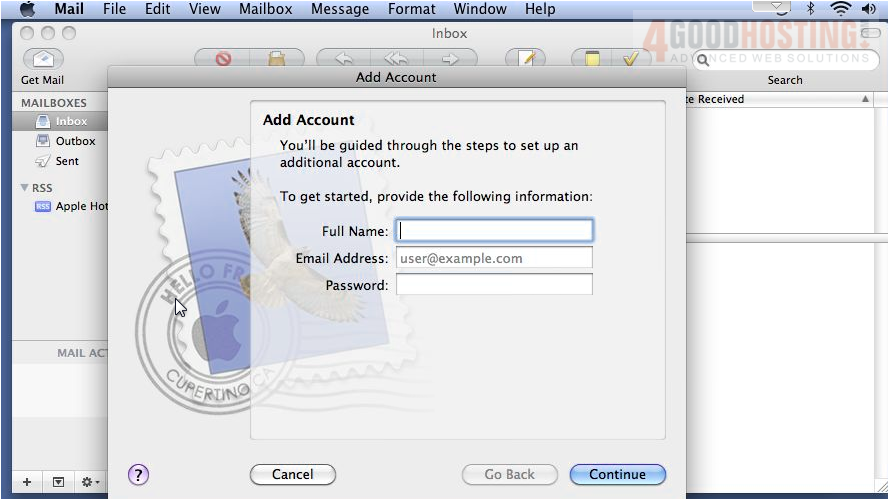
3) Click Continue.
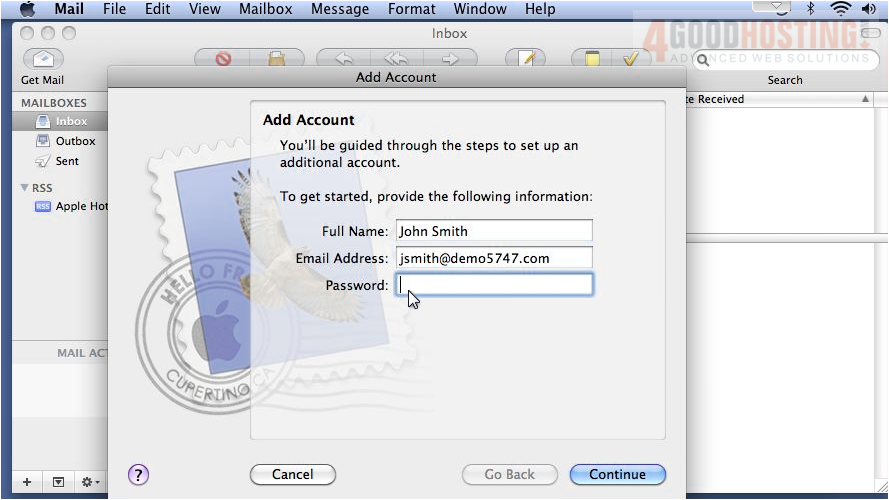
4) Since we are setting up a mailbox using POP, leave that option selected. Then type a description for this incoming mail server.

5) Enter the Incoming Mail Server as provided by your host. Note that this can be anything from mail.example.com to just the domain name as shown here. Then type your username, and click Continue.
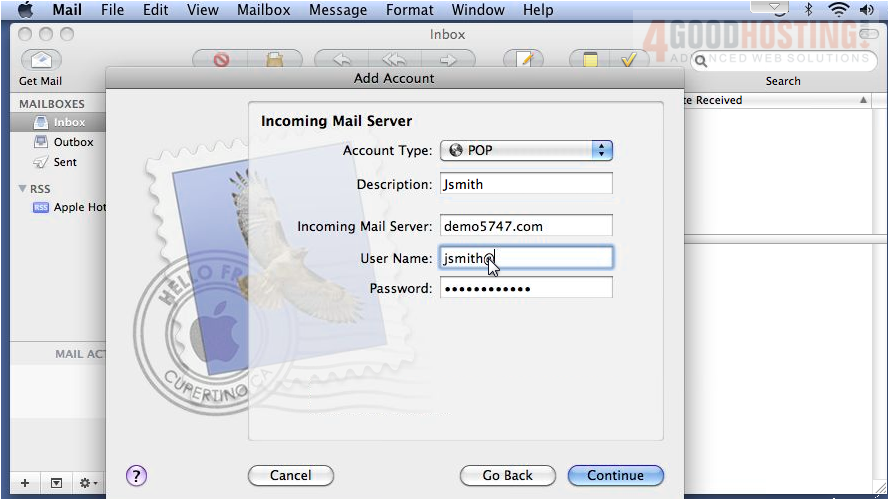
6) In order to send mail from this address, we need to set up the Outgoing Mail Server. Enter a description, followed by the Outgoing Mail Server.
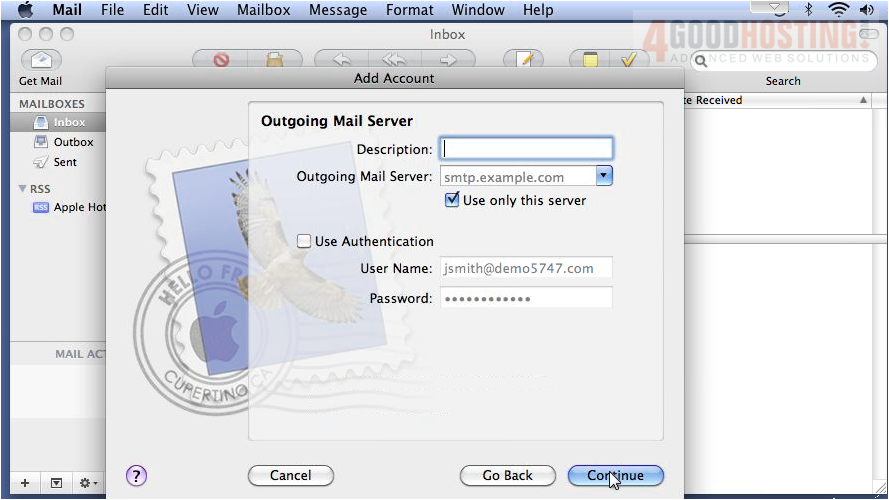
7) If required by your host, check Use Authentication... anf then click Continue.

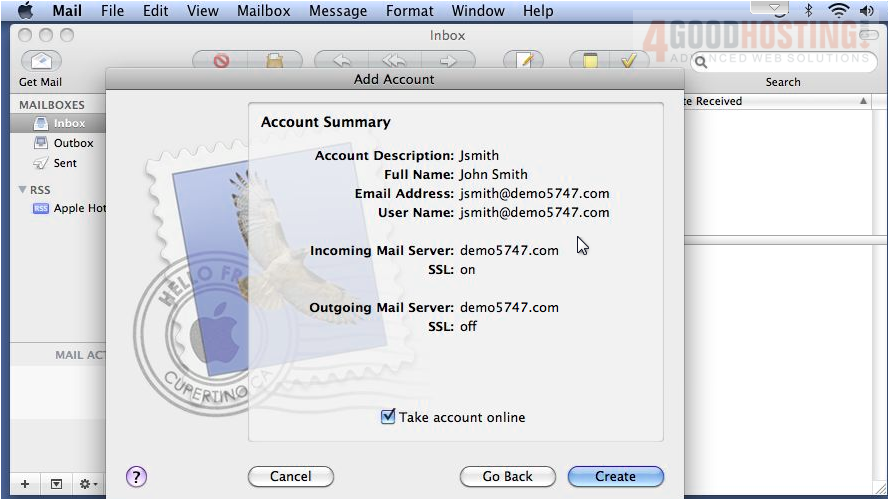
8) Review the information and click Create.
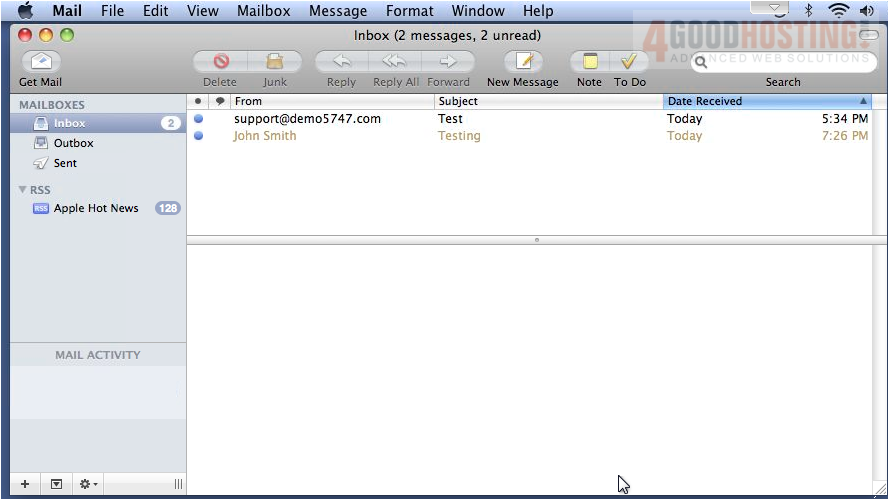
9) That's it! The mailbox we just set up is shown here, along with all the messages on the server in this account.

 WGS AI Assistant