A signature is automatically placed at the end of each e-mail message. Let's see how to create one.
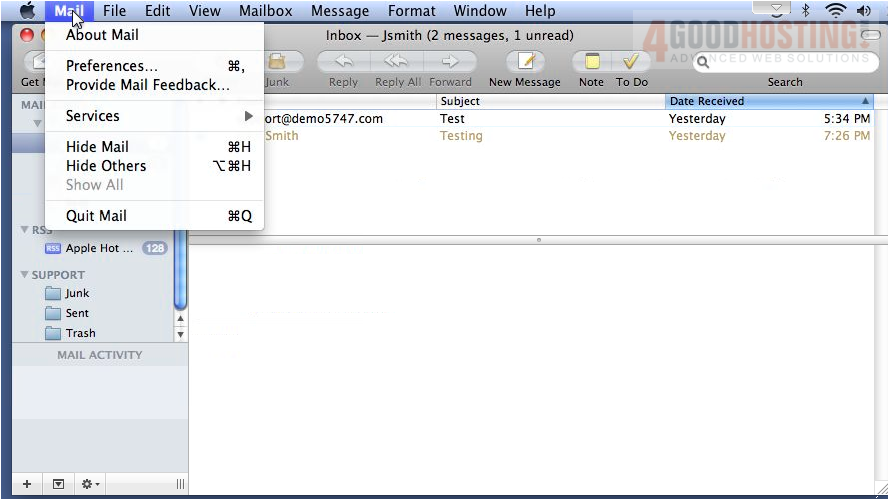
1)Â Open Apple Mail.
Â
-
From the top menu bar, click Mail → Settings (or Preferences on older macOS versions).
Â
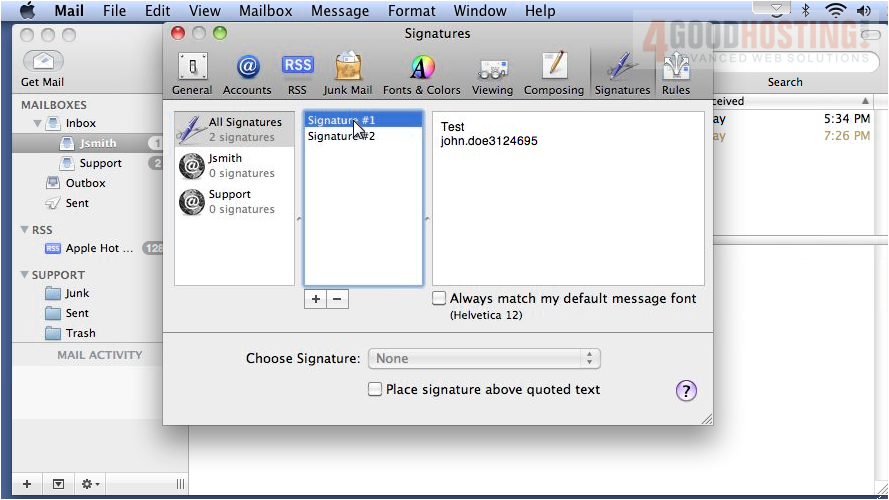
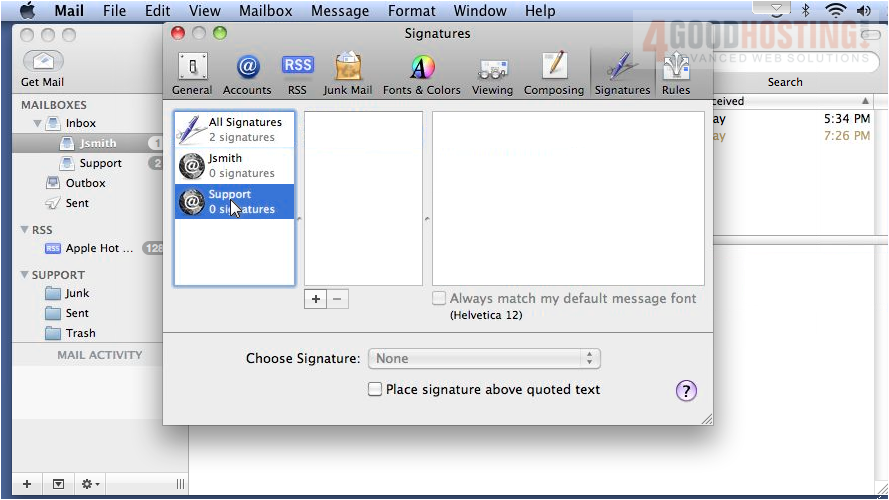
2) Select the Signatures tab.
Understanding the Signature Panel
The pane is divided into three columns:
| Column | Purpose |
|---|---|
| Left | Shows your email accounts |
| Middle | List of saved signatures for selected account |
| Right | Signature editor (content, formatting, and HTML options) |

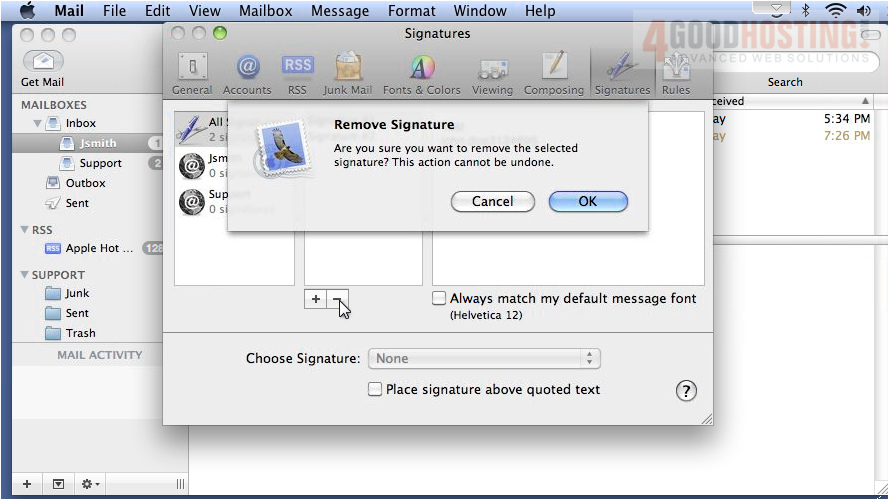
3) To delete a signature, select it... then click the minus sign.
4) Clicking OK will permanently remove the signature. This cannot be undone.
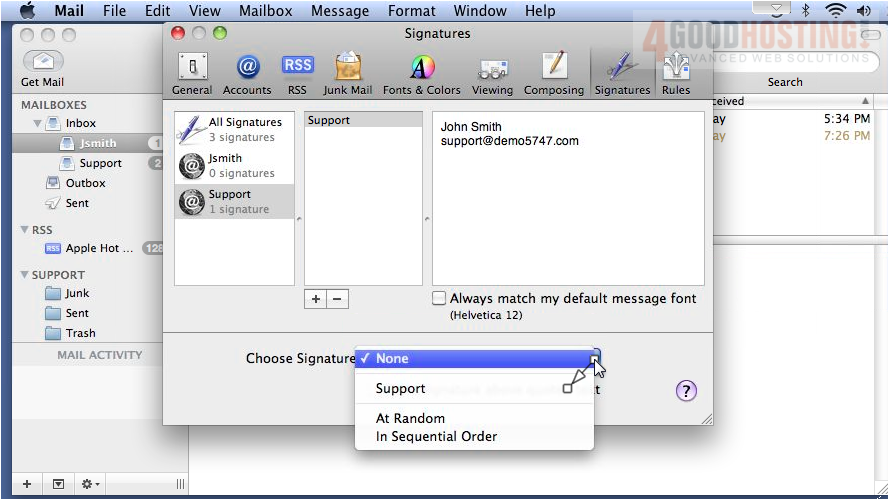
5) Let's add a new signature by clicking the “+†button (below the middle column).
  Select the email account (left column) you want to assign the signature to.
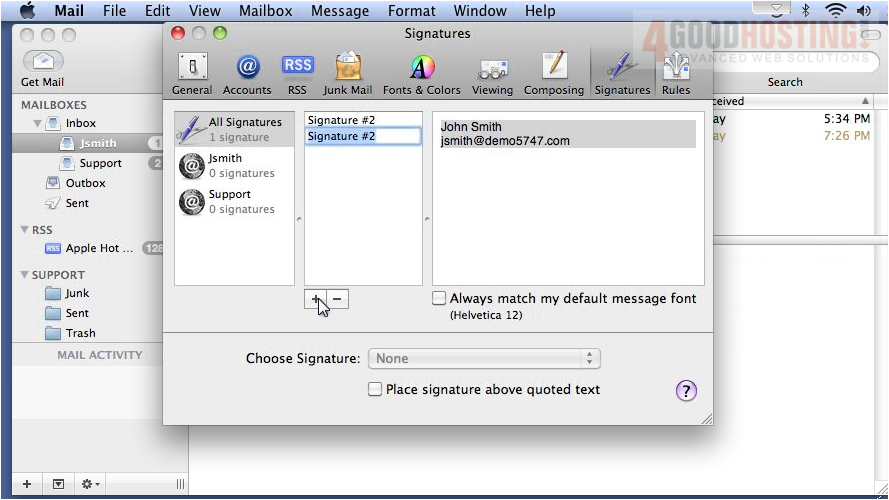
6) Give this signature a name... then click the right window pane and type to edit the signature.
Â
-
Type your signature (e.g., name, title, phone, website).
-
Use formatting tools: bold, italic, colors, links.
-
To insert an image (e.g., logo), drag it into the editor.
-
Use Shift + Enter for single line breaks.
Â

7) It's possible to create different signatures for each e-mail address you have added to Mail instead of using the same one for all accounts. Click an account...
8) ... then add a new signature as we did in the last step.

9) Set the default signature to use for this account.
That's it! Now you know how to create and manage your signatures.

 WGS AI Assistant