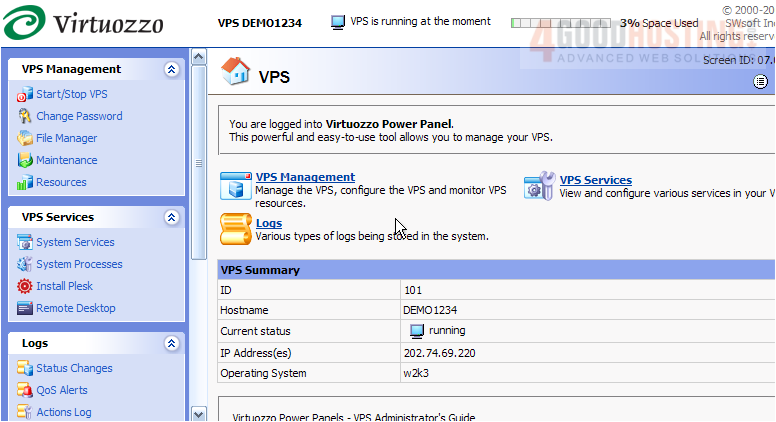
This tutorial assumes you've already logged in to your Virtuozzo Power Panel (VZPP) for Windows.
Now let's learn how to use the File Manager in Power Panel.
1) Click the File Manager link in the left sidebar.
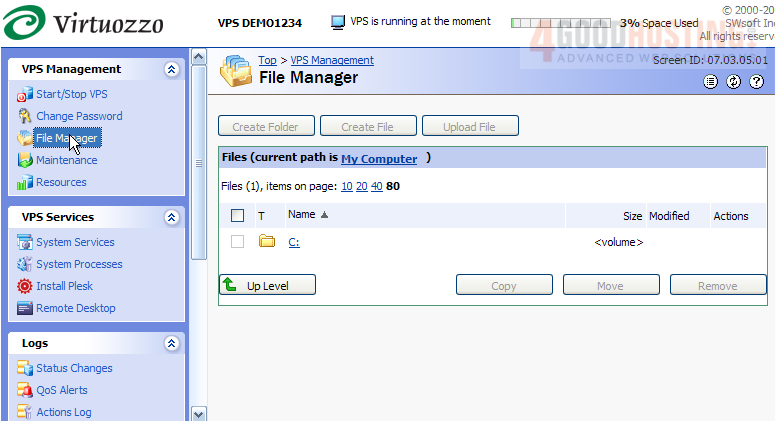
2) This is File Manager, and it's here that you can upload files to your VPS, rename them, delete them, create new folders, and several other functions. Click the C:Â directory to navigate to it.
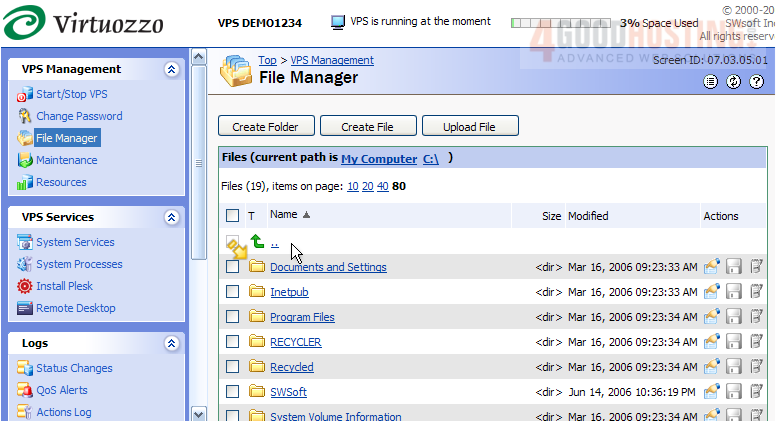
3) The folders listed here are all the folders that are in the C:Â directory of our VPS. Let's create a new folder in the C:Â directory. Click Create Folder.
4) Enter a name for the new folder and click Create.

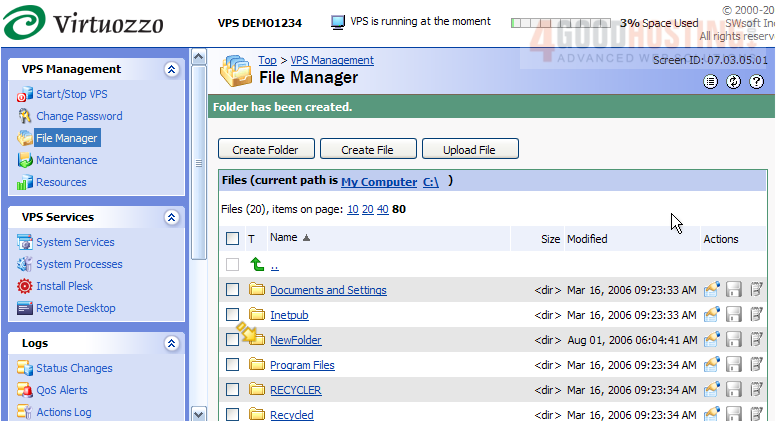
5) The new folder has been created, and can now be seen here with the other folders. Now let's rename the folder we just created.... Click the edit icon.
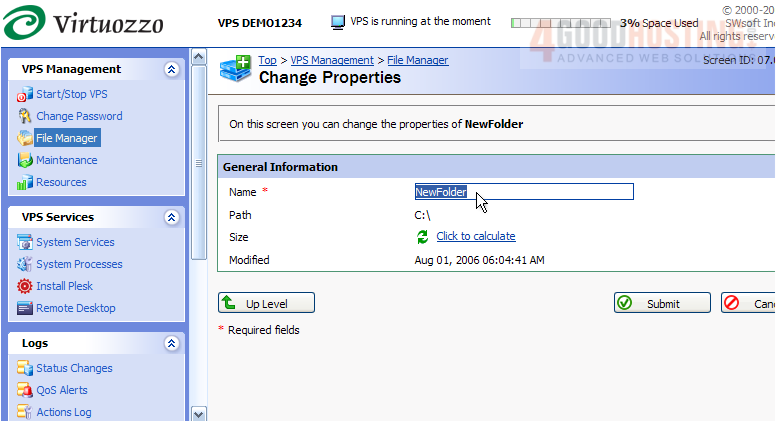
6) Enter the new folder name here.
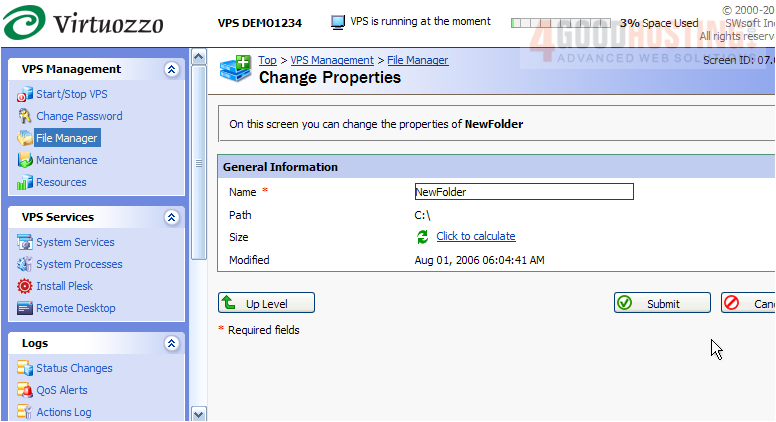
7) Then click Submit.
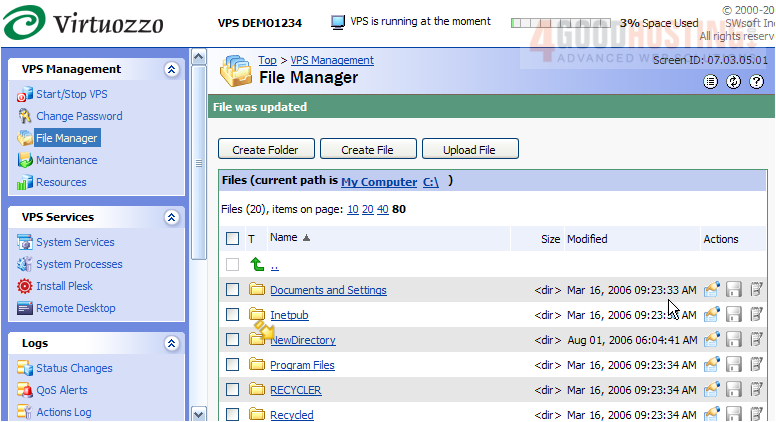
8) The new folder has been renamed, as you can see here. To navigate to this folder, simply click on it.
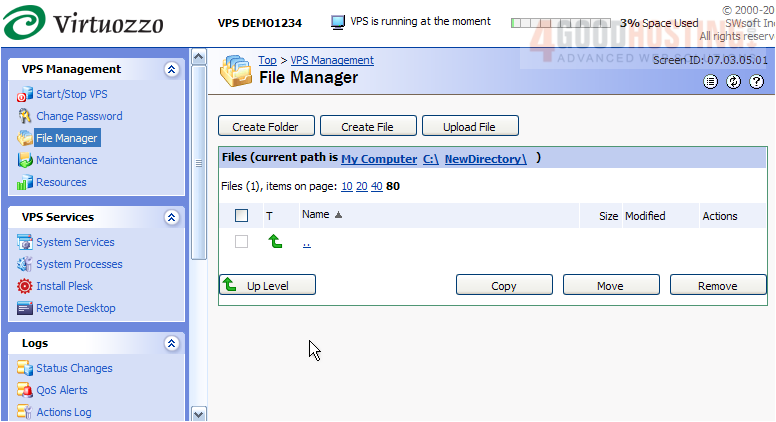
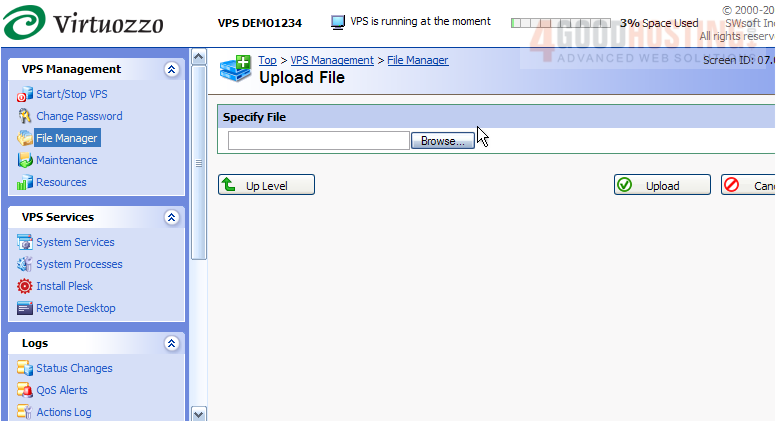
9) Now let's learn how to upload a file to this directory..... click the Upload File button.
10) Then click Browse...
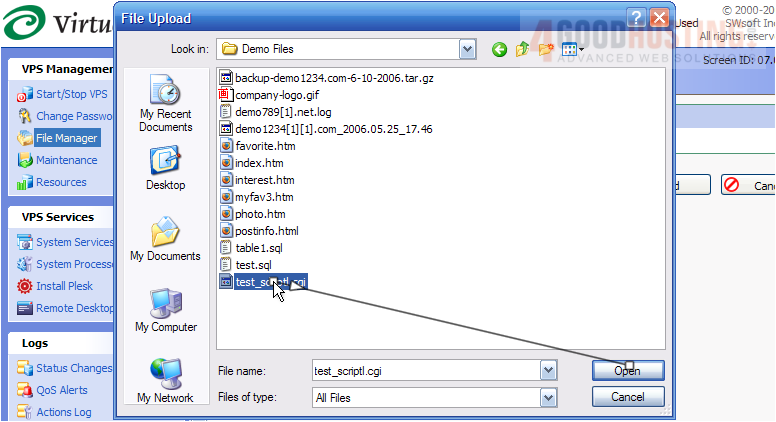
11) Select the file you wish to upload, then click Open.
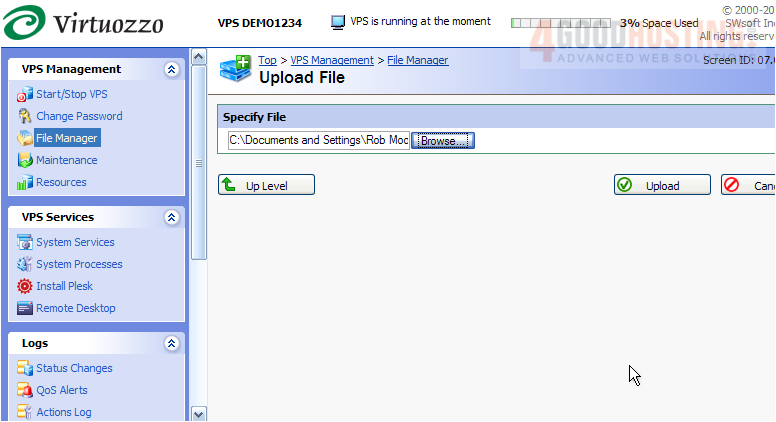
12) Then click Upload.
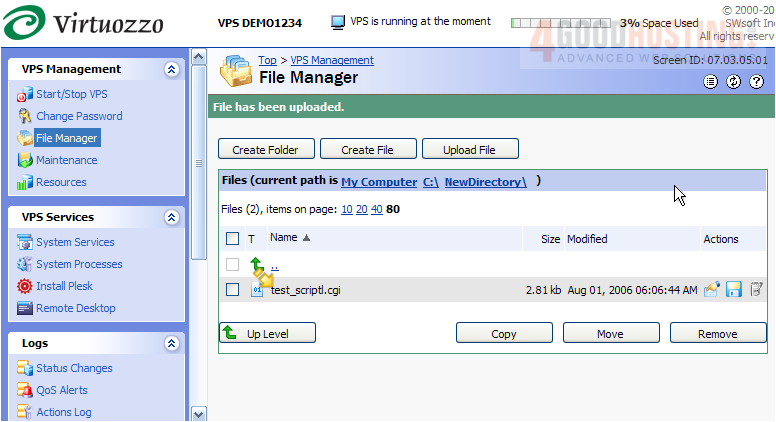
13) That's it! The new file test_scriptl.cgi has been successfully uploaded to the NewDirectory folder we just created. To rename the file, click the File Properties icon here.
14) Rename the file, then click Submit.
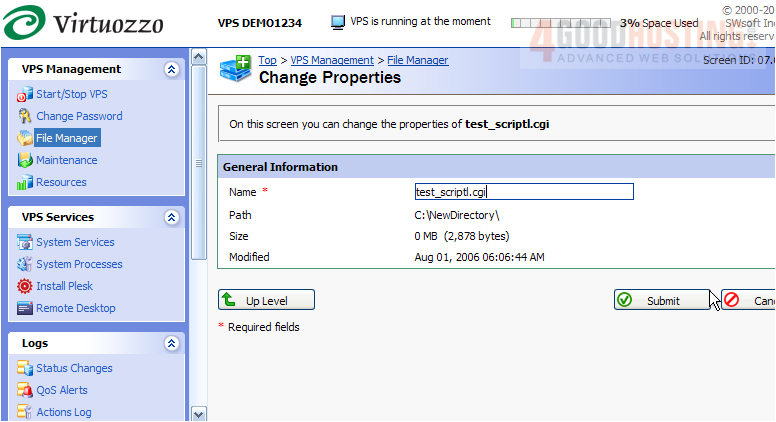
Â
The file has been renamed, and can be viewed here.
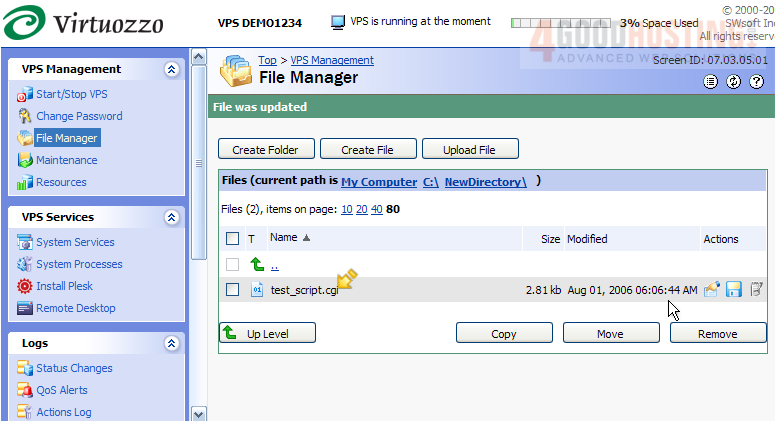
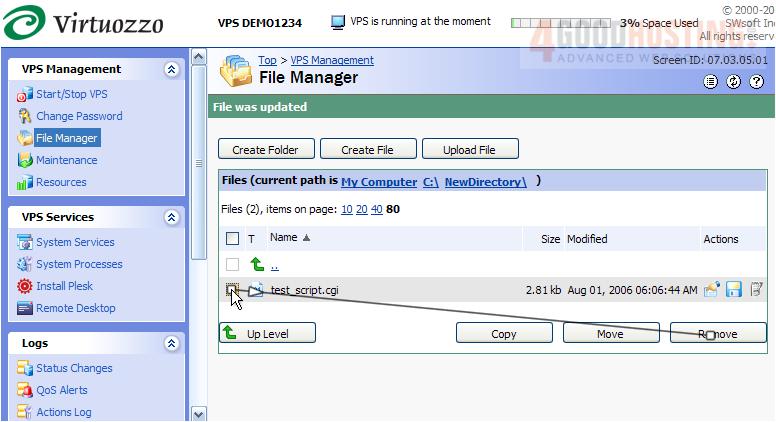
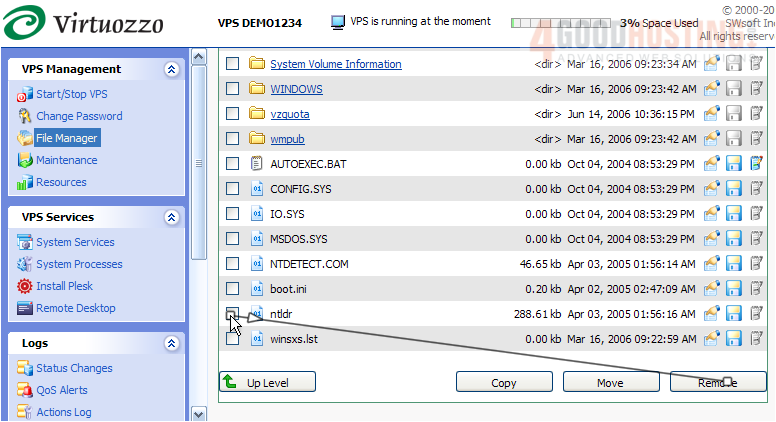
15) To delete a file from your VPS, select it here, then click the Remove button.
16) Click OKÂ to confirm.
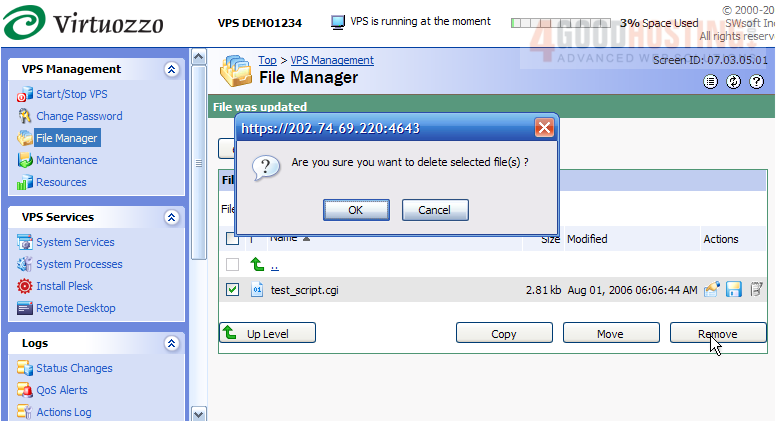
Â
The file has been removed from the directory.
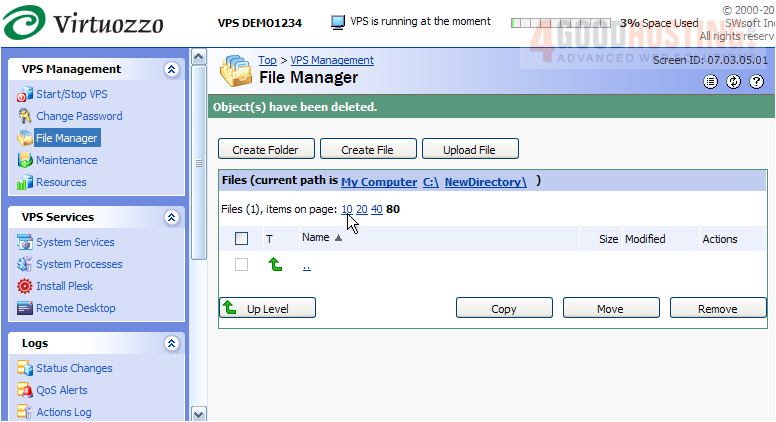
17) Now let's remove the NewDirectory folder.
Â
Success! The NewDirectory folder we initially created, has been deleted.
Â
This is the end of the tutorial. You should now be more familiar with File Manager in Power Panel, and how to use it to create and delete folders and files, upload new files and renaming folders and files.

 WGS AI Assistant