
This demo assumes you have a domain name registered through GoDaddy.com, and starts from the godaddy.com home page
Now let's learn how to update the domain name's DNS (Domain Name Server) settings
1) Enter your GoDaddy.com account Login Name and Password in the boxes here

2) Then click the Go button
You are now logged in to your GoDaddy.com account
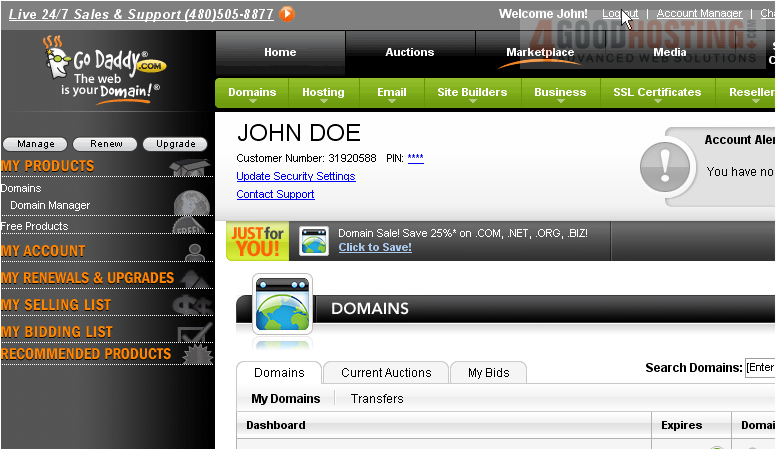
3) Click the Domain Manager link here
4) Then click on the domain name you wish to manage
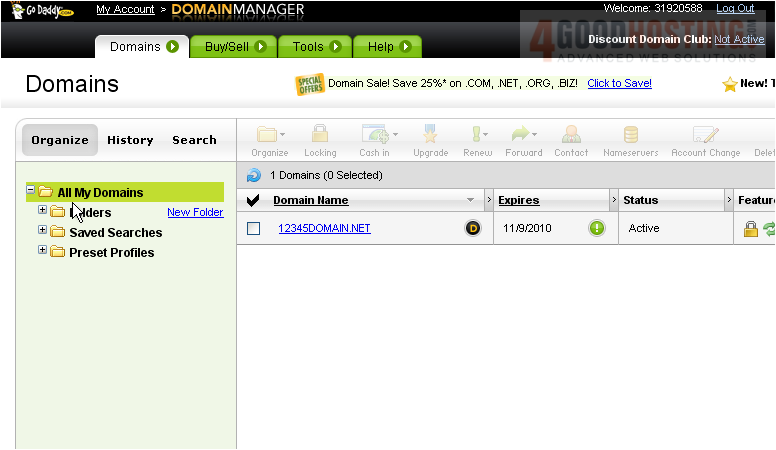
Here you can see the current DNS settings for this domain name, and it's these settings that we are going to change
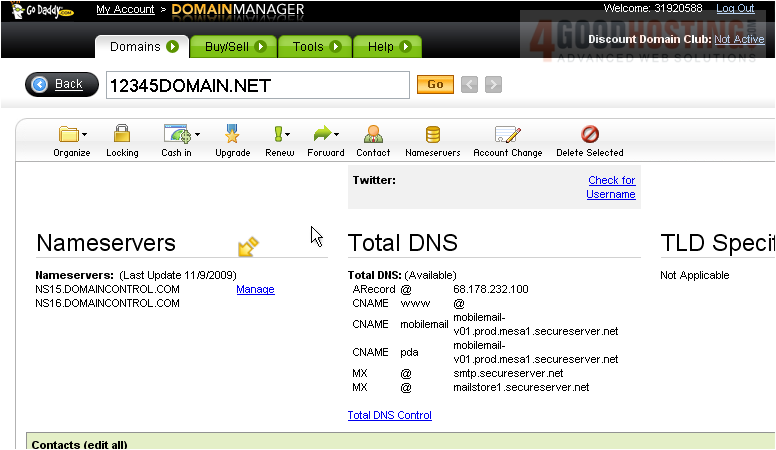
5) Click here to modify the DNS settings
6) Now enter the correct DNS settings in the boxes provided here, so that your domain name will point to your new web hosting account

7) Click OK when finished
The DNS settings have been updated successfully!
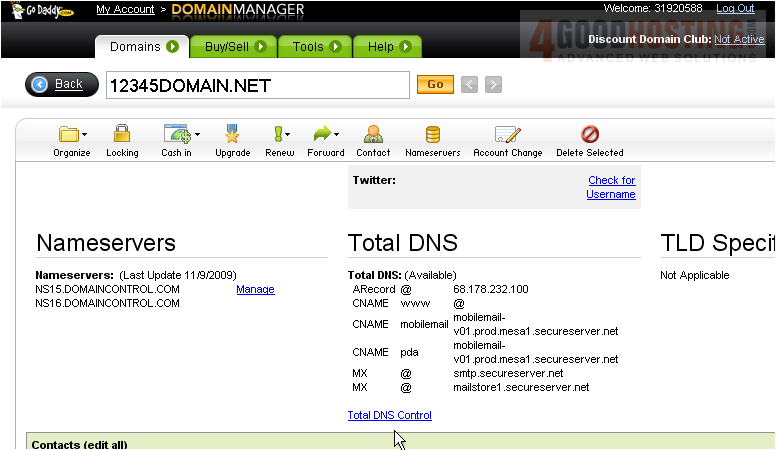
Remember that it can take 24-48 hours for your domain name to fully propagate, after you make these DNS changes
8) When finished, click the Logout link here
This is the end of the tutorial. You now know how to update the DNS settings of your domain name, provided it's registered with GoDaddy.com

 WGS AI Assistant