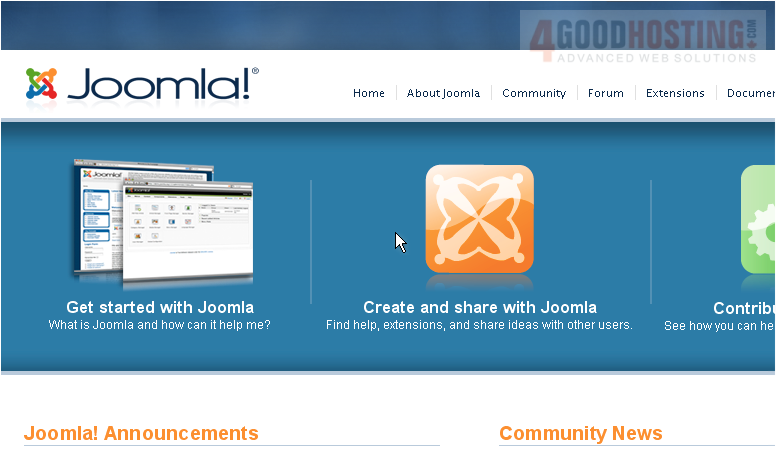
1) For this tutorial, you will need to open your web browser and go to http://www.joomla.org
Â
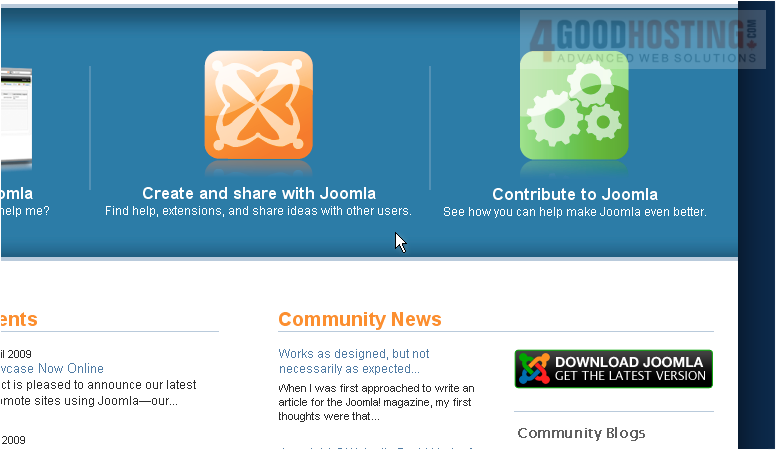
Scroll down and right
Â
2) Click Download Joomla
Â
Scroll down
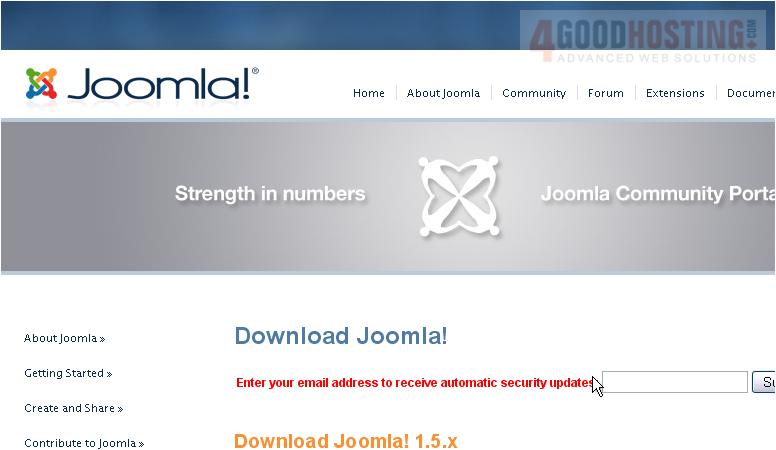
3) Click the link next to the version you wish to download

Â
It is recommended that you save the file to your desktop so that you can find it easily
Â
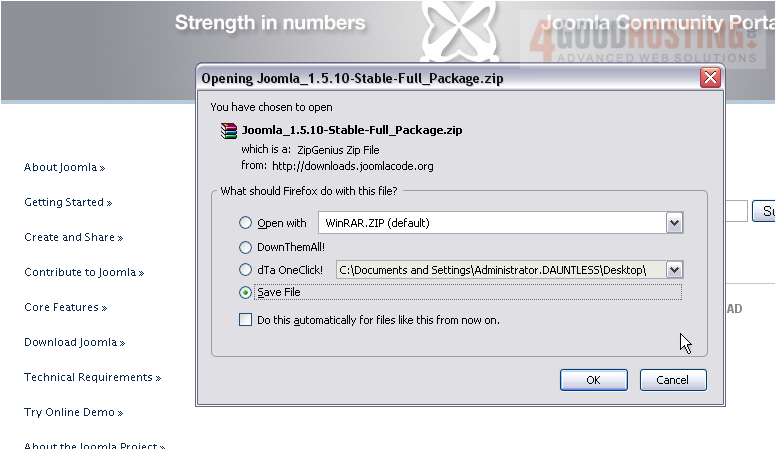
4) Make sure Save File is selected and click OK
Â
Now you will need to unzip the file and upload it to your server. Go to the location where you saved the file
Â
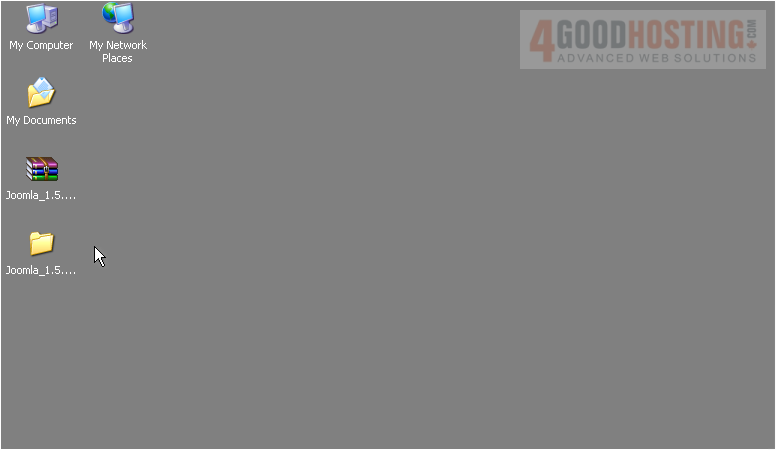
5) Right click the file and unzip it
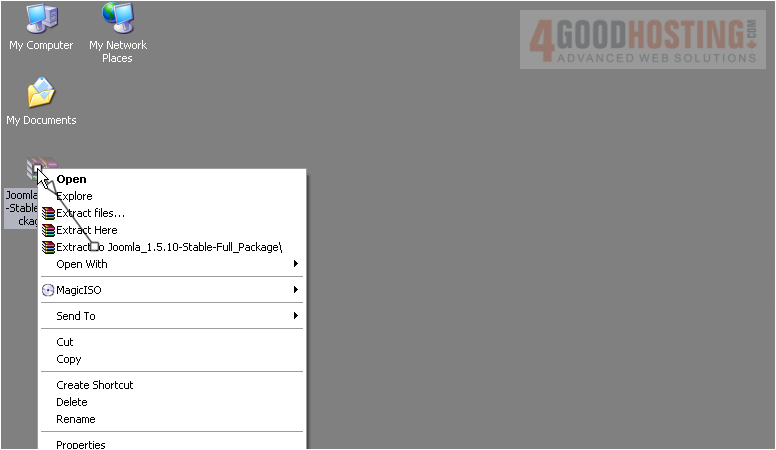
6) Double click the folder to open it
Â
Now you will need to use an FTP client such as FileZilla to upload Joomla to your sever
Â
Make sure you have entered your host name, username and password and are connected to your server before proceeding
Â
7) Press CTRL + A to highlight all the files and folders
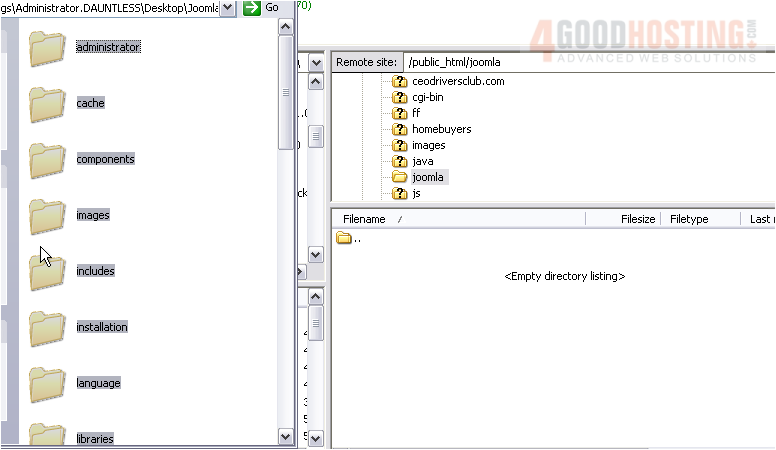
8) Click and drag them into the directory you want to upload them to
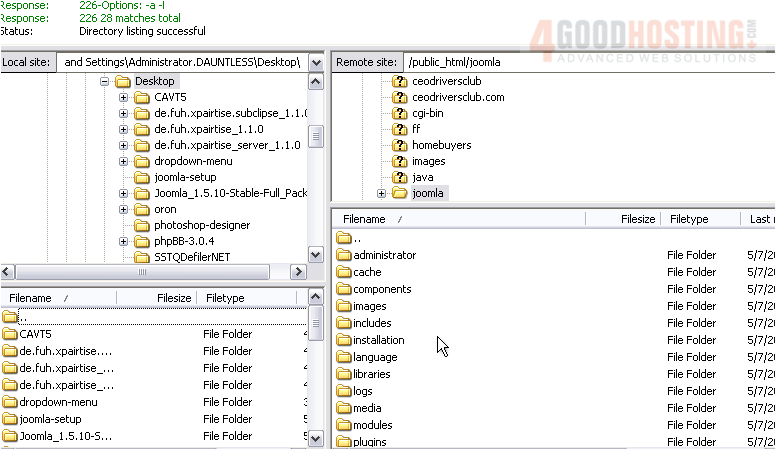
9) Once all of the files have finished uploading, go to your new Joomla site in your browser
Â
It is now time to install Joomla on your sever
10) Choose the language you wish to use during the installation and click Next
 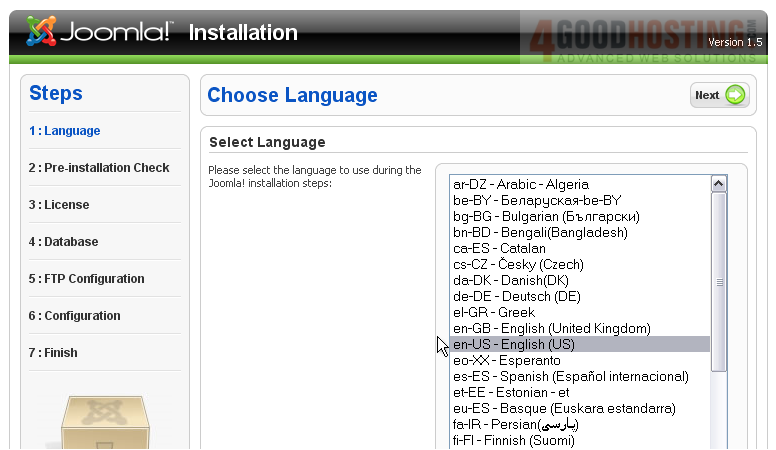
Â
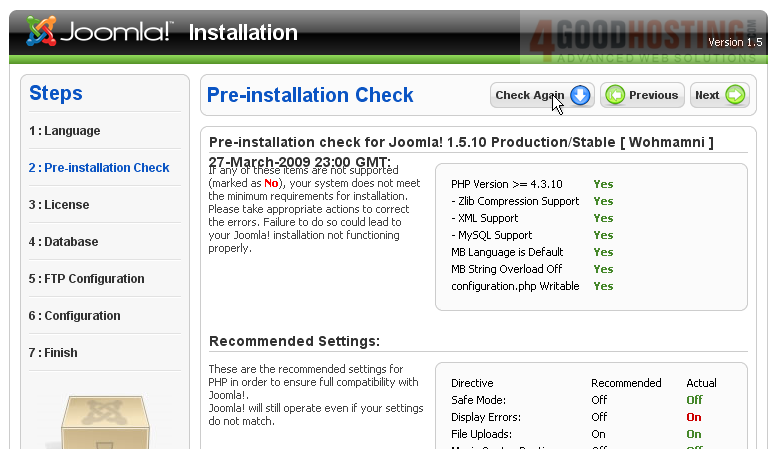
This page will show a list of requirements and recommended settings. If your sever doesn't meet all of these, Joomla may not function properly
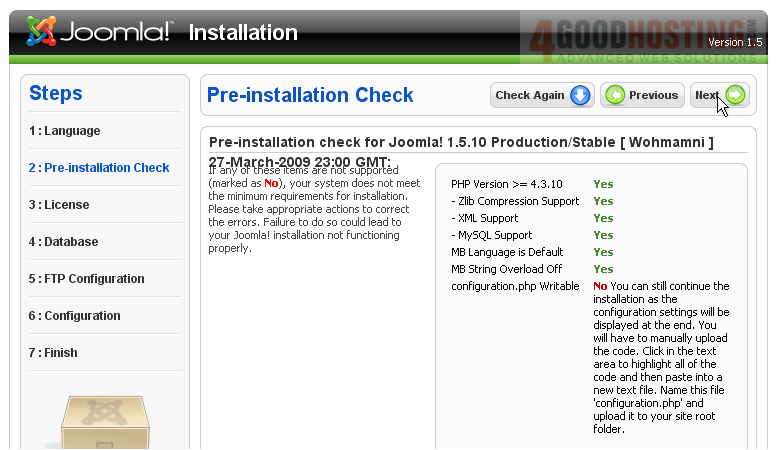
11) For this installation, we need to make the configuration.php file writable. Go back to the directory where you uploaded Joomla in your FTP client
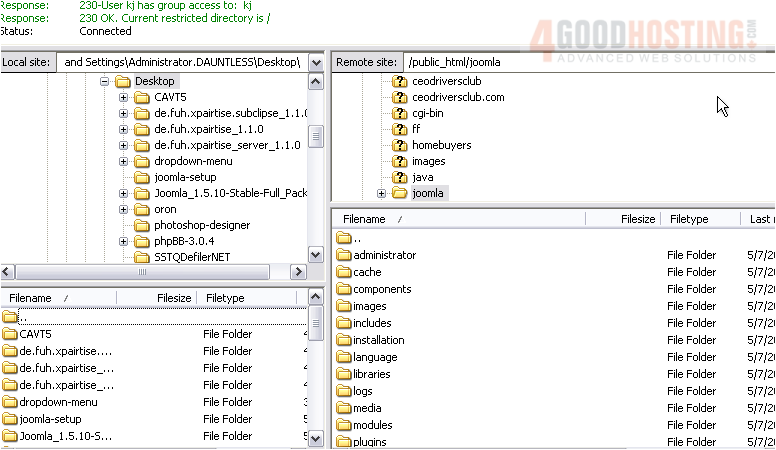
12) Scroll down to configuration.php-dist
Â
13) Right click and select Rename
 
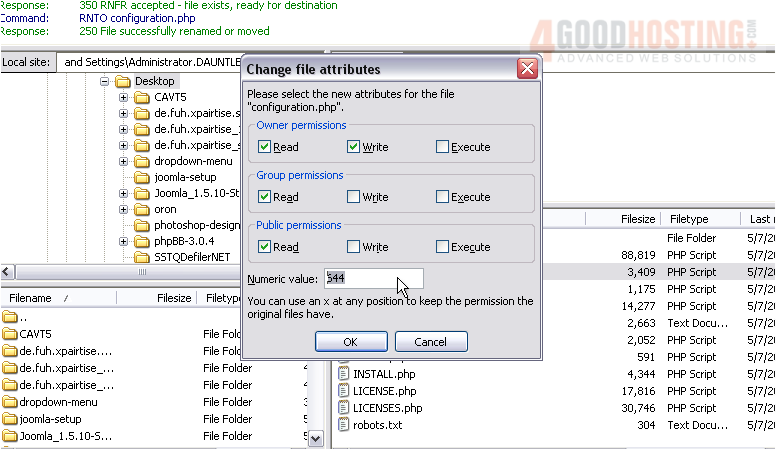
14) Now right click and select File Attributes
 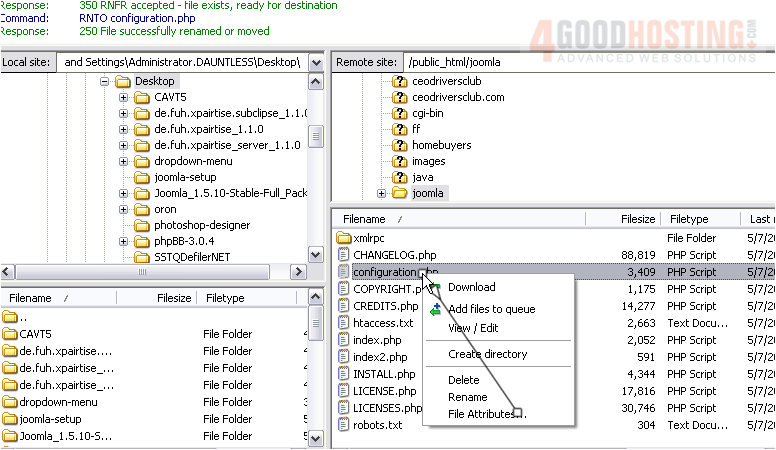
15) Change the numeric value to 777 and click OK
16) Return to your Joomla installation in your browser
Â
17) Click Check Again to recheck your requirements

18) Once all the requirements are met, click Next to continue the installation
Â
Here you can read the license information
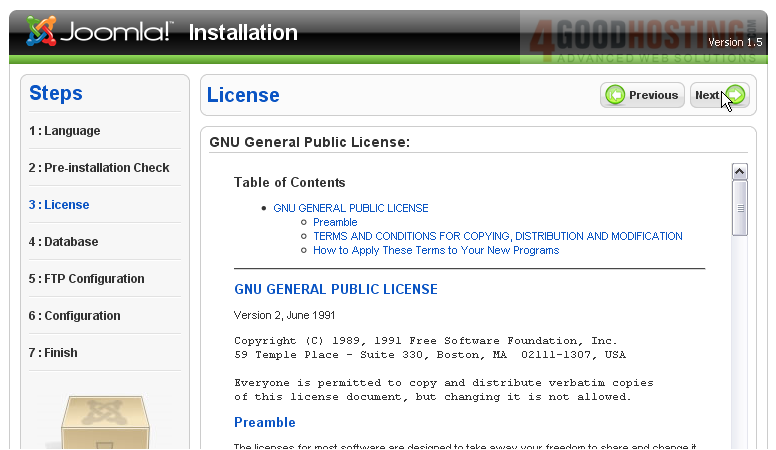
19) Click Next
Â
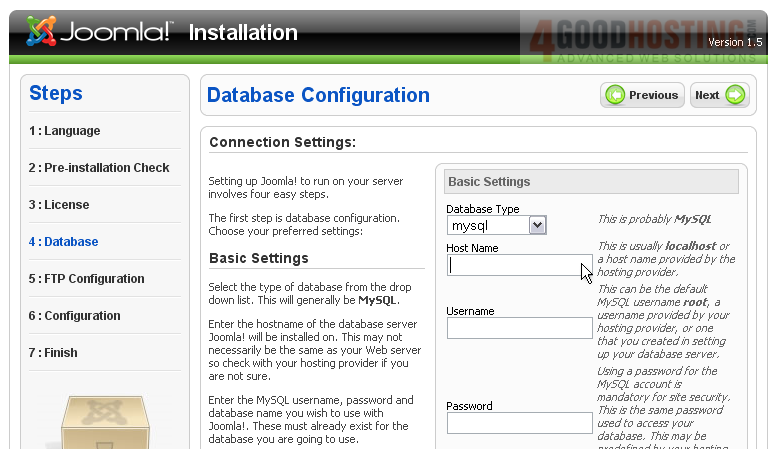
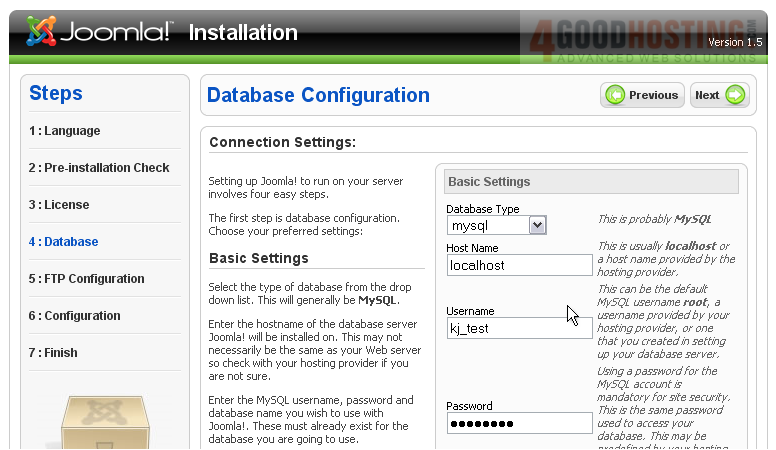
On this page, you will need to enter your database information. If you haven't already created the database on your server, you will need to do that before continuing
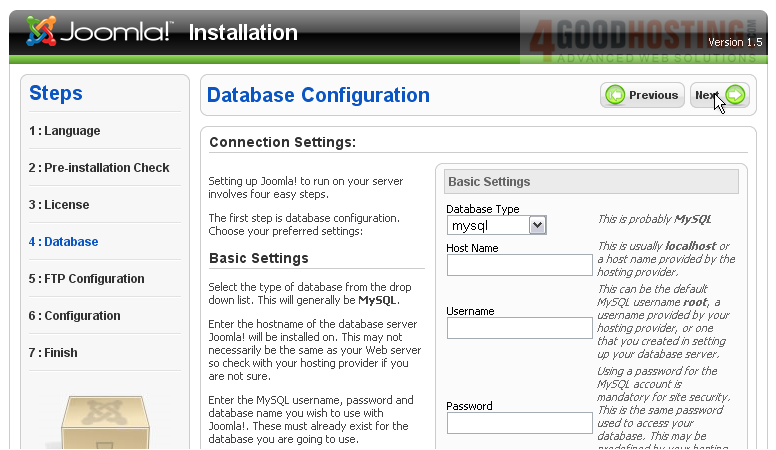
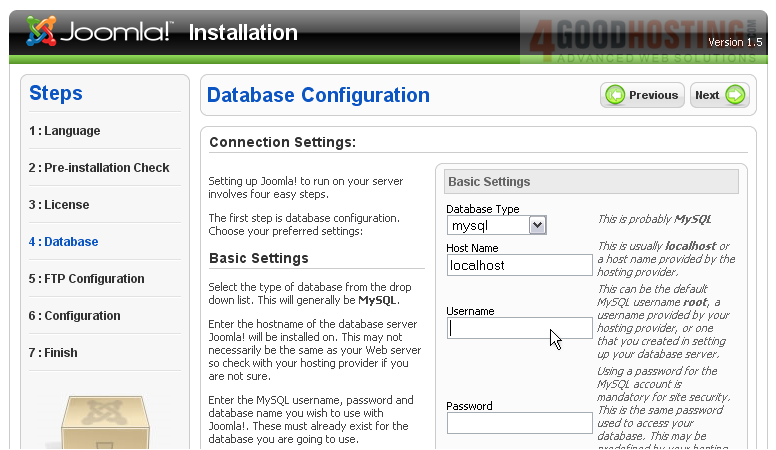
20) Enter the host name (usually localhost)
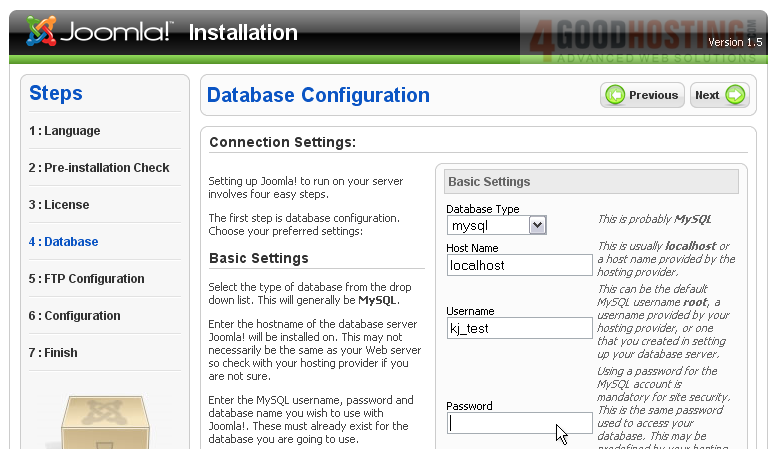
21) Enter the database username
22) Enter the password
23) Type the database name
 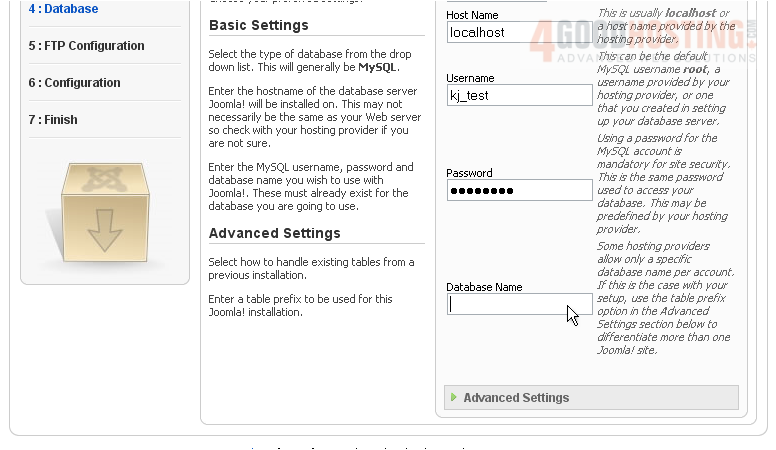
24) Click Next
Â
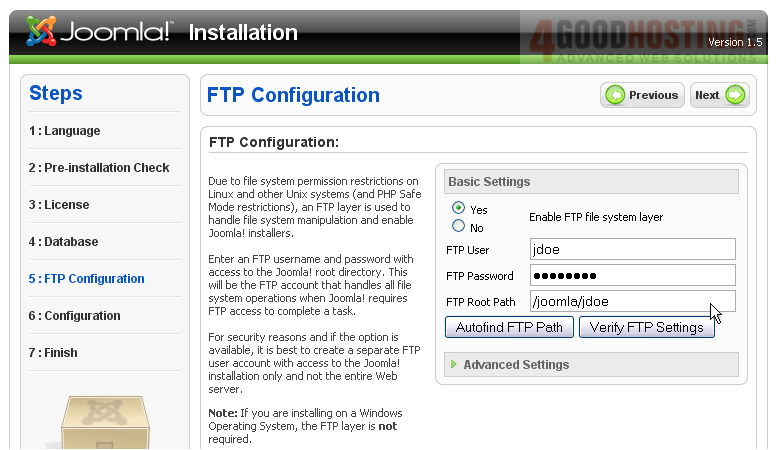
This step allows you to create an FTP account that will be used to access only your Joomla site and not the entire Web server
Â
25) Select Yes to enable the FTP
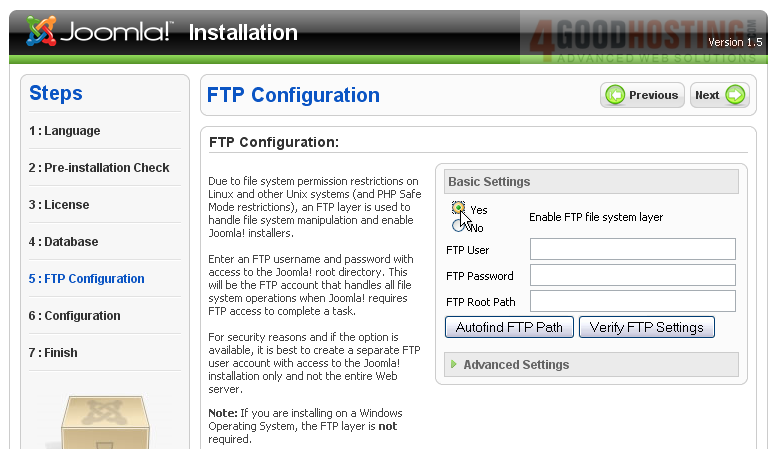
26) Create an FTP username and password
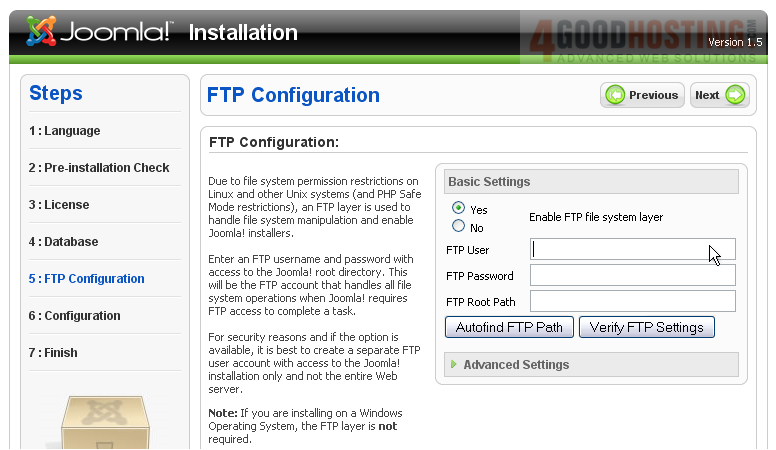
27) Type in the FTP Root Path
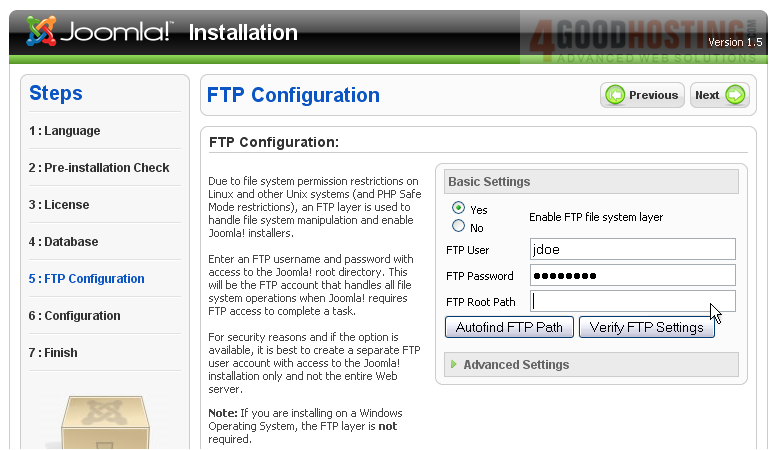
28) Click Next
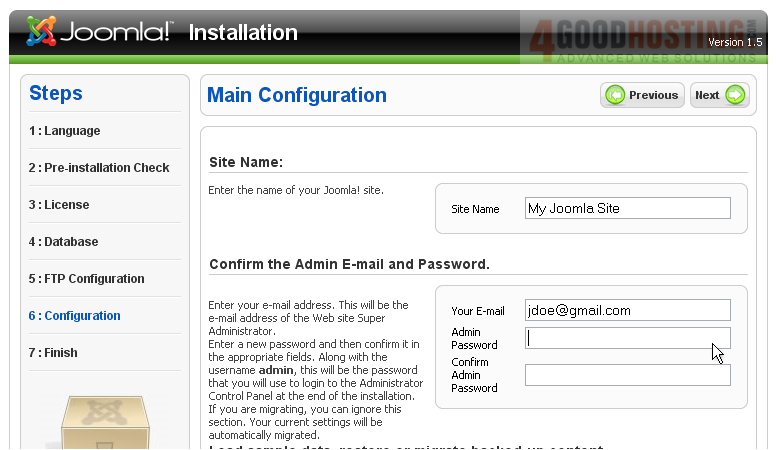
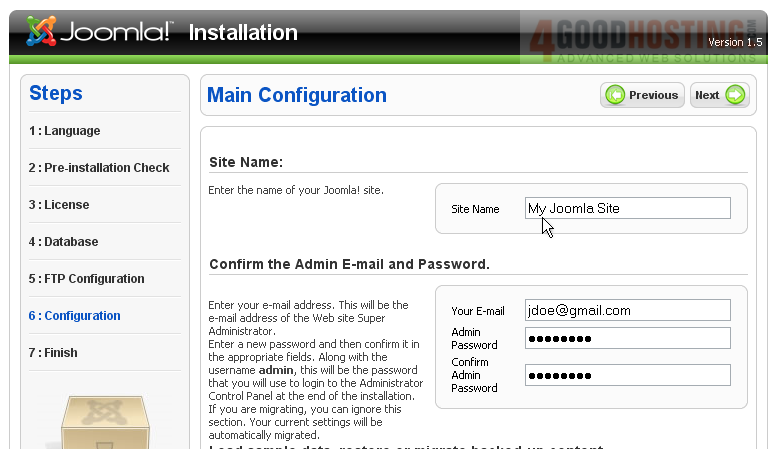
29) Enter a name for your site
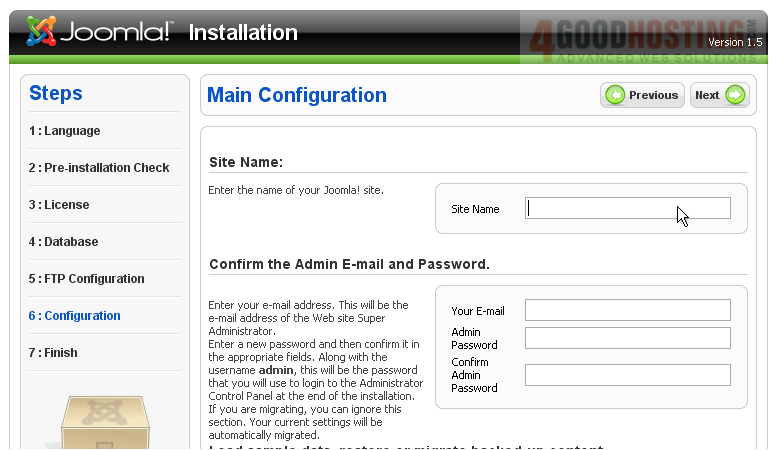
30) Type in your email address. This is what you will use to login to your site
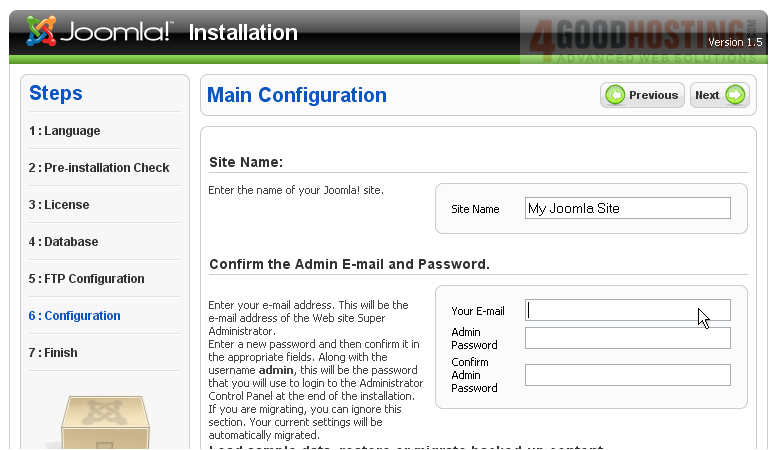
31) Type a password and confirm it
Â
Scroll down
Â
Now you can choose to install the sample data. This will populate your database with the default Joomla data and is recommended for new users
Â
32) Click Install Sample Data
 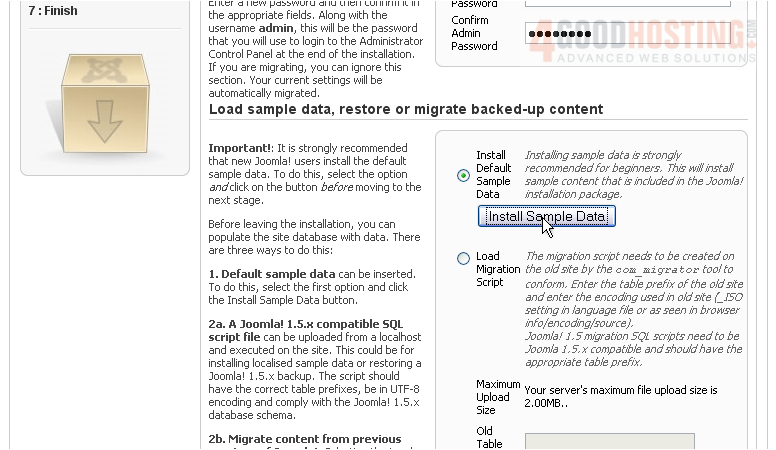
Scroll up
Â
Wait until the data has been installed. This can take up to several minutes
Â
33) Click Next
Â
Success! Joomla has now been installed on your server
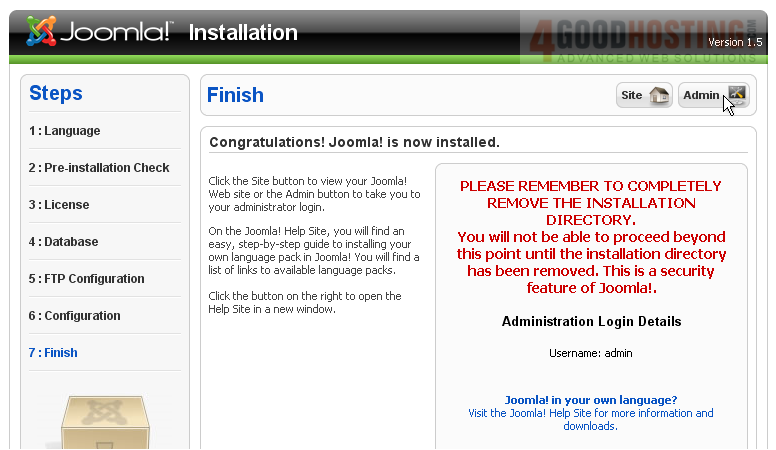
Â
Before you can use your Joomla site, you will need to completely remove the installation directory. This can be done through any FTP manager
Â
34) Once this is done, click Site
Â
Here you can view your new Joomla site
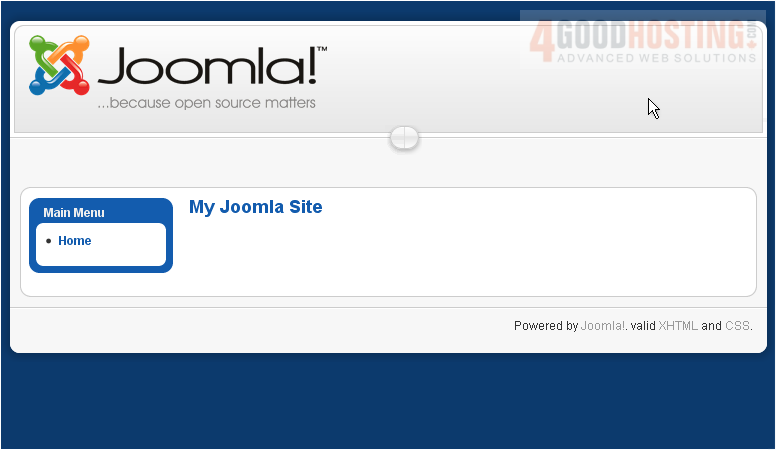
Â
This is the end of the tutorial. You now know how to download Joomla and install it on your server

 WGS AI Assistant